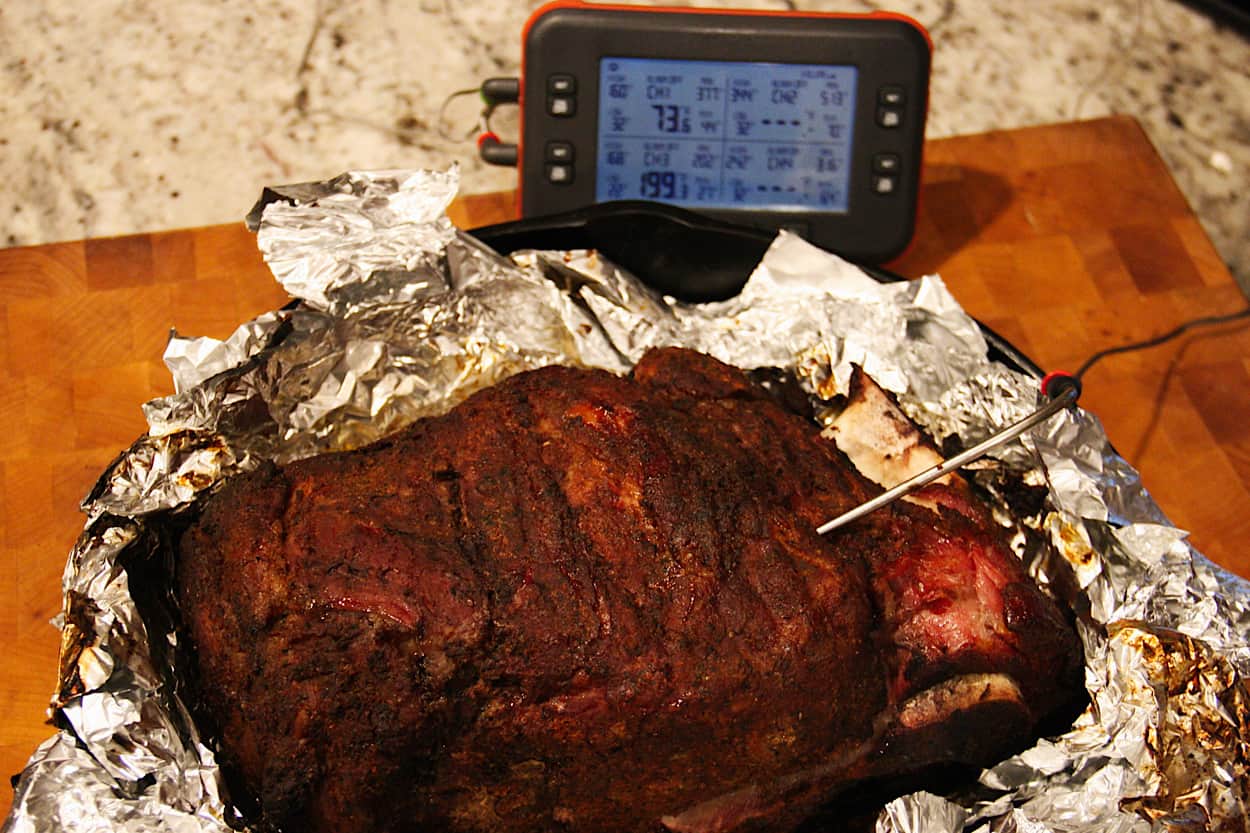
Ultimate Pulled Pork
Pulled Pork, A Culinary History
Pork has a rich history in the Americas dating back to the introduction of hogs by the Spanish in the 1500’s. The indigenous people of the Caribbean would smoke the meat on wood racks over low fires which kept the flies away and preserved the meat. Cut forward a few hundred years and you have southern farmers releasing pigs into the local forests to be hunted later in the season for food when the larders were drained. These wildish hogs were usually lean and tough and would be roasted whole till tender. Parties started to arise around these hunts and the birth of Southern Style BBQ began.
PULLED PORK FROM HARDSHIP TO HIGHLIGHT
Pulled pork evolved from the hardship of social hierarchy. The rich plantation owners kept the more tender cuts of the pigs while their slaves were given the toughest cuts. These people would use a low maintenance way of cooking to turn these near inedible cuts into the classic dish we love today. A culture’s culinary history is usually built on the backs of “cheap cuts” and expert hands. There is no greater result of that history than Pulled Pork and American BBQ.
ESSENTIAL GUIDE TO PULLED PORK
A pork butt or Boston Butt comes from the upper portion of the shoulder that is ticker, more marbled, and usually contains the shoulder blade bone. This triangle shaped bone has historically been used as the way to tell if your pork was ready to pull, if you can pull out the bone clean the pork was ready. Today we can use technology to make sure that we cook our pork butts perfectly every time and never have to worry about overcooking or being left with “Dry Que”.
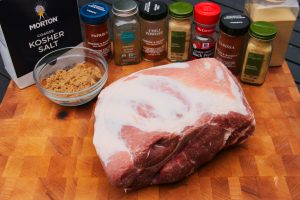
We start with a 7# bone-in pork butt. Butts can range from 5-8# at your local store, depending on whether you can get a whole or half, and if they are bone in or boneless. We always prefer using bone-in meat for added flavor and moisture, the tradeoff being that it does take more time to smoke a bone-in butt.
There are many schools of thought on brining, injecting, saucing, spraying, and so on. For this method we will be using an overnight dry rub, a drip pan, and a few flips.
As with any BBQ, personal preferences are key, and you will learn what works for you as you create your signature BBQ style.
BUILDING YOUR RUB
A pork butt is a big chunk of meat with limited amount of surface area per volume of meat. This means you must heavily season the surface available because once the pork is pulled, the seasoning layer is spread very thin over a large volume of meat.
We prefer a double dip of seasoning and an overnight rest. This method allows the rub to start pulling some liquid from the surface of the meat to mix and create a kind of marinade, then a second round of seasoning right before you put it on the smoker to help create that beautiful crusty bark (the mixture of spices and smoke combining with the meat proteins and the Maillard Reaction).
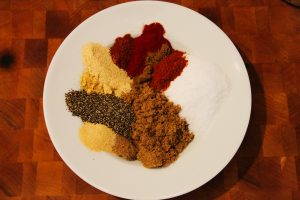
A good rub has three components: salt, sugar, and spices in a 3:2:2 ratio. Playing within this ratio will allow you to create a consistently well-seasoned product while changing the flavor profile to fit your taste. We also have found that brown sugar is the best choice for your rub, being that brown sugar is white sugar plus molasses. The molasses brings extra flavor and moisture while helping the sugar caramelize at a lower temperature on your BBQ, again helping to create that beautiful crust.
Our favorite spice blend is simple; paprika, chili powder, black pepper, granulated garlic, cumin, and onion powder. Personally, I like the addition of harissa and dry mustard, but they are completely optional.
PREPERATION AND SMOKING
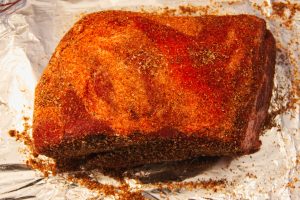
Build your rub by mixing all the ingredients together in a bowl making sure the seasonings are well combined. You can store the rub in spice jars with a shaker lid, this will also help create a nice even spread of the rub over the meat. Before you rub the pork, some experts add a thin layer of mustard to the surface of the meat, these BBQ competitors claim it helps create the bark without leaving a noticeable flavor. We have not noticed a difference especially with the overnight spice marinade, so we skip that step. Once you have covered the meat with the rub place the pork into a zip top plastic bag and let sit overnight in the refrigerator.
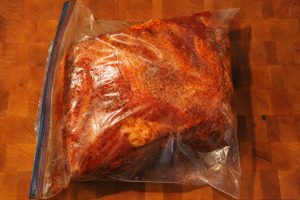
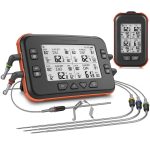
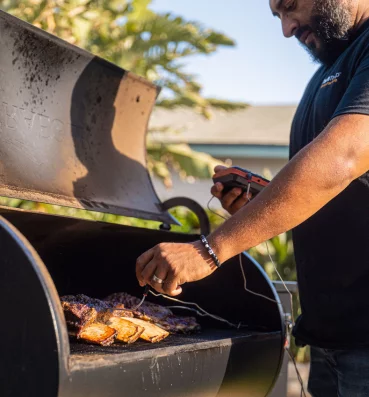
On cook day preheat your smoker to 280°F (138°C), this is a hotly debated temperature with some purist claiming you must go low (225°F (107°C)). We have found that the higher temperature speeds up the cooking process and helps create a better bark in much less time without drying out the meat. Make sure to monitor your temperature with your Quad XPro Thermometer.
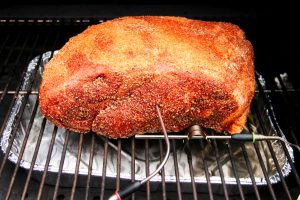
Remove the pork from the refrigerator and liberally season (for the second time) with your rub till the outside is dry looking. Place a metal drip pan under where you will set the pork and add 4 cups of water. Insert a probe into the center of the meat, making sure to avoid hitting the bone, and place fat side down directly on the grates. The fat cap down method is our preferred choice for a few reasons; the fat cap acts as insulation protecting the meat from direct heat and the melting fat won’t impede the formation of the bark.
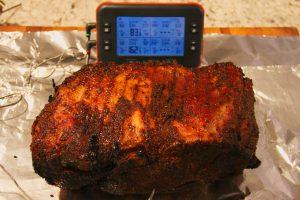
Now there is very little left to do but wait. Good BBQ requires patience and time. After the first two hours we like to flip the pork over, let the fat work its way over the meat a little, then flip again after another two hours.
CAN YOU LEAVE A MEAT THERMOMETER IN THE OVEN?
The probes of the Quad Xpro meat thermometer are oven save and can be used throughout the cooking process. The thermometer probes are capable of withstanding temperatures ranging from -58° to 572°F (-50° to 300°C), while the cables can stand up to 700°F (370°C) to protect them from the high temperatures of a backyard grill. Our probe thermometers will provide accurate internal temperature while your meat is cooking so you can relax and focus on other tasks.
WRAPPING AND FINISHING
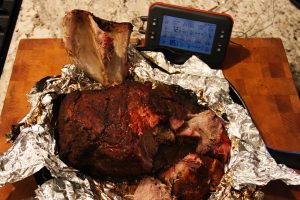
When your probe reaches 160°F (71°C) remove the pork to a landing pad of double layer thick aluminum foil. Remove the probe and wrap the pork completely in the foil. Reinsert the probe and place back on the smoker. This may seem counter intuitive, but the wrap will help prevent the meat from getting to much smoke flavor (which can become acrid or overpowering) and keeps the meat moist as the juices drip out. Your smoke flavor and bark have already been developed in the first few hours of smoke time.
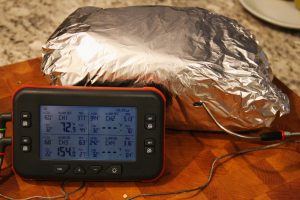
The sweet spot you are shooting for is between 198-205°F(92-96°C). This is the when the meat can be pulled, all the collagen has broken down and released into the meat creating that lip smacking juiciness and texture we desire. Let the meat rest for an hour or so to cool down enough to handle, then shred with a pair of forks or by hand with some heavy-duty BBQ gloves.
INGREDIENTS
- 1-7# Pork Butt, bone-in
THE RUB
- 6 T Brown Sugar
- 4T Kosher Salt
- 1 tsp Paprika, not smoked
- 1 tsp Chili Powder
- 1 tsp cumin
- 1 tsp Harissa (optional)
- 1 tsp Dry Mustard (optional)
(If not using Harissa and Dry Mustard sub with additional paprika and Chili powder)
- 2 tsp Granulated Garlic
- 2 tsp Onion Powder
- 1 T Black Pepper
- Aluminum Pan with 4 cups water
INSTRUCTIONS
Day Before
- Mix all the rub Ingredients together in a bowl with a whisk till combined.
- Dry the pork butt then liberally coat the outside with the rub.
- Place in a zip top bag and let sit in your refrigerator overnight.
Smoke day
- Preheat your smoker to 280°F (138°C), make sure to verify your temperature with your Quad XPro Thermometer.
- Place the foil pan below the rack the pork will be sitting on and add 4 cups of water.
- Remove the pork from the refrigerator and liberally season again with the rub. Insert one of the probes into the thermal center of the pork making sure to avoid hitting the bone.
- Set the pork, fat cap down, on the grates and close the lid.
- Let this smoke for 2 hours, then gently flip the pork over. Close the lid and smoke for an additional 2 hours.
- Flip the pork over and close the lid. Wait till the temperature of the meat reaches 160°F (71°C). Remove the pork to a landing pad of double layer thick aluminum foil. Remove the probe and wrap the pork completely in the foil. Reinsert the probe and place back on the smoker.
- Continue to cook till you reach 198-205°F (92-96°C). Remove from the smoker and let rest for 1 hour or till cool enough to handle.
- Shred the meat and toss with juices from the foil.
Discover more recipes and learn kitchen tricks by joining our cooking family on Facebook.

You may also like:
One Comment
Comments are closed.
Discover Other ChefsTemp Products
Discover more recipes and learn kitchen tricks by joining our cooking family on Facebook.
You may also like:






[…] Fire up your smoker before the big day to create sensational pulled pork. You can make sandwiches, mix the meat into a side like baked beans or mac and cheese, or just eat it as is! We always start with a day before with a dry rub of brown sugar, salt, paprika, chili powder, cumin, granulated garlic, onion powder and black pepper. You can add additional flavorings like harissa or dry mustard as well. Remove the pork and liberally season again with your dry rub, then place on a preheated smoker set to 280°F (138°C). For a complete guide, see our recipe for perfectly pulled pork here. […]