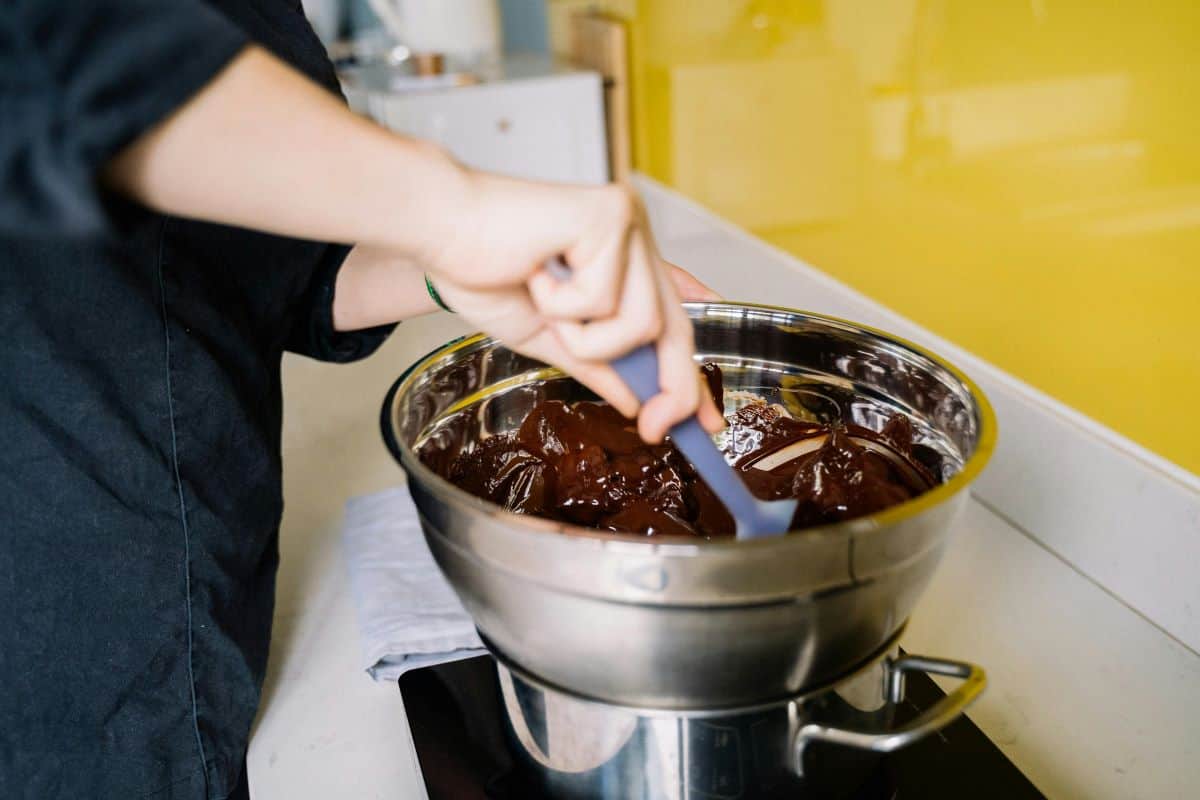
Everyone loves chocolate, but not everyone knows how challenging it can be to temper it. While demanding, working with and tempering chocolate is a rewarding process. If you’re into making chocolate-based desserts at home, this guide covers everything you need to know about using a thermometer for tempering homemade chocolate and how to get the best results.
 Tip: click here to learn more about high-temperature cooking tips if interested.
What is Tempering in Cooking?
A perfectly tempered chocolate is shiny and snaps pleasantly when you break it off from the rest of the bar. That’s what tempering can do with chocolate. Chocolate is made up of cocoa butter with various fat crystals. Each crystal has varying density, stability, and melting point levels. The form 5 crystal (also known as the beta crystal) is the only form stable enough to achieve your desired shine and snap. It has a higher melting point than the other crystals present in cocoa butter. Tempering requires melting the fat crystals and cooling to allow the formation of small crystals. The chocolate is heated once again to achieve the right consistency, making it easy to work with.Why Do You Need to Temper Chocolate?
Tempering chocolate makes it easier to incorporate into other recipes, such as making pastries and confectionery. When done correctly, tempering chocolate can produce most, if not all, of the following results:- It makes the chocolate appear smooth and shiny
- It is easier to turn out the chocolates
- It snaps cleanly when you break it up
What You Need for Tempering Homemade Chocolate
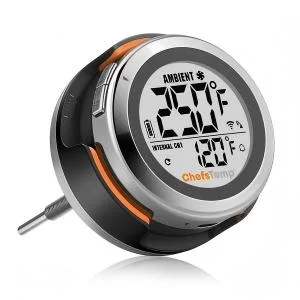
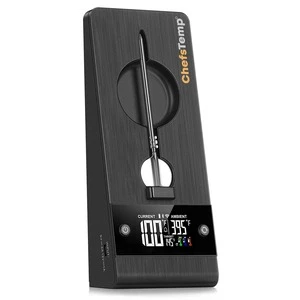
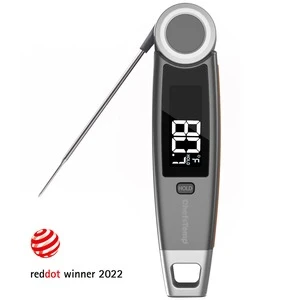
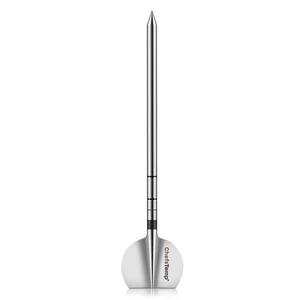
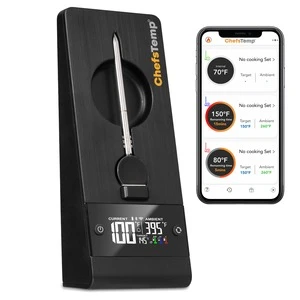
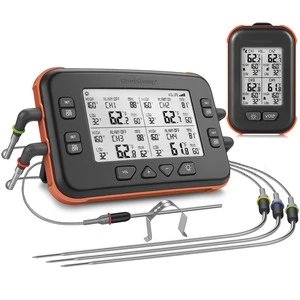
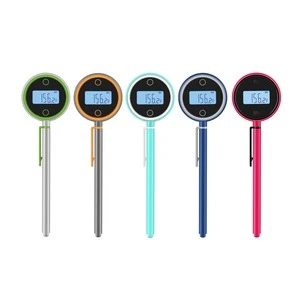
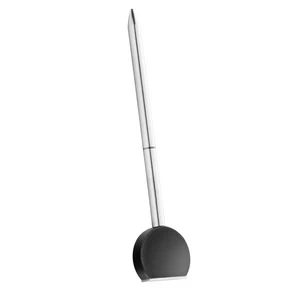
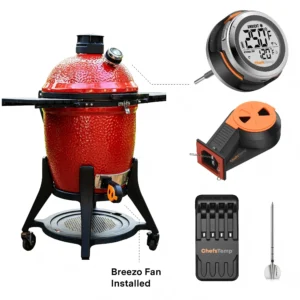
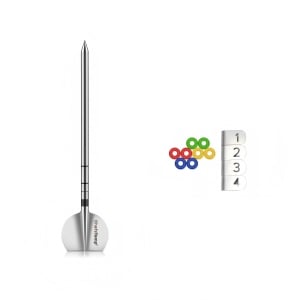
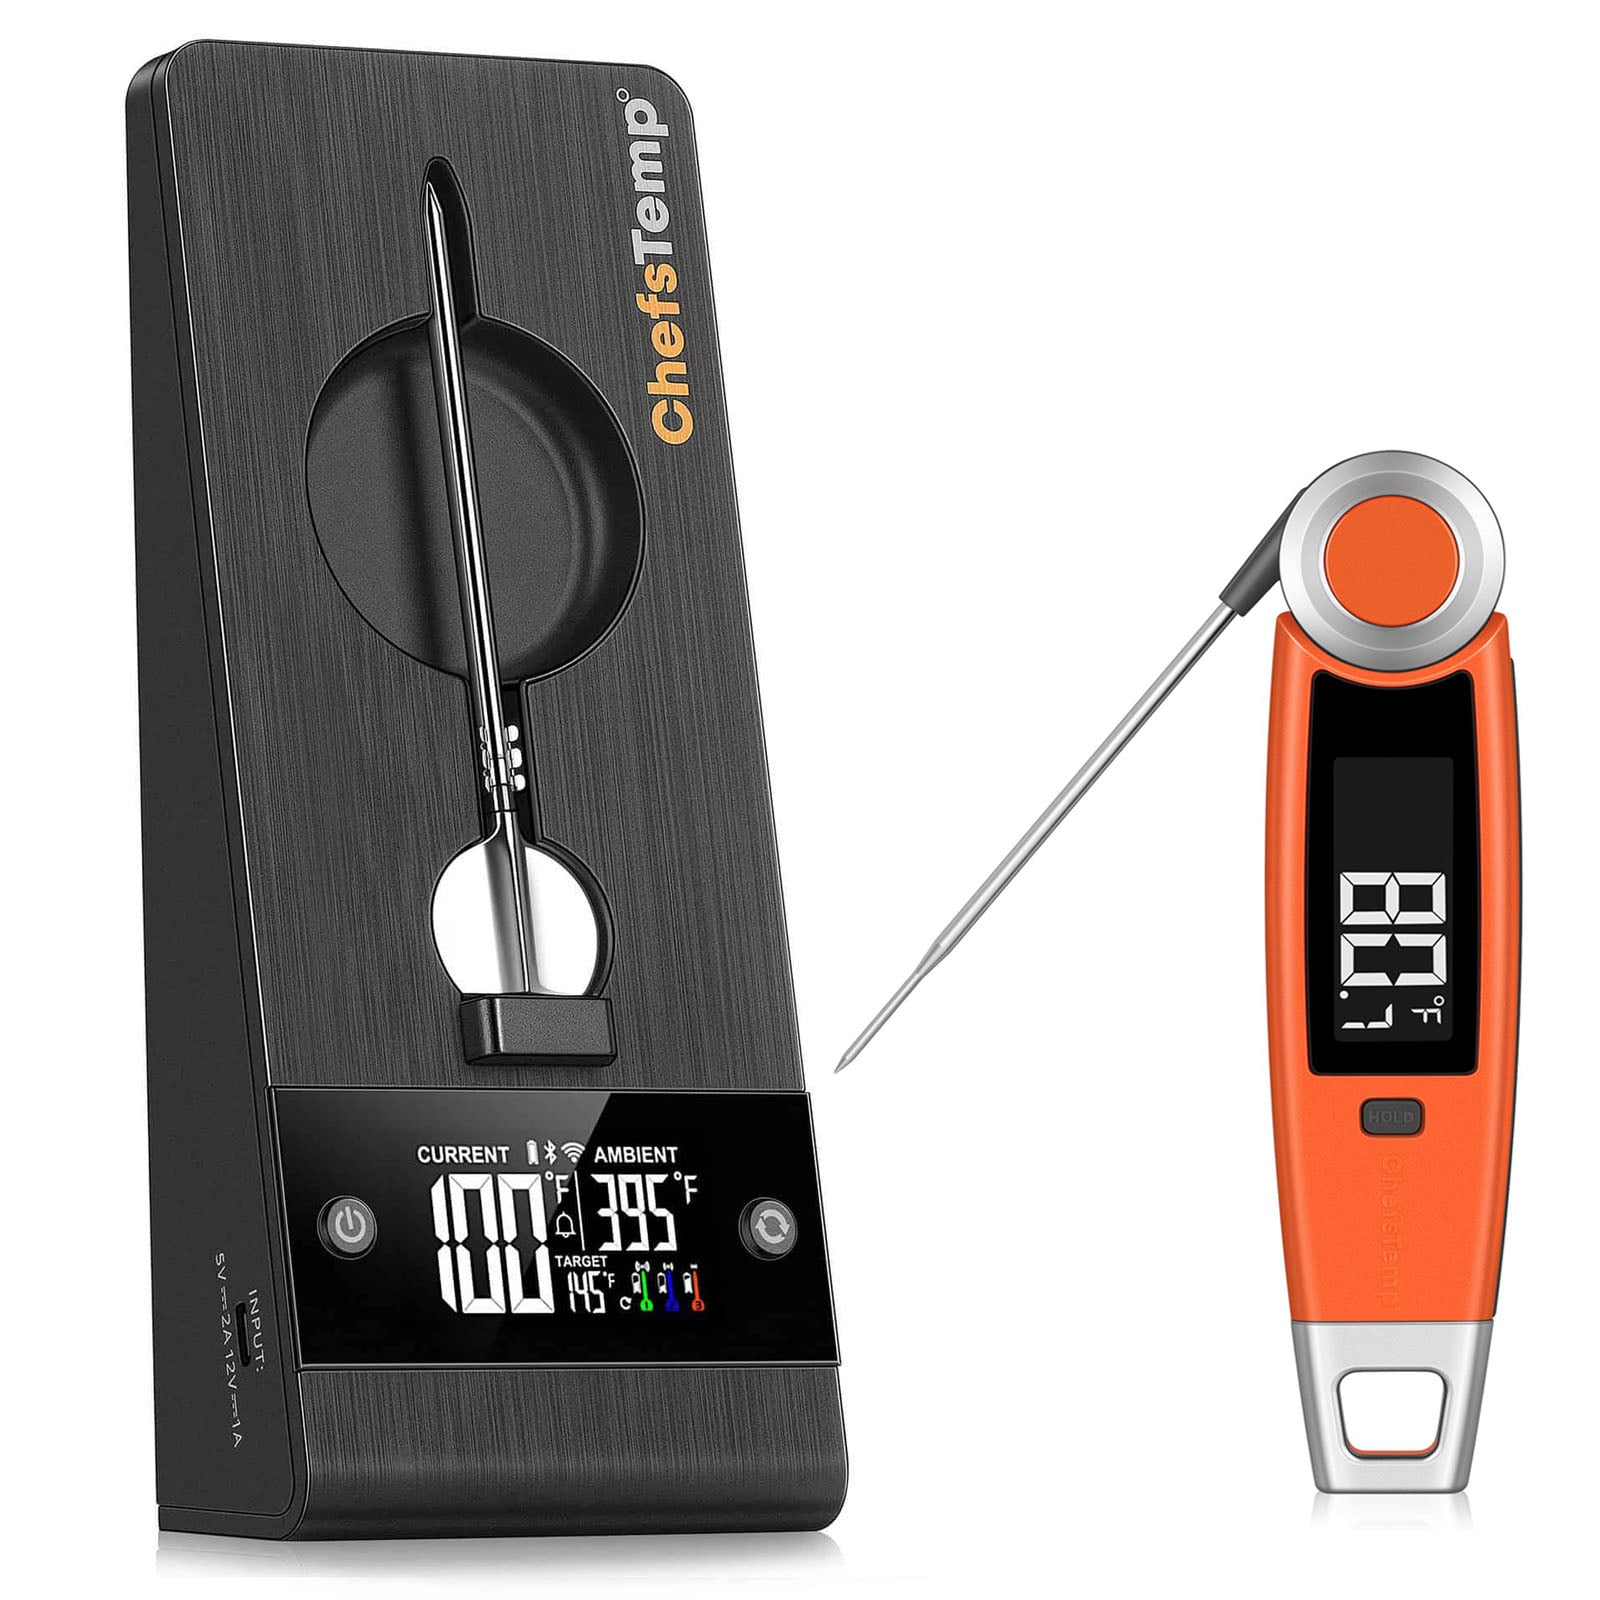
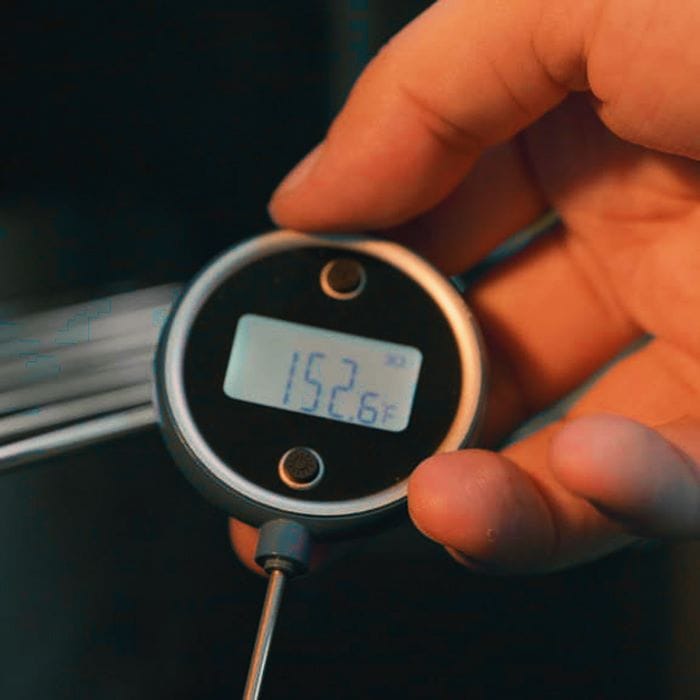
Tempering is critical for working with chocolate as an ingredient. To achieve the best tempering results, you need a few tools. The most essential tool for tempering chocolate is a thermometer that can read up to 130 degrees F. You should never temper chocolate without a thermometer, as you must constantly check its temperature throughout the process. Also, you want to monitor how the temperature changes throughout to achieve your desired result. It also depends on the type of chocolate you use. Another tool you need for tempering homemade chocolate is a high-temp silicone spatula. This tool is essential when scraping chocolate while tempering it. The silicone material ensures it can withstand the highest temperatures and makes it easy to grip. Choose silicone spatulas rated for high temperatures to ensure that they are safe to use when tempering.
Importance of Temperature When Tempering Chocolate
Temperature control is the most essential aspect of tempering homemade chocolate. As mentioned earlier, the tempering process depends mainly on the type of chocolate you use, as it requires different temperature levels. Here is an overview of the ideal temperature changes for the chocolate during the tempering process:- Dark Chocolate – The melting temp is 115-120°F, and the cooling temp is 84°F. The re-warming temp is 87-90°F.
- White and Milk Chocolate – The melting temp is 105-110°F, and the cooling temp is 81°F. The re-warming temp is 85-87°F.
Tempering Homemade Chocolate: Step-By-Step Guide
There are three methods you can use to temper homemade chocolate: a hot-water bath, seeding, and tabling. Follow the steps for tempering chocolate for each method below.Method 1: Hot Water Bath
Tempering chocolate with a hot water bath is the easiest method, and an old-fashioned one at that. For this method, you will need the following:- A large bowl or heat-proof container
- A container for the cold water (with ice cubes)
- Wooden spatula or spoon
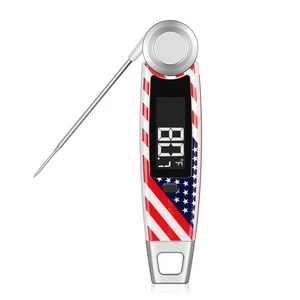
- An accurate & instant-read thermometer
Method 2: Seeding
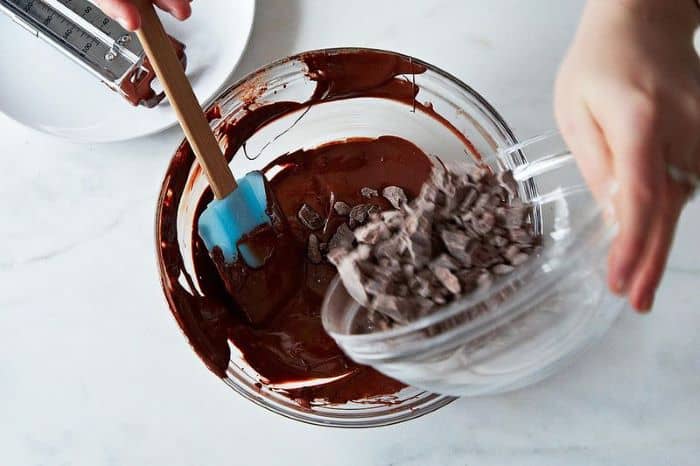
Seeding is the second technique used for tempering chocolate. Start by chopping the chocolate into fine pieces, or use chocolate drops, which melt more easily. You will need the following for tempering chocolate using the seeding method:- A mixing bowl
- An extra bowl
- Thermometer
Tip: click here to learn more about high-temperature cooking tips if interested.
Method 3: Tabling
The third method for tempering chocolate is called tabling. It is the most complicated technique and involves working on a marble worktop. But why do you need a marble working surface for this tempering method? Marble feels much colder than other types of surfaces. This stone material has incredible density, high thermal mass, and excellent heat capacity. Simply put, heat energy can easily transfer onto a marble surface, but it requires a lot of heat energy for its temperature to rise. When you think of a marble surface, you’re not feeling the coolness of the marble; instead, your heat energy is quickly absorbed by the marble and cools you down in the process. When you use the same concept for melting chocolate, it’s easy to see why marble is the recommended surface for cooling it down faster. The heat from the chocolate transfers quickly to the marble, allowing it to cool faster than any other surface. Start by melting the chocolate over a hot water bath until it reaches the melting temperature. Check the temperature frequently to ensure you get the right temperature. Pour about 2/3 of the melted chocolate onto a marble surface, leaving the remaining 1/3 in the bowl. Use a scraper to spread the melted chocolate over the marble in a thin layer. Continue the spreading and scraping process until the melted chocolate thickens and the cocoa butter stabilizes. Using an instant-read thermometer is helpful when using this tempering technique, as it allows for quick temperature checks. Once the chocolate has cooled to its ideal temperature, scrape it off the marble surface and return it to the bowl with the 1/3 melted chocolate, then mix them. Check again to ensure you’ve reached the re-warming temperature. If it is cooler than that, place it back in the hot water bath to raise the temperature slightly.Related Posts
Why Is My Charcoal Grill Not Getting Hot Enough?
Open the intake vent all the way. Clear the ash out from under the charcoal grate. Count how much lit charcoal...
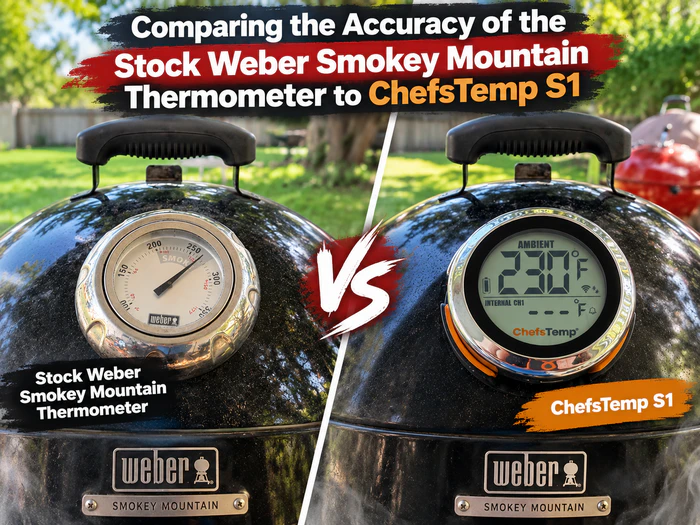
Comparing the Accuracy of the Stock Weber Smokey Mountain Thermometer to ChefsTemp S1
The Issue
The Weber Smokey Mountain is a popular and versatile cooker, but it has one major flaw - the stock ...

From Free Facebook BBQ Tips to a Growing Business: Stephan R. Parrot’s Custom Smoker Story
A suggestion from his wife helped Stephan R. Parrot turn years of free barbecue advice into training, catering...
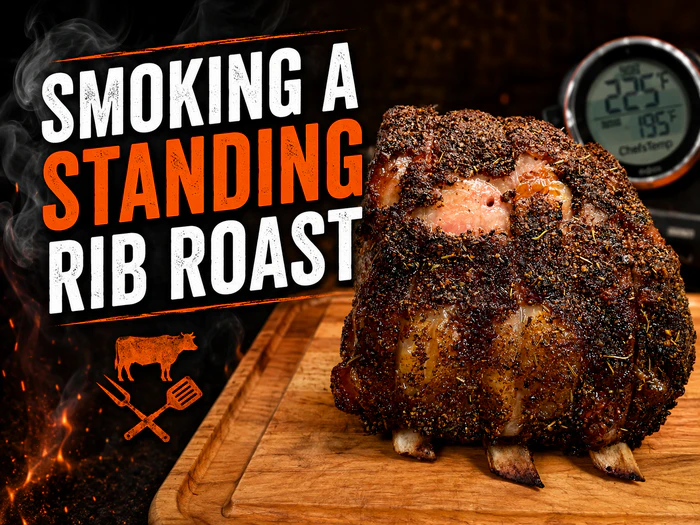
Smoking a Standing Rib Roast – When Special Occasions Call for Special Cuts of Meat
Preparing the Roast
...
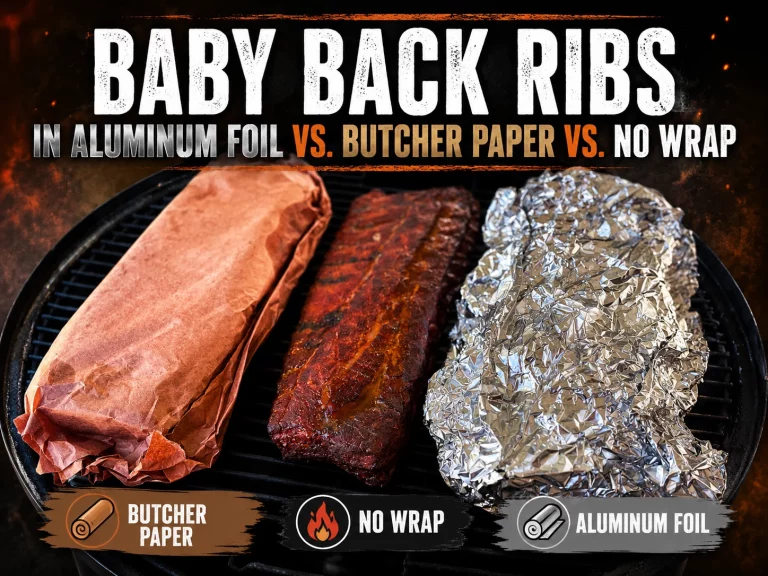
Experimenting with Ribs: Wrapping Baby Back Ribs in Aluminum Foil vs. Butcher Paper vs. No Wrap
Introduction to Smoking Ribs
I personally believe one of the big reasons people get smokers is to cook ribs. I...
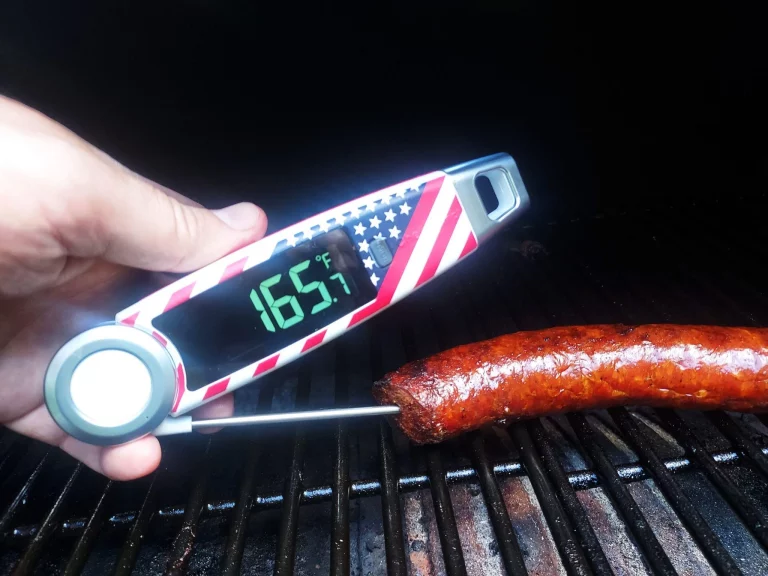
Stop Splitting Your Sausage: Expert Tips for grilling natural Casings
Natural casing ring sausage is a cookout staple enjoyed around the world that is equally deserving of a place ...
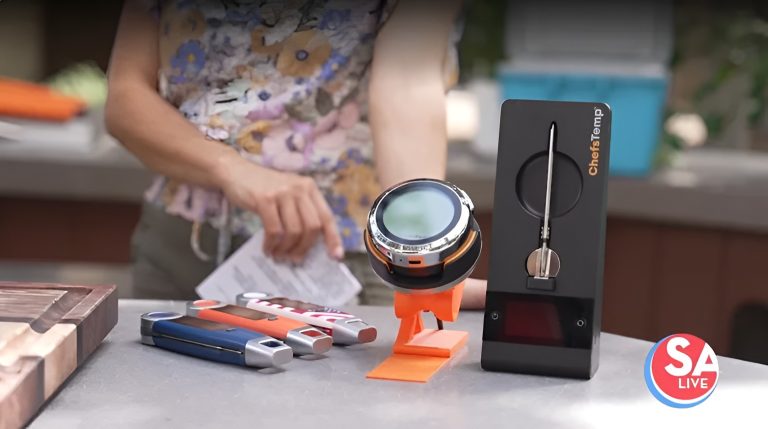
Mastering Pulled Pork: The Ultimate Temperature Control Guide with ChefsTemp
Achieving competition-grade, juicy, and tender pulled pork is the ultimate rite of passage for backyard pitmas...
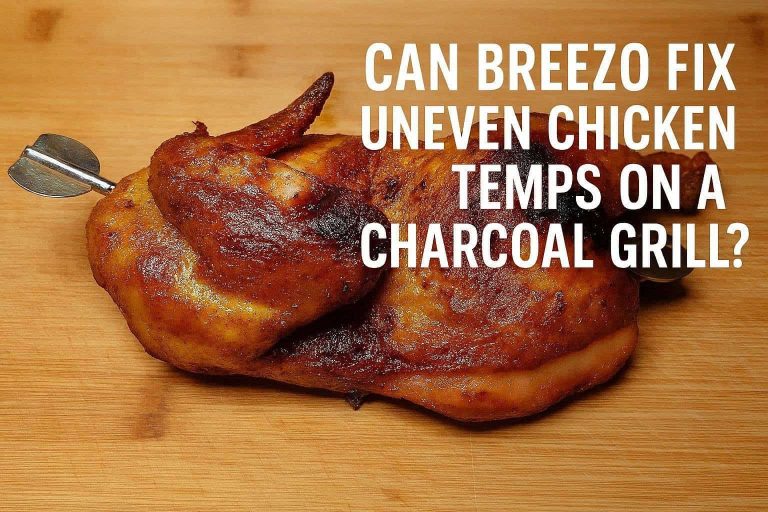
Two Birds, One Fan: Can Breezo Fix Uneven Chicken Temps on a Charcoal Grill?
Chicken grilled over charcoal is one of life’s purest pleasures. So much so that people debate which is better...
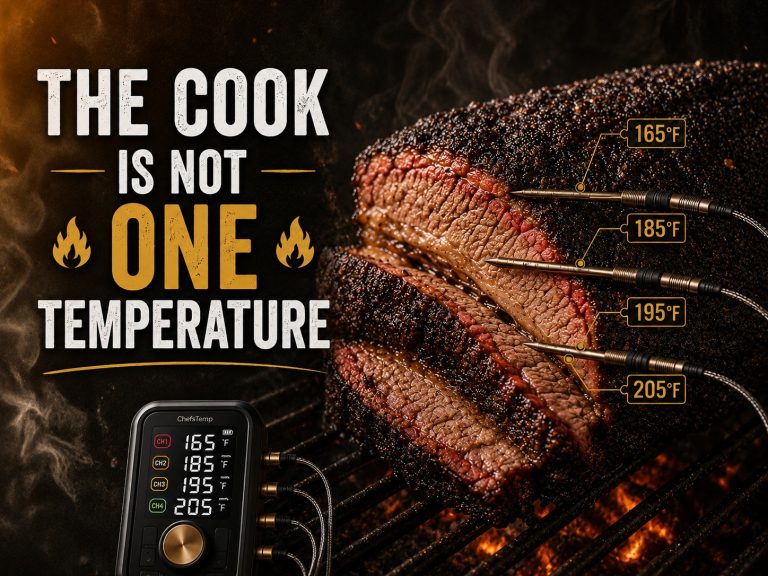
The Cook Is Not One Temperature
A few hours into a long cook, it can feel as though the grill has started arguing with you.
The dome thermome...
Breaking the Endothermic Standoff: The Complete Fat Rendering Timeline for Smoked Pork Shoulder
Smoked pork shoulder is an icon of American barbecue that many try, yet only a few manage to master. People lo...
How to Make Beef Tallow from Brisket Trimmings
If you've ever trimmed a whole packer brisket, you've probably looked at the pile of fat headed for the trash ...