How to Thaw and Roast a Turkey
A properly roasted bird starts with a properly thawed bird. Fresh turkeys are becoming more popular, but the majority of consumers purchase their birds frozen. This presents our first major challenge in getting the perfectly cooked turkey. You can cook a bird from frozen, you can cook a thawed bird, but you shouldn’t split the difference and cook a half-thawed bird.
Having a rock-hard frozen center and a thawed exterior will often lead to a disaster with overcooked and undercooked meat.
HOW TO THAW A FROZEN TURKEY
The most common sized turkey on the shelf is a 12–16-pound bird. This is the perfect size for a family of 8-10 people and is a wonderful size for roasting. There are several methods to thaw a frozen turkey and we want to focus on the most hands off approach that is also the safest.
If you thaw a turkey in your refrigerator, it will take 24 hours per 5 pounds. This means that your 15-pound turkey will take 3 days minimum to thaw completely. I don’t know about your house but in my home, I don’t have the refrigerator space to hold a full turkey for 3 days while also storing the rest of my groceries and living a normal life.
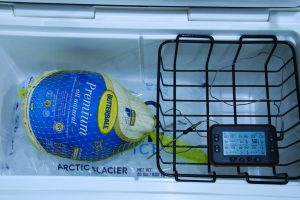
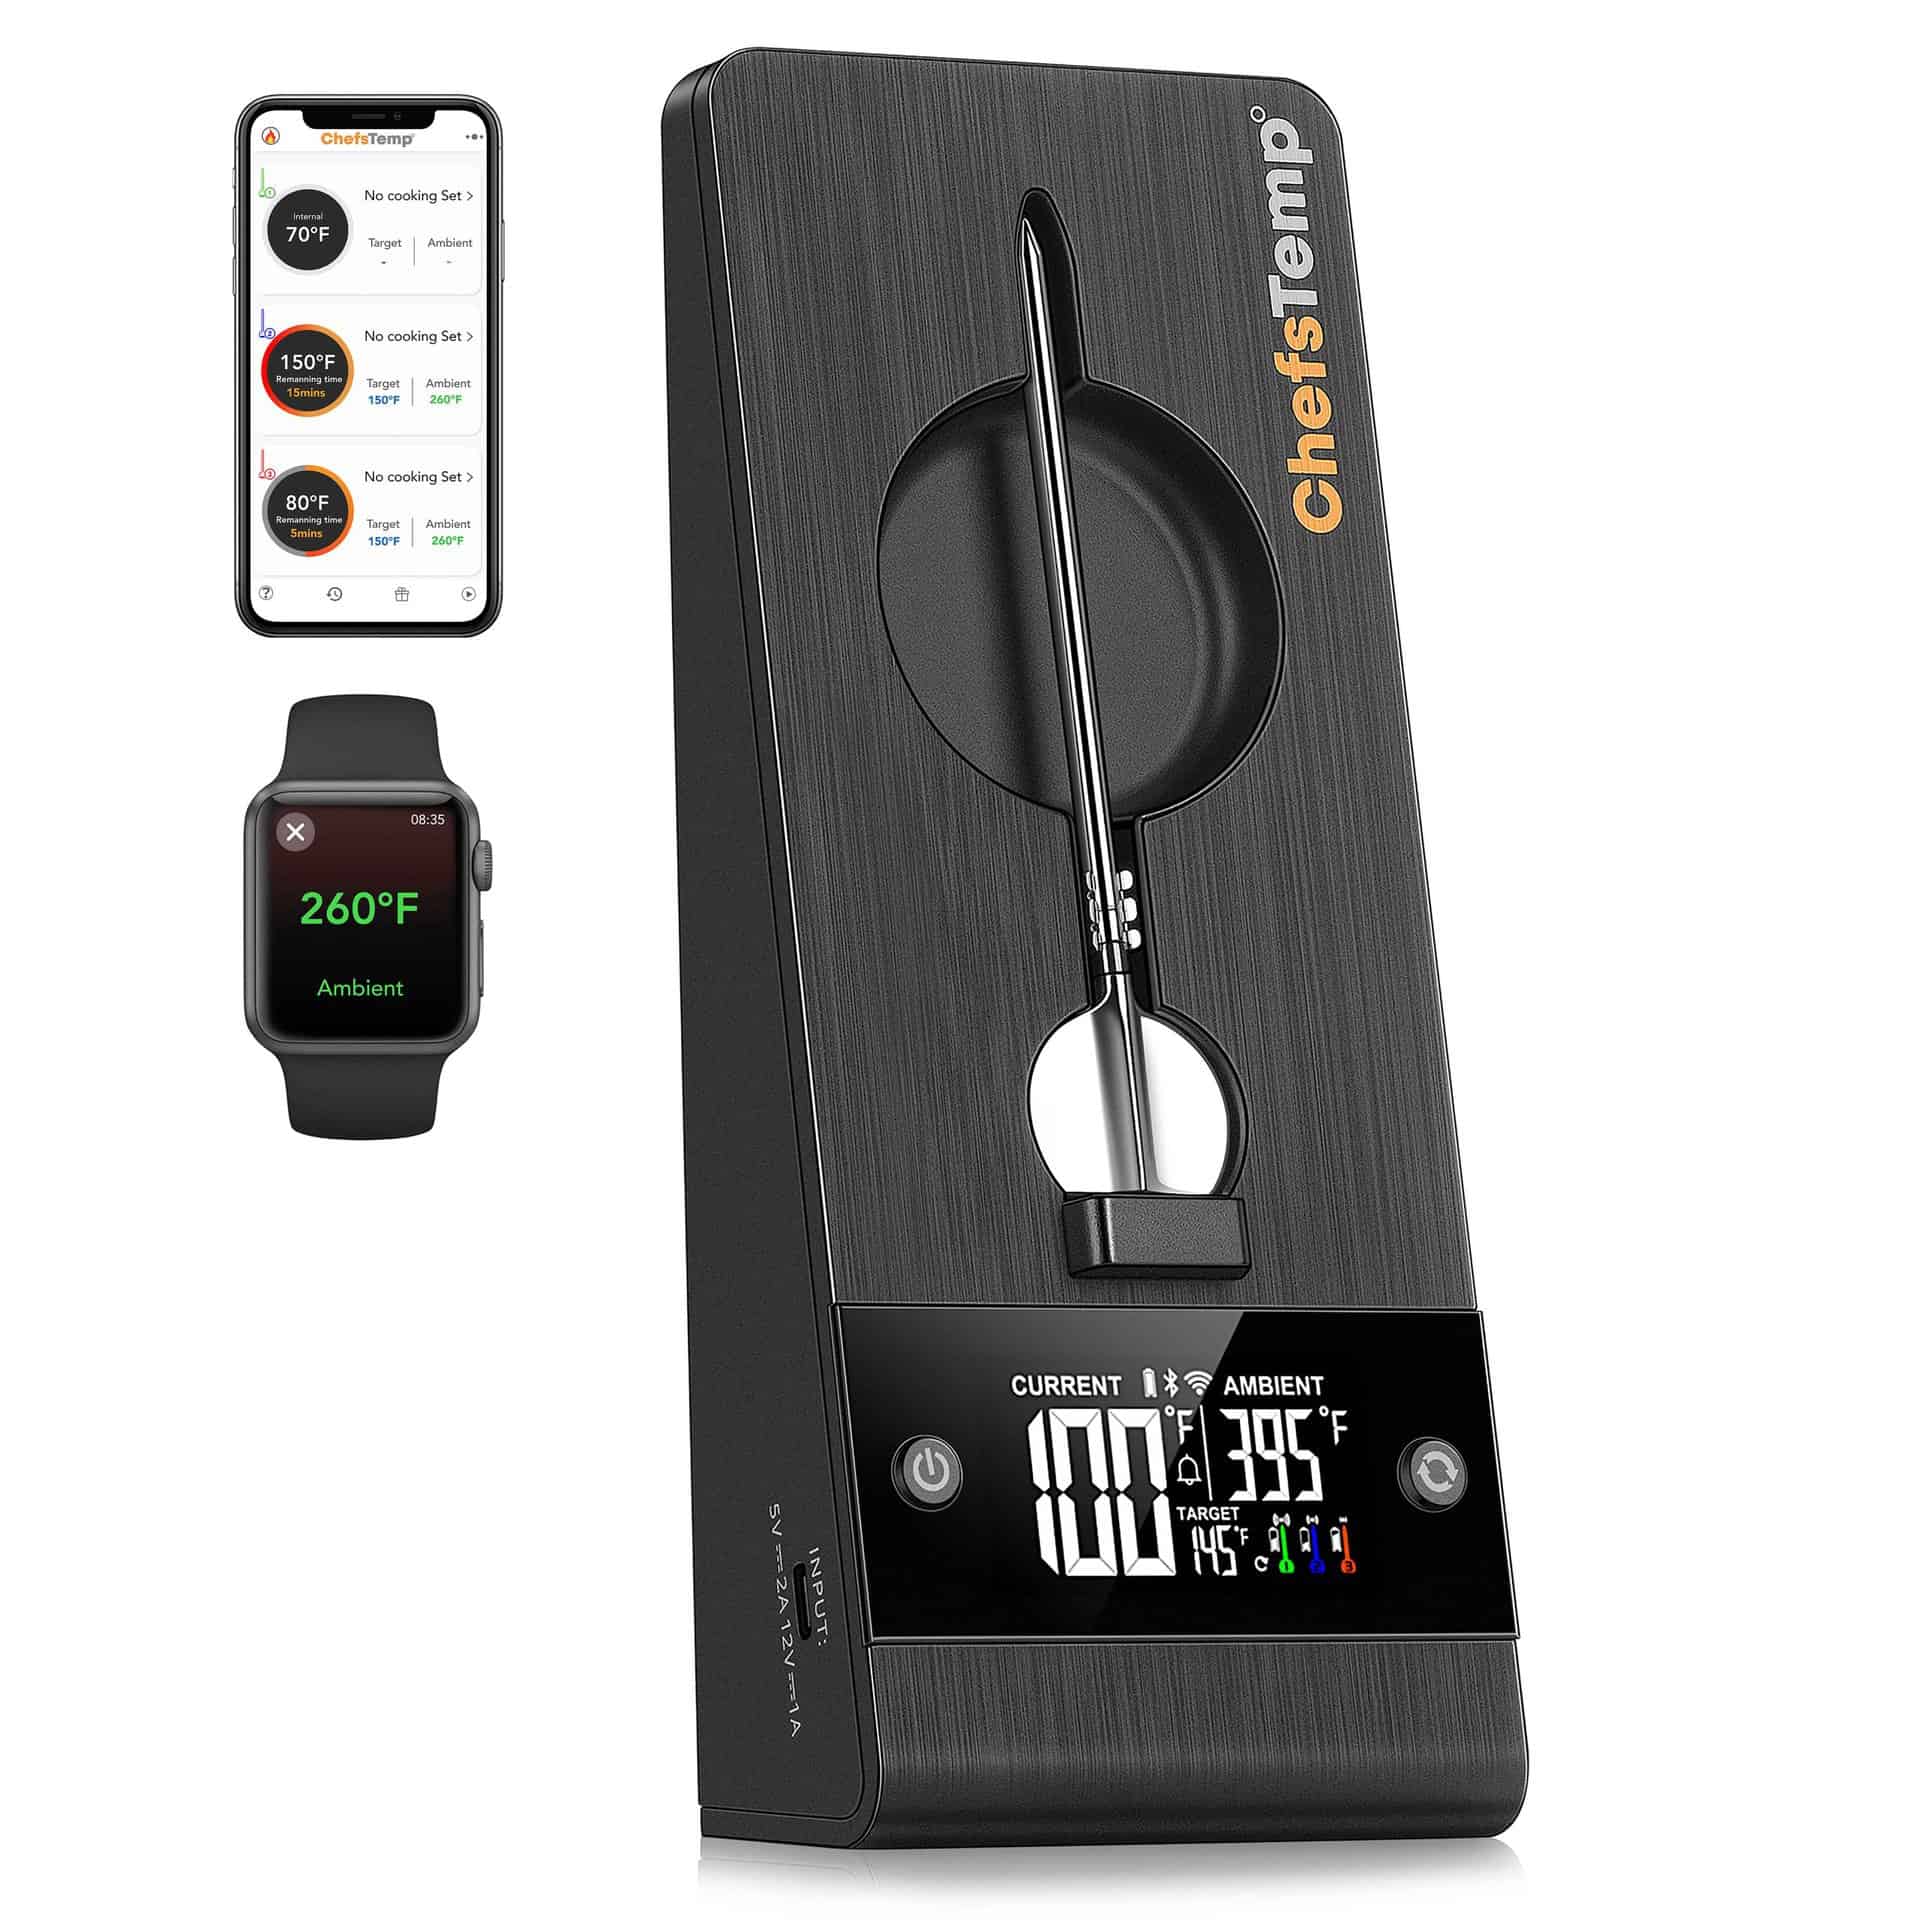
In comes some specialized equipment, the cooler. We will mimic the temperature of the refrigerator but in a convenient location and away from any cross-contamination risks. To accomplish this safely we will need our ChefsTemp Quad XPro thermometer and a bag of ice. You want to place your bag of ice in the bottom of the cooler then set the turkey, still in the wrapper and breast side up, on top of the ice. Place the ambient temperature probe close to the turkey and seal up your cooler. Make sure to set the temperature alarm to 40 °F (4.5°C), any higher and you are escaping safe cooling temps and entering the bacterial danger zone (41-140°F, 5-60°C).
Let this sit for 72 hours, checking once every day by touch to see if the turkey has softened up. After 72 hours take the temperature of the thermal center of the turkey. The center of the breast should be between 32-40°F (0-4.5°C).
DRY BRINING AND SPATCHCOCKING
There are two procedures we will use to cook our turkey: a dry brine and a butchering technique called spatchcocking. The first is our preferred way to create crispy golden-brown skin with moist and tender meat, the second is a way to ensure that both white and dark meat are cooked simultaneously. Spatchcocking refers to removing the spine and flatten the bird for even grilling or roasting. The result is a bird that will cook more evenly, and faster, than a traditional roast. This method also pushes the legs away from the thermal protection of the body so they will cook faster than the more delicate breast meat.
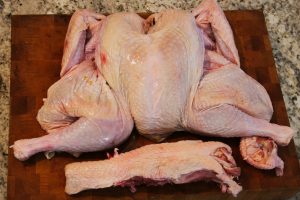
Start by sitting your turkey upright on the counter. Using a sharp boning knife work your way down both sides of the spine all the way to the board. Save the spine to make turkey stock, the base for incredible gravy and stuffing. Once the spine is removed lay the bird breast side up on your cutting board and press firmly down on the sternum to flatten the turkey.
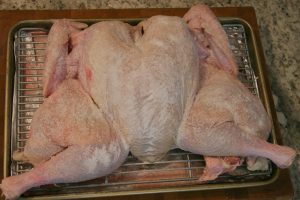
Create your dry brine by mixing kosher salt and baking powder, do not use iodized salt or a courser salt as this will throw off the ratio and flavor of the brine. From about 8 inches above the turkey sprinkle your dry brine evenly till you have well-seasoned all the exposed skin. Let this sit, on a rack in a rimmed sheet pan in your refrigerator or cooler, for 12-24 hours.
FLAVORED BUTTERS
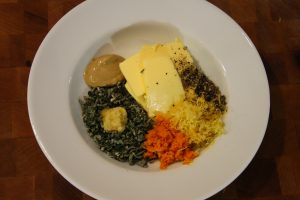
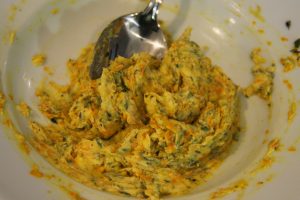
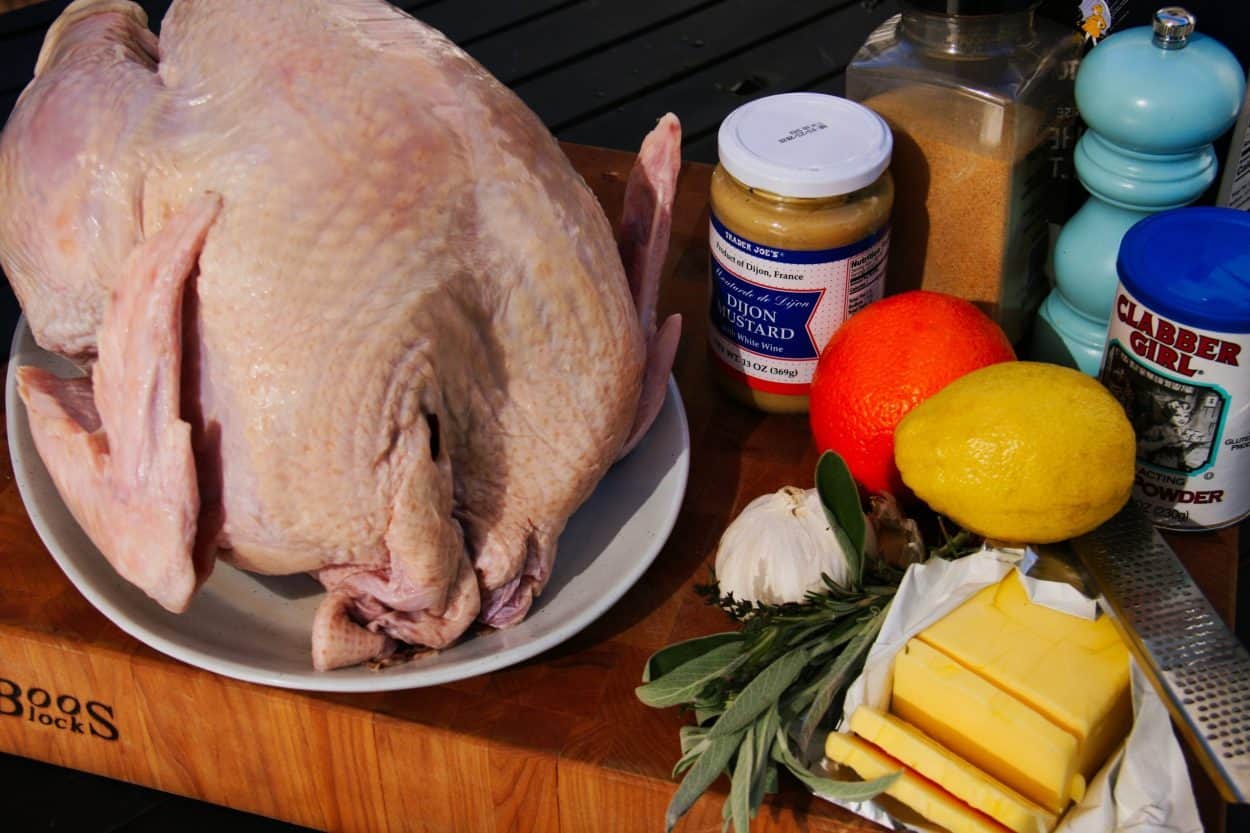
While this brine will help produce an incredibly juicy and well-seasoned bird, there is room for additional flavors to be introduced. We created a savory butter of sage, rosemary, and thyme, with cracked black pepper, orange and lemon zest, minced garlic, and Dijon mustard. This mixture goes in between the turkey meat and skin. This will speed up the browning of the skin and add some bright herbal and citrus flavors to the meat.
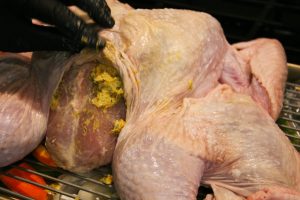
Place your hands under the skin and work your way from the bottom to the top of the turkey, and the thighs, separating the skin from meat. Move a tablespoon of butter to the top of the breast and then, from the outside of the skin, press down and slide the butter over the meat. Make sure to spread an even layer of butter on both breasts and thighs. Once finished place the turkey back in the cooler to allow the butter to set up.
FINAL SEASONING AND ROASTING
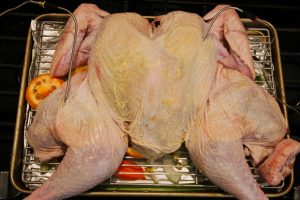
Preheat the oven to 420°F (215°C). Set a baking steel or pizza stone on the lower middle rack, if you have one. This will help push heat into the bottom of the turkey creating a much faster and even roast. Ensure your oven is the correct temperature with the ChefsTemp Quad XPro ambient temperature probe.
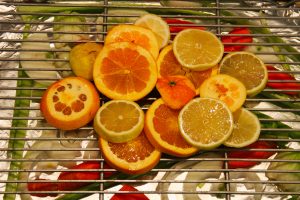
Lift the turkey and rack out of the rimmed pan and clean out any dripping or brine that may have accumulated. Line the pan with foil and top with sliced carrots, onions, and celery. Tuck the sliced zested lemon and orange on the rack under the turkey. This keeps the citrus out of direct heat to prevent them from burning or becoming bitter. Replace the turkey and rack back on the pan. Insert a probe into the breast and the thickest part of the thigh.
Place the turkey pan in the oven and turn on your thermometer receiver. After your first 30 minutes turn the turkey 180 degrees, repeat after another 30.
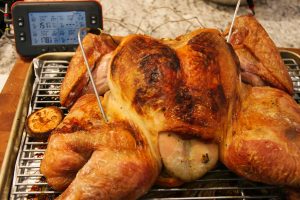
Keep an eye on the breast skin, the butter will speed up the browning process and if it is getting too brown too early loosely cover the breast with a little aluminum foil.
WHERE DO I PLACE A MEAT THERMOMETER IN TURKEY?
A whole turkey has two different meat types, dark and light, and so you need to keep an eye on the doneness of both the dark leg meat and the light turkey breast meat. Insert the probe into the breast, next to the neck cavity, till the tip reaches the thickest part. If you are unsure where that would be on the probe, make a visual measurement outside the bird, marking your probe with your finger, and then insert the probe to correct depth. The second reading should come from the thickest part of the thigh while avoiding touching the bone as this will affect your temperature readings. The best tool for this is the ChefsTemp Quad Xpro Leave in thermometer, this will allow you to check your turkey without opening the oven door.
CAN YOU KEEP A MEAT THERMOMETER IN WHILE COOKING?
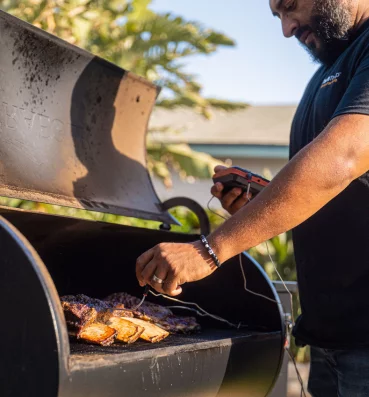
Yes. The probes of our ChefsTemp Quad Xpro Thermometer are expertly designed to withstand the heat of the oven and the grill. The thermometer probes are capable of withstanding temperatures ranging from -58° to 572°F (-50° to 300°C), while the cables can stand up to 700°F (370°C). The one aspect of high heat grill cooking which could damage the probe is a flare-up. Flare-ups happen with fats or oils render out of the meat and drip onto the fire. Fats, mixed with air and moisture, can propel and open flame beyond the grilling surface and exceed temperatures of 1000°F (538°C).
To avoid damage, insert the probe through a hole in the lid or side instead of closing the cables in the grill lid. This will keep the cables elevated and away from the grill surface. ”
HOW DO I KNOW IF MY MEAT THERMOMETER IS OVEN-SAFE?
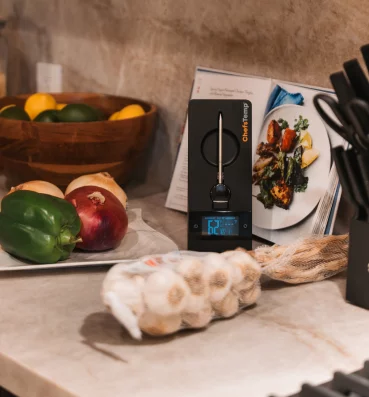
Cooking thermometers are sold by type. Instant read, oven, candy making, etc…, when you are shopping for thermometer, make sure you read the documentation for the thermometer before you buy it. The ChefsTemp Quad XPro is one of the best oven thermometers you can get because it has 4 oven thermometer probes on stainless steel leads that are designed to be inserted into the meat, connected to the base unit outside your oven, it will stick to the side of the oven with magnets away from the heat, it also has a stand, and has a remote that you can carry with you and get temperature readings up to 500 feet away. This makes it the most versatile oven-safe thermometer on the market because it will give you accurate temperature readings and you can constantly monitor the cooking process.
CAN A GOOD COOK MEAT THERMOMETER GO IN THE OVEN?
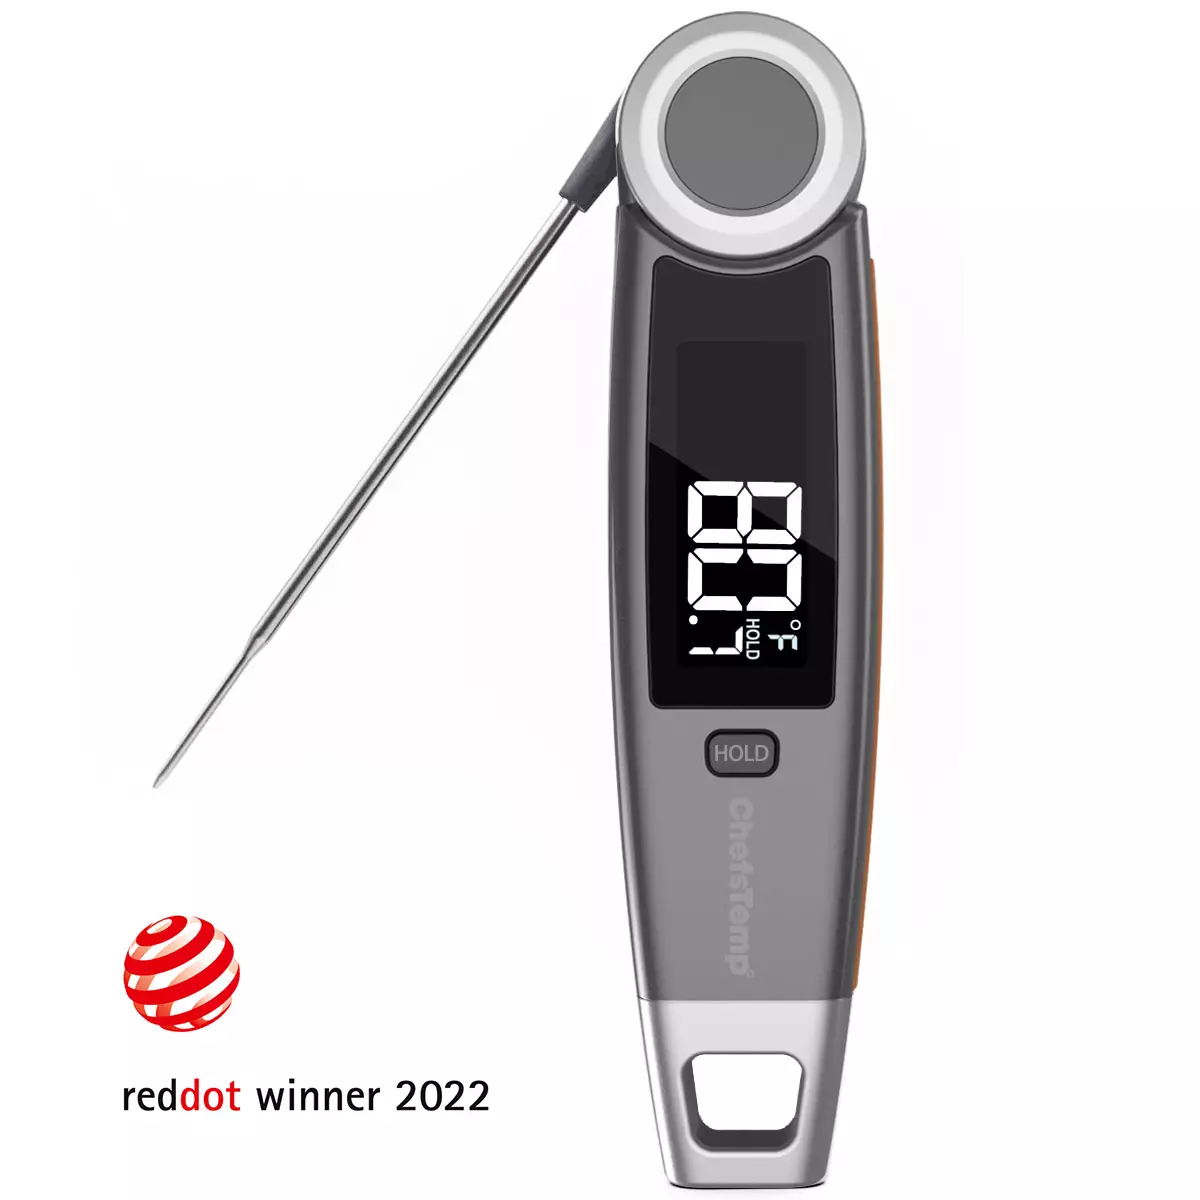
A good cooking thermometer that is designed to stay in the oven during the cooking process can go in the oven and be left in, not all thermometers are designed for that purpose and it is important to know what kind of thermometer you have. An instant read thermometer can be used to get instant temperature readings but cannot be left in the oven, a meat thermometer that is designed to be left in the meat can, as well as any long distance probe thermometer like the ChefsTemp Quad Xpro. Make sure you have the proper thermometer for the type of cooking you are doing. Instant read thermometers like the ChefsTemp Final Touch X10 is used to get an instant reading at any time, and is also used to verify the cooking temperature of your oven thermometer.
RESTING, CARVING, SERVING
When the breast registers 150°F (65.5°C) and the thighs 170°F (77°C), remove the turkey from the oven. It’s always prudent to double check your temperatures with the Finaltouch X10 thermometer. Let this rest for 20 minutes, minimum. You have worked hard to create a juicy bird but if you cut into it to early the juices will be squeezed out of the meat. Let the muscles relax and cool before carving.
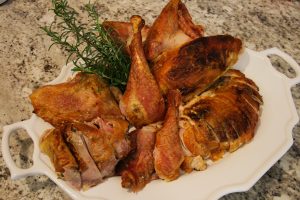
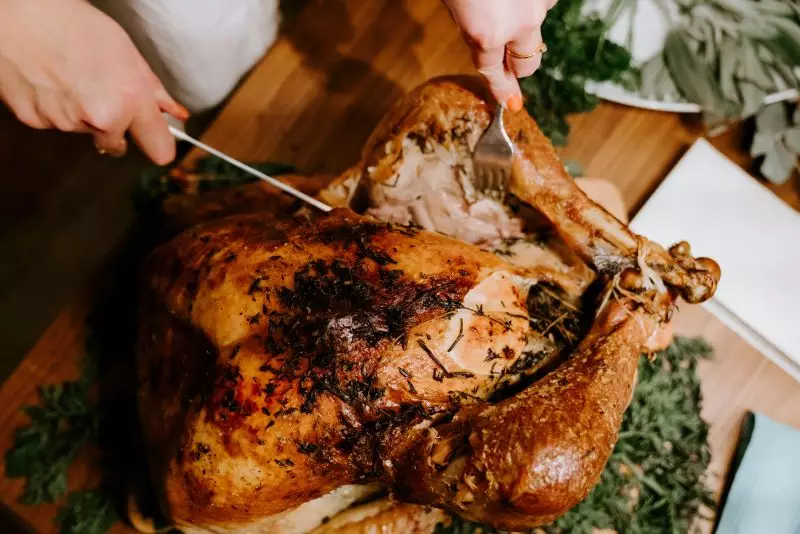
Start by detaching the thighs from the body, then remove the wings at the joint connecting them to the breast. Next slide a boning knife along the center breastbone till you get the ribs. Turn your knife and slice along the curvature of the bones till the meat has been separated. Remove the leg from the thigh by working your knife in the joint between thigh and leg. Remove thigh bones and you are now left with boneless white and dark meat! You can slice your white meat however your family likes without awkwardly trying to carve around the bones.
INGREDIENTS
- 1 – 15# Turkey
- 1 white onion
- 3 celery ribs
- 3 carrots
THE DRY BRINE
- 4T Kosher Salt
- 2 tsp Baking Powder
CITRUS HERB BUTTER
- 1 Stick unsalted butter, softened
- 2 cloves garlic
- 1 oranges zest
- 1 lemons zest
- 2tsp cracked black pepper
- 5 sprigs sage
- 3 sprigs thyme
- 2 sprigs rosemary
- 5T Dijon Mustard
INSTRUCTIONS
1 Day Before Cooking
- Mix the salt and baking powder together and set aside.
- Place thethawed, or fresh, turkey on your cutting board sitting upright. Using a sharp knife remove the spine by cutting through the ribs and the thigh joint. Save this to make stock for gravy and stuffing.
- Lay the turkey on a rack and press down on the breastbone to flatten slightly. Tuck the wing tips behind the breast.
- Liberally season the bird with the dry brine. Cover this with plastic wrap and chill for 12-24 hours.
Cook Day
- Preheat the oven to 420°F (215°C). Set a baking steel or pizza stone on the lower middle rack if you have one.
- Make the citrus herbed butter by combining your ingredients in a bowl and mixing till incorporated.
- Using your fingers move along the breast and thigh under the skin, separating the skin from the meat.
- Working a tablespoon at a time place the herbed butter under the skin against the meat. Hold the skin tightly and, from on top of the skin, press down and smooth the butter over the meat.
- Insert the ChefsTemp Quad XPro ambient temperature probe into the oven, one probe into the breast and another into the thickest part of the thigh.
- Lift the turkey and rack out of the rimmed pan and clean out any dripping or brine that may have accumulated. Line the pan with foil and top with Sliced carrots, onions, and celery.
- Tuck the sliced zested lemon and orange on the rack under the turkey.
- Roast the turkey for 30 minutes then rotate 180 degrees. Repeat after another 30 minutes.
- If the breast is becoming to0 brown loosely cover with foil.
- Remove from the oven when the breast registers 150°F (65°C) and the thighs 170°F (76°C).
- Let this rest for a minimum of 20 minutes.
- Separate the breast, legs, wings, and thighs from the body then slice and serve.
3 Comments
Comments are closed.
Discover Other ChefsTemp Products
Discover more recipes and learn kitchen tricks by joining our cooking family on Facebook.
You may also like:
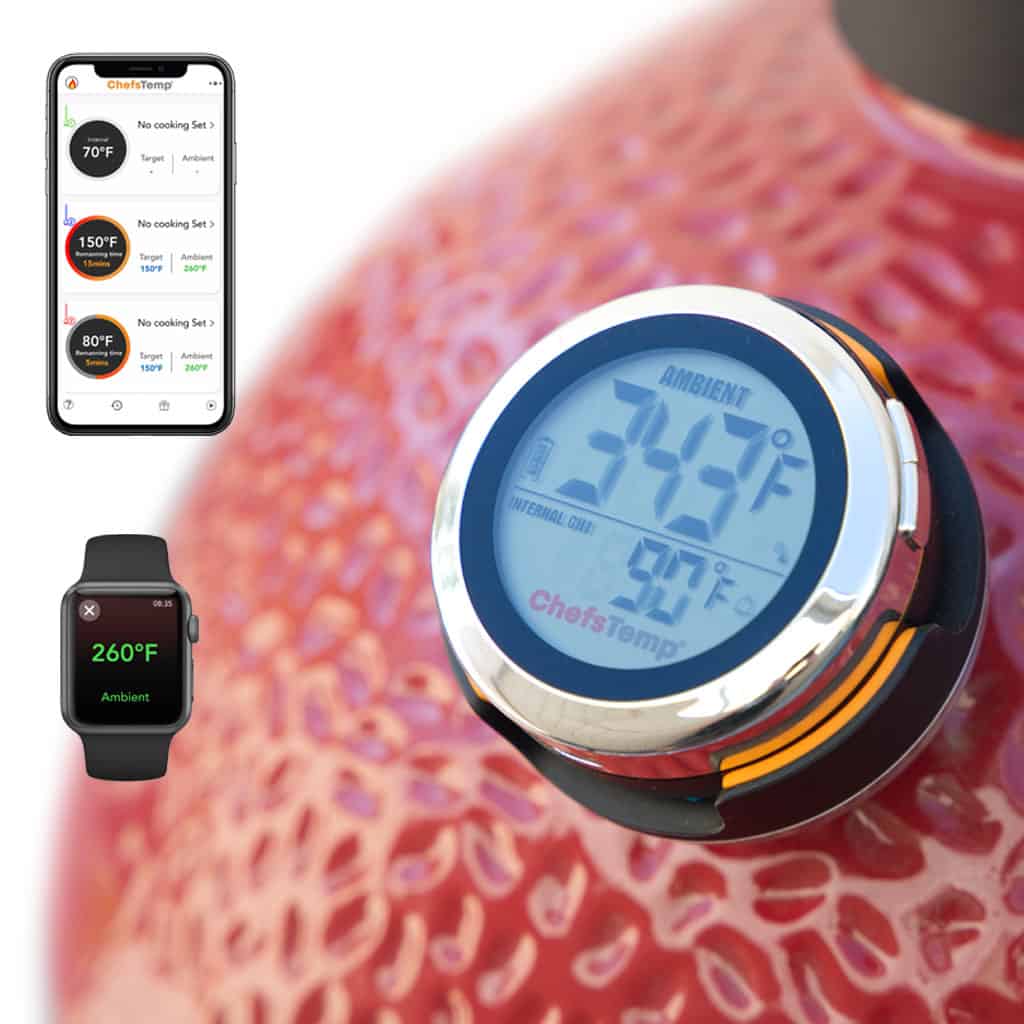

[…] thawed turkey. For an in-depth review, you can read all about how to safely thaw a whole turkey HERE. As a quick refresher, a whole frozen turkey is a giant meat ice cube. You need to have the space […]
[…] thawed turkey. For an in-depth review, you can read all about how to safely thaw a whole turkey HERE. As a quick refresher, a whole frozen turkey is a giant meat ice cube. You need to have the space […]
[…] the best temperature for your smoked turkey breast would depend on several factors. These will include the cooking methods, preparation, recipes, […]