How to Test a Thermometer with the Boiling Water?
Perhaps you have bought several kitchen thermometers which have had issues. Now, you don’t want to leave anything to chance. You want to test it before using it. Assuming it’s in summer and you want to test your steak temperature. You don’t want to get a wrong reading because that can affect everything. It doesn’t matter if you know how to use a meat thermometer; you need it to read accurately.
Calibrating your kitchen thermometer takes a simple process. Today, several analogs and digital food thermometers enable you to offset the temperature. Nevertheless, if your kitchen thermometer doesn’t come with an offset function, you can use a blue tap and the delta to calibrate your thermometer.
Notwithstanding, you should check your thermometer temperature every six months, especially if you don’t use it frequently. To test your kitchen thermometer, you have two methods. You can use the boiling water point or ice-water method. Our focus in this article will be on the boiling water point to test your kitchen thermometer.
Table of Contents
Importance of Testing Your Kitchen Thermometer
Accurately calibrating your kitchen helps in food safety since it offers a proper reading of the internal temperature of your food. It helps determine the doneness of your food. However, when you have an un-calibrated, it provides inaccurate readings, resulting in overcooked or undercooked foods. Dangerously, when you have undercooked food such as chicken or any recipes containing eggs, it can contain harmful bacteria. This might result in food poisoning.
The best food thermometer is valuable for effective food conservation because you can gauge the storage temperature of the food. Food experts advise that you only store cooked foods below 41°F (5 °C) or above 114°F (46 °C) before service. Regrettably, if you store foods outsides these temperature ranges, you encourage bacteria growth, resulting in food poisoning.
Testing Kitchen Thermometer – Boiling Point Method
As indicated, even the best food thermometer needs calibration. Calibration involves setting your food or meat thermometer to read temperature accurately. For your food temperature to remain accurate, you must recalibrate it after using it several times. Therefore, to calibrate your kitchen thermometer using the boiling point method, here are the steps to follow.
Step 1 – Define the boiling point
People live in different areas and have different boiling points because of altitude. Therefore, before you begin your thermometer calibration, you should research or determine the water boiling point in your area.
Step 2 – Boil the water
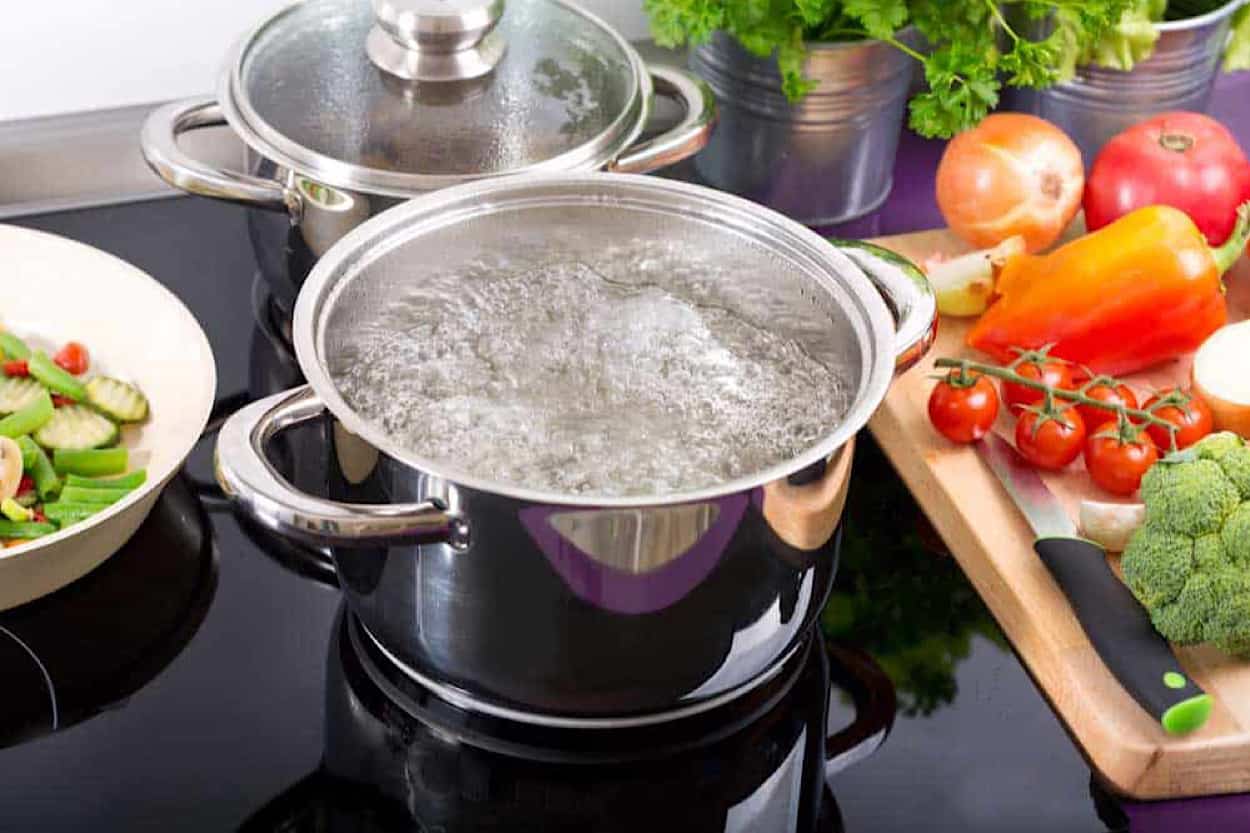
Take a small bot and fill it with water. Set the point on high heat, allowing it to reach a rolling boil (you should see the water bubbles rising and falling). Ensure the water boils properly, showing large bubbles.
Step 3 – Insert the best cooking thermometer
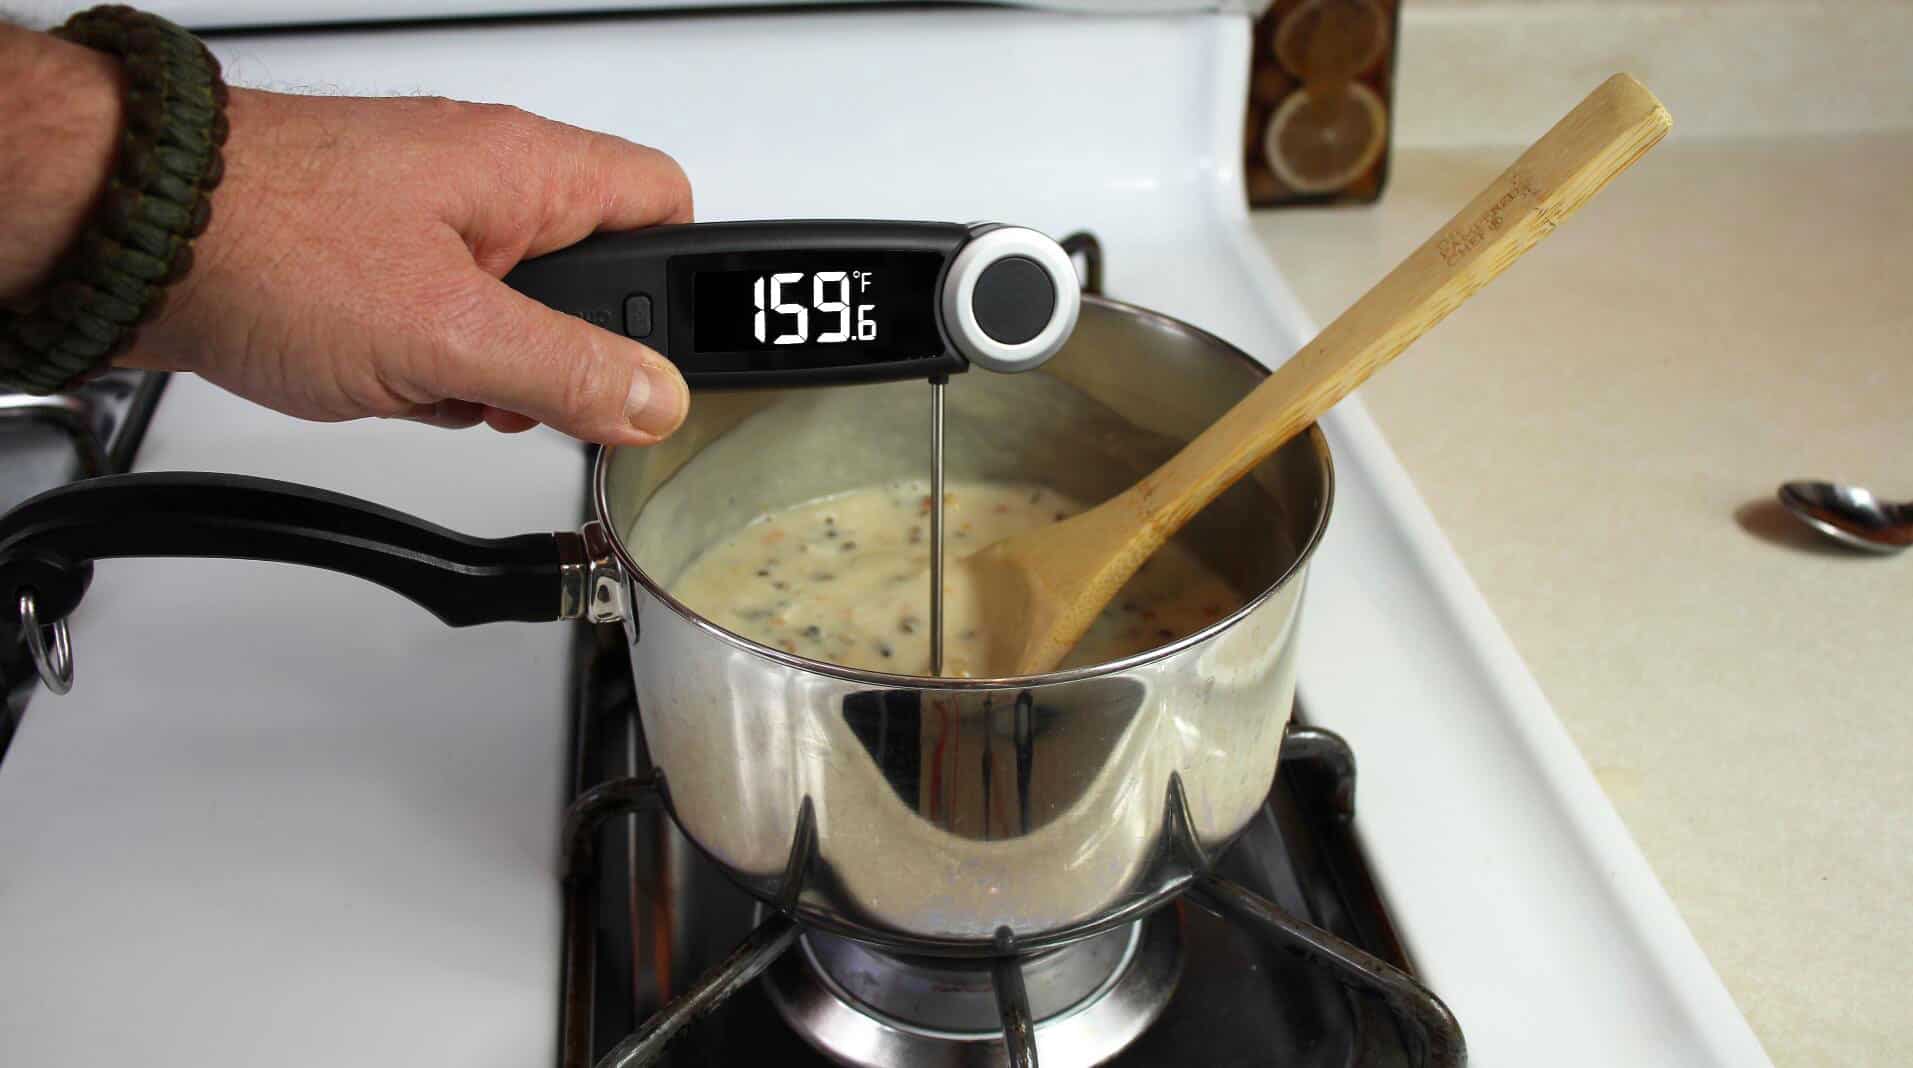
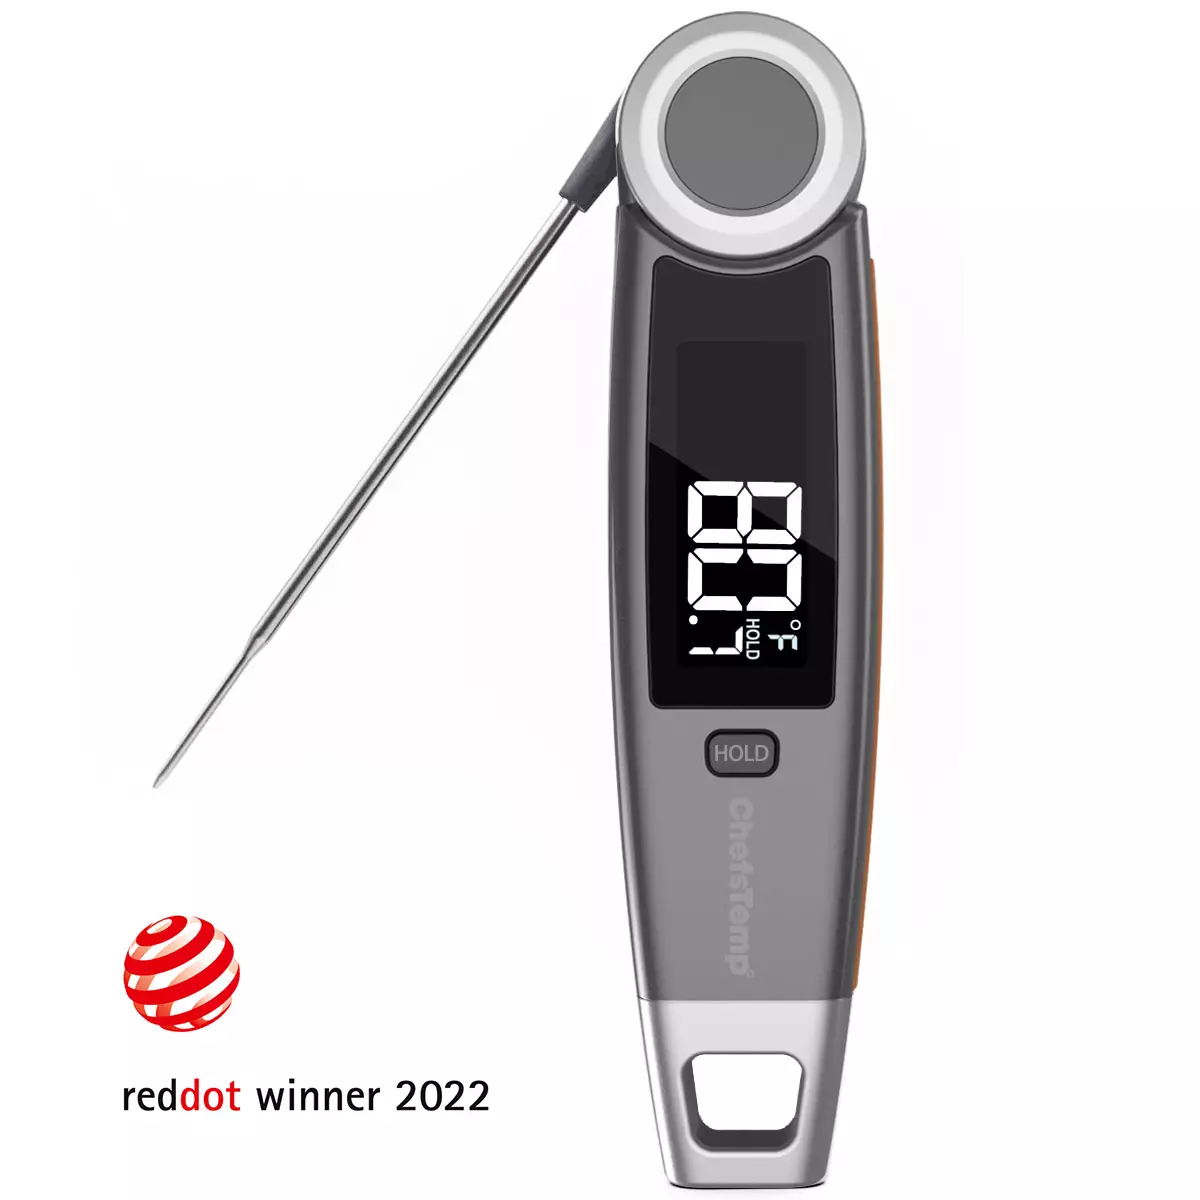
Here, you need the best instant-read thermometer to get an accurate temperature. Submerge the instant-read meat thermometer into the boiling water in step 2. Ensure you don’t allow the thermometer bottom to touch the pot because it can take off the calibration.
Step 4 – Read the thermometer
If you use an instant-read thermometer, analyze the number on the meat thermometer to ascertain it matches the water boiling point of your area. It should match your reading in the first step. If the reading is different, you can adjust the electronic meat thermometer to reflect the water boiling point.
Depending on the thermometer, you can press the reset button. However, you need to turn the calibration or screw nut pending when it reaches the right temperature for an analog or dial thermometer.
Comparing digital thermometers to analog thermometers, the digital thermometer thrives better in the area of recalibration. All you need is to push the reset button. For instance, a digital thermometer like a thermoworks thermapen thermometer comes compatible and allows you to calibrate the device easily.
Experts Tips – Right way to Use a meat or Grill Thermometer
There is always a proper way to use the best meat thermometer, which can be challenging if you don’t know anything about cooking temp. However, we will share the best way to use and test internal chicken temp for a starter in this section. Let’s look at the steps to use for your meat thermometer.
Step 1 – Insert it rightly
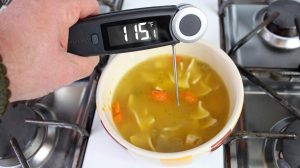
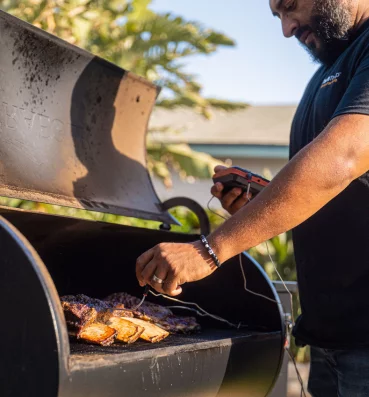
Firstly, you need to insert your thermometer into the meat and ensure it doesn’t hit the gristle or bone. You can also check the USDA website, as it has a guide on finding the right spot for whatever food you are cooking.
In addition, it also has a steak temperature chart, especially if you are a starter. Therefore, when using a meat or BBQ thermometer, you should pierce the thigh and avoid the bone. In this, you can get an accurate reading.
Step 2 – Getting the right depth
There are several types of thermometers, and it depends on your budget and usage. Each thermometer comes with different features. For instance, a thermocouples thermometer reaches only ¼ inches in terms of depth. However, digital instant-read thermometers have a depth of ½ inches, whereas dial thermometers can reach within 2 inches to 2½ inches in depth.
Step 3 – Don’t wait for the food temperature
One of your kitchen assistants is carryover heat. You should take the food from the heat before it gets to the internal temperature. It should be about 5 to 10°F (3 to 6°C) lower than the required temperature. Furthermore, experts advise that you don’t continue poking your kitchen thermometer into the meat since it can drain the juices completely.
Conclusion
Having a kitchen thermometer in your home isn’t an option to consider. Today, with many celebrations such as dinner parties, Thanksgiving, family parties, and more, your guests deserve the best entertainment. You need to adhere to safety guidelines when dealing with food items.
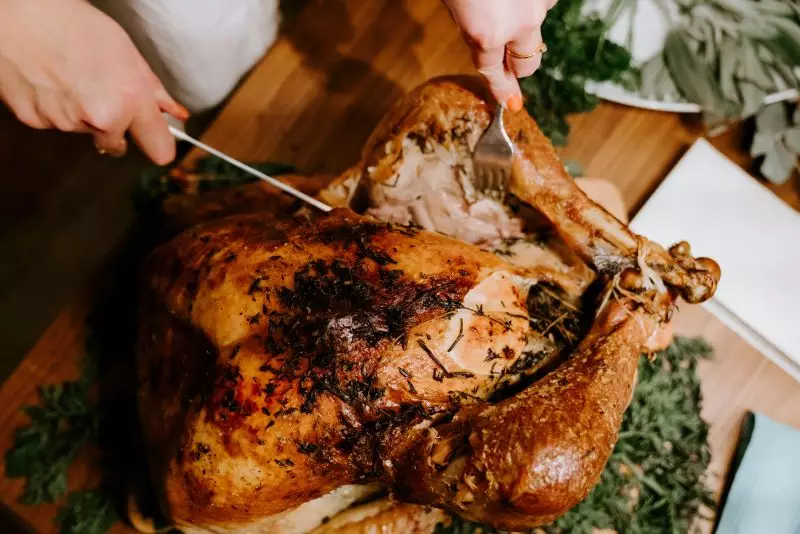
In this situation, a meat thermometer comes in handy as you can check the temperature of your meat or turkey. However, you need your kitchen thermometer to read the temperature accurately to know when your meat is done. You can do that by testing the kitchen thermometer with boiling point of water to check its accuracy.
One Comment
Comments are closed.
Discover Other ChefsTemp Products
Discover more recipes and learn kitchen tricks by joining our cooking family on Facebook.
You may also like:


[…] way of testing the thermometer’s accuracy is with the boiling water method. Take note that the boiling point of water will differ based on your elevation. Start by filling a […]