Seared Sous Vide Chicken Breast
Chicken breast is one of those meats that are either so good you can never forget it, or so bad you can never forget it. Our purpose today is to share how to make The Ultimate Juicy Never-Able-To-Forget-It Chicken Breast.
The technique we are going to use to do this is called Sous Vide. It is a French cooking technique that uses vacuum sealing and temperature controlled hot water to cook something in. It is not new technology, but the science of the technique is that you can cook something in its own juices by circulating hot water around it for a long period of time. The meat does not dry out because it is vacuum sealed and is able to retain the moisture rather than losing it through cooking. Now that we have a basic understanding of what Sous Vide cooking is, we are going to go through the process step by step to demonstrate how simple it is to do, and how easy it is to make.
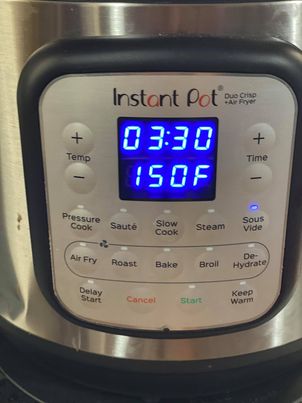
First, we will need the mechanical cooking apparatus required to do Sous Vide cooking. For this we will need either a Sous Vide cooker, a Sous Vide pump, or pressure-cooking device with a Sous Vide setting. Today I am using an Instant Pot Duo with an 8-quart capacity. It has the Sous Vide setting and we will look at what to set it on and for how long it needs to cook.
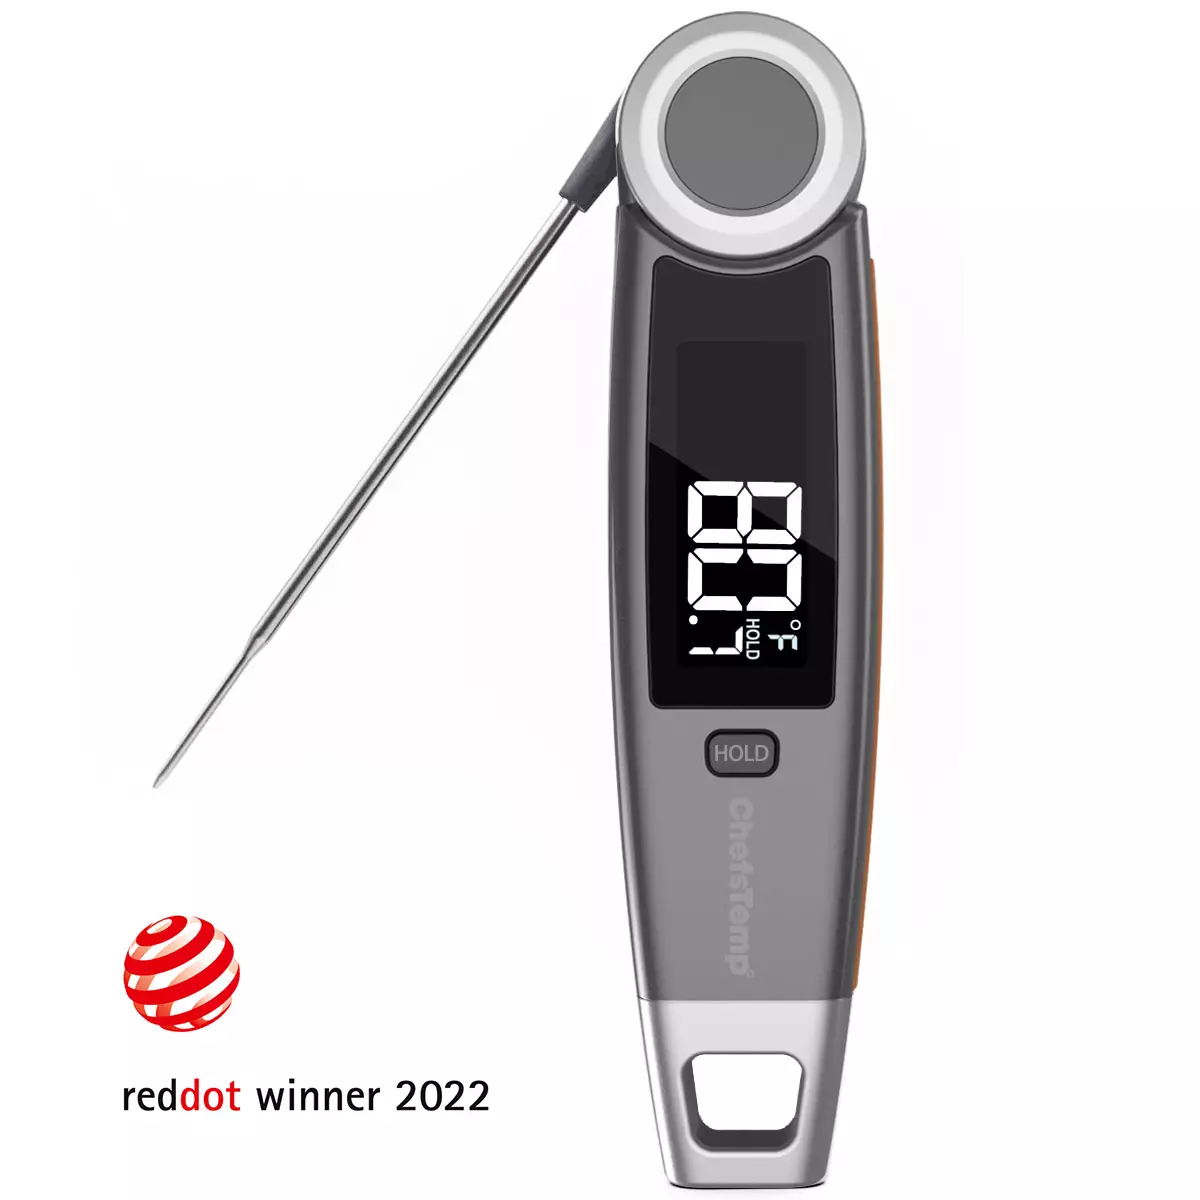
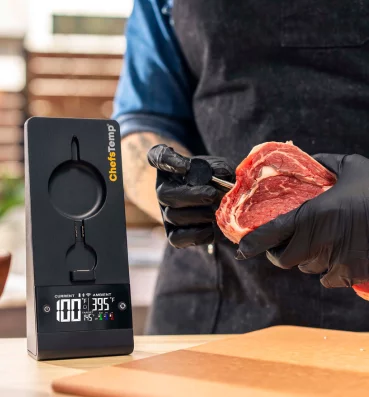
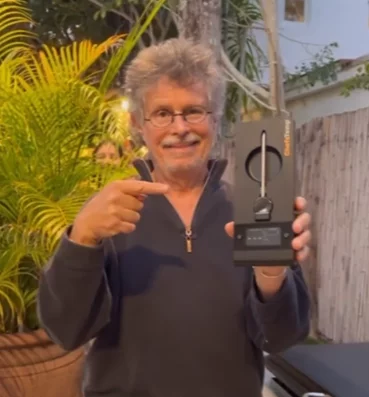
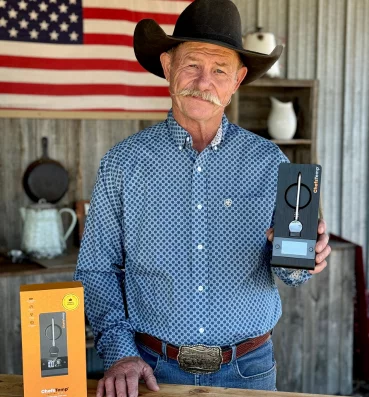
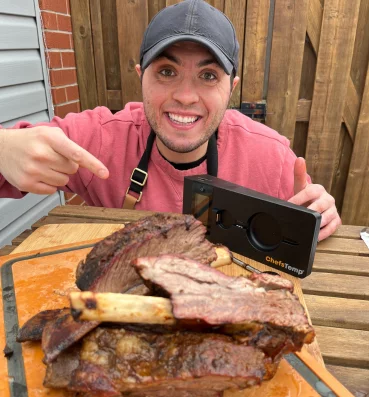
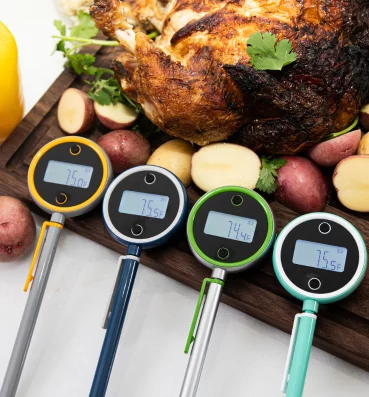
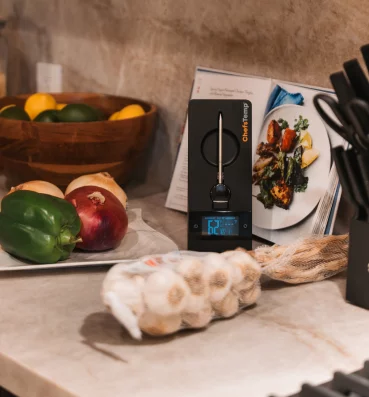
Second, we will need our ChefsTemp Final Touch X10. We need our instant read thermometer to make sure that our final temp is at 165⁰F when we remove it from the grill.
As you can see, I have set it to 150⁰F for 3:30, which is three hours and 30 minutes. At this setting the meat will be done, and ready for the next step of crisping the skin or removing the skin and dicing it for say chicken salad. Now you may be asking if the only setting to use, and the answer is no. It depends on what final cooked product you are looking for.
Sous Vide Cooking Temperatures and Timing Chart for Chicken Breast
Texture: Very soft and juicy, served hot
Temperature: 140⁰F
Timing: 1.5 to 4 hours depending on weight of chicken breast
Texture: Tender and juicy, served cold (for chicken salad)
Temperature: 150⁰F
Timing: 1 to 4 hours depending on weight of chicken breast
Texture: Traditional, juicy, firm and slightly stringy, served hot
Temperature: 150⁰F
Timing: 1 to 4 hours
Texture: Traditional, juicy, firm and slightly stringy, served hot
Temperature: 160⁰F
Timing: 1 to 4 hours
Ingredients:
- Bone-in, Skin-on Chicken Breast
- Salt
- Black Pepper
- Fresh or dried herbs (optional)
- Lemon (optional)
- 1 tbsp vegetable oil, canola oil, or fat of your choice
Directions:
Fill your Instant Pot with water to the ½ way mark, and turn it on, press the Sous Vide button and set your temperature and time to the desired cooking selection, I used 150⁰F and set it for 3.5 hours.
Once you have your machine set, it is time to prep the chicken for the cooking process.
First, we are going to place our chicken into the vacuum sealing bags
Once we have our chicken breast in the bag, note* if you roll down the top of you can get your chicken into the bag without it leaving any juices or any of your seasonings on the sealing edge of the bag.
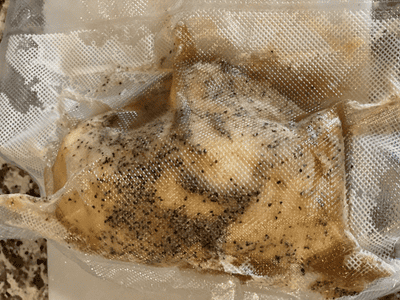
Once you have it seasoned then you will need to seal the bag. There are two ways to do this, and it is based on what type of sealing system you have. If you have a vacuum sealer, then all you need to do is seal the bag. If not and you are using zip closed bags, then you will need to seal it most of the way, and then immerse it in a pan of cold water to displace the air in the bag, and then seal it. I used a vacuum sealer.
Once your bag is sealed, you are ready for the next step, Sous Vide Cooking. Drop the bag into the heated water and then place the lid on your Instant Pot, or other cooker, start the timer and let it cook.
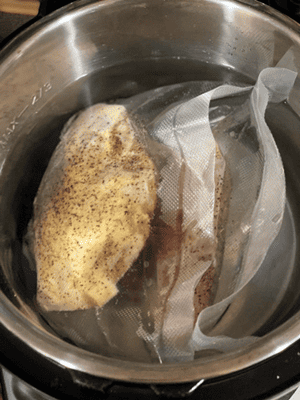
Once the cooking process starts, you leave the lid on and let it cook. Don’t take the lid off or disturb the chicken in the pot until the cooking cycle is complete.
Once the chicken is done, you need to remove it from the cooker and allow it to rest and cool until you can handle the bag, you want it to still be hot, just able to handle the bag. Once you get the bag out, place it on a cutting board and slice the sealed end open so that the breast can be removed.
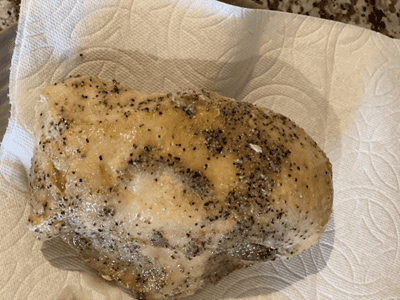
Once you open the bag, take the chicken breast out and place it on paper towels on a plate, you need to gently pat it dry on all sides to prepare for the next step.
Once you have it patted dry, on to the next step which is searing the skin for presentation. Remember, the chicken is already cooked, this step is to give great color for presentation and literally only takes 10-15 minutes.
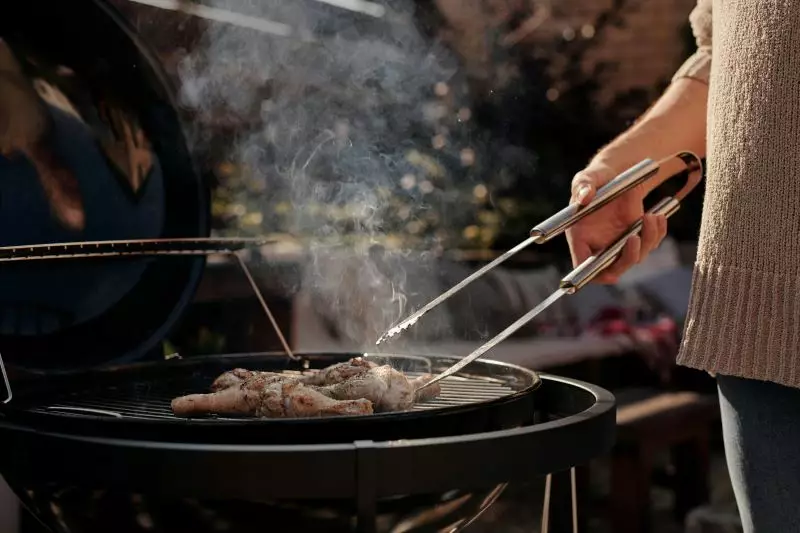
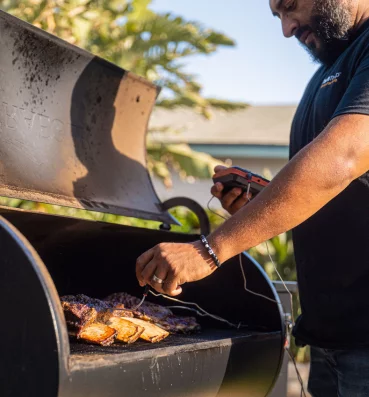
For this recipe, I am going to use my grill and am going to sear the skin and prepare the chicken for presentation.
Preparing the Grill for Searing the Chicken Skin
This step is just as important as all the previous steps. This is where you will take your Sous Vide Bone-in, Skin-on Chicken Breast and prepare it for presentation. If you served the chicken as is, people would believe the chicken isn’t cooked yet, so we need to make it pretty for serving.
First, we need to heat our grill up, I used a propane grill, I lit it, and turned both burners on high to heat up the grill. If you were using a charcoal grill, you would prepare half a charcoal lighting chimney and allow the coals to burn and when they turn gray, they are ready, and then you would dump them into your grill and close the lid to heat it up.
Once you have your grill lit, close the lid, and allow it to get to at least 400⁰F before you place your chicken on the grill.
Open the lid and make sure your grill is cleaned and prepped for cooking. You do this by running a wired grill brush over the cooking grate and then brushing it with an oil-soaked cloth or with a piece of hard beef fat, suet.
It should look like this when it is ready for the chicken breast.
Your grill is now ready for the chicken to be placed on the cooking grate and for the magic to happen.
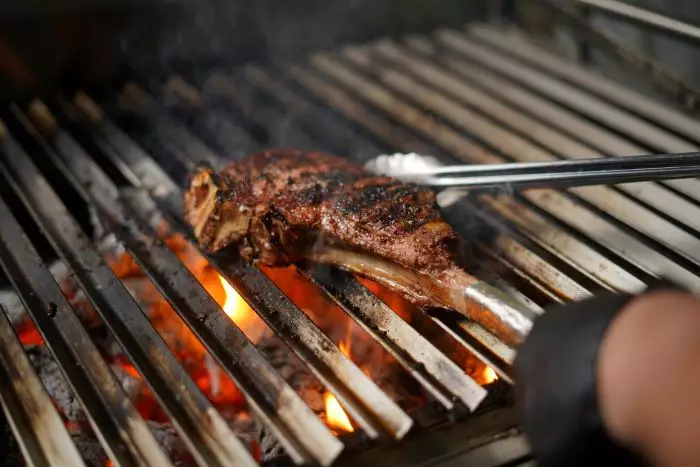
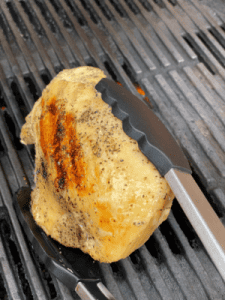
Once you get the chicken on the grill, close the lid, you will want the chicken to cook for 5-15 minutes. You are looking for a beautiful golden-brown color on the skin and you will need to allow the grill to get back up to temperature as well.
Allow the chicken to cook for at least 5 minutes at this temperature before you open the grill lid and check the chicken. Once it reaches the desired color, it will be time to remove it from the grill.
Once your chicken gets done, you will take it off the grill and let it rest for 5-8 minutes, and then you will remove the bones.
Once your chicken has rested for 5-8 minutes, so that you can handle it without getting burned, you will first check to see if it has a wish bone. Run your thumb along the thickest end and feel for the bone. If it has the wishbone in it, you will feel it and be able to easily remove it. If it does not have the wishbone, then you run your thumb along the breastbone and separate it from the meat. This will allow you to remove all the breast bones in one piece and keep the breast meat and skin intact. Once you are done, then move to the next step.
If you see pink in the meat, do not worry, the meat is done, this is usually present in young birds and the meat is completely safe to eat.
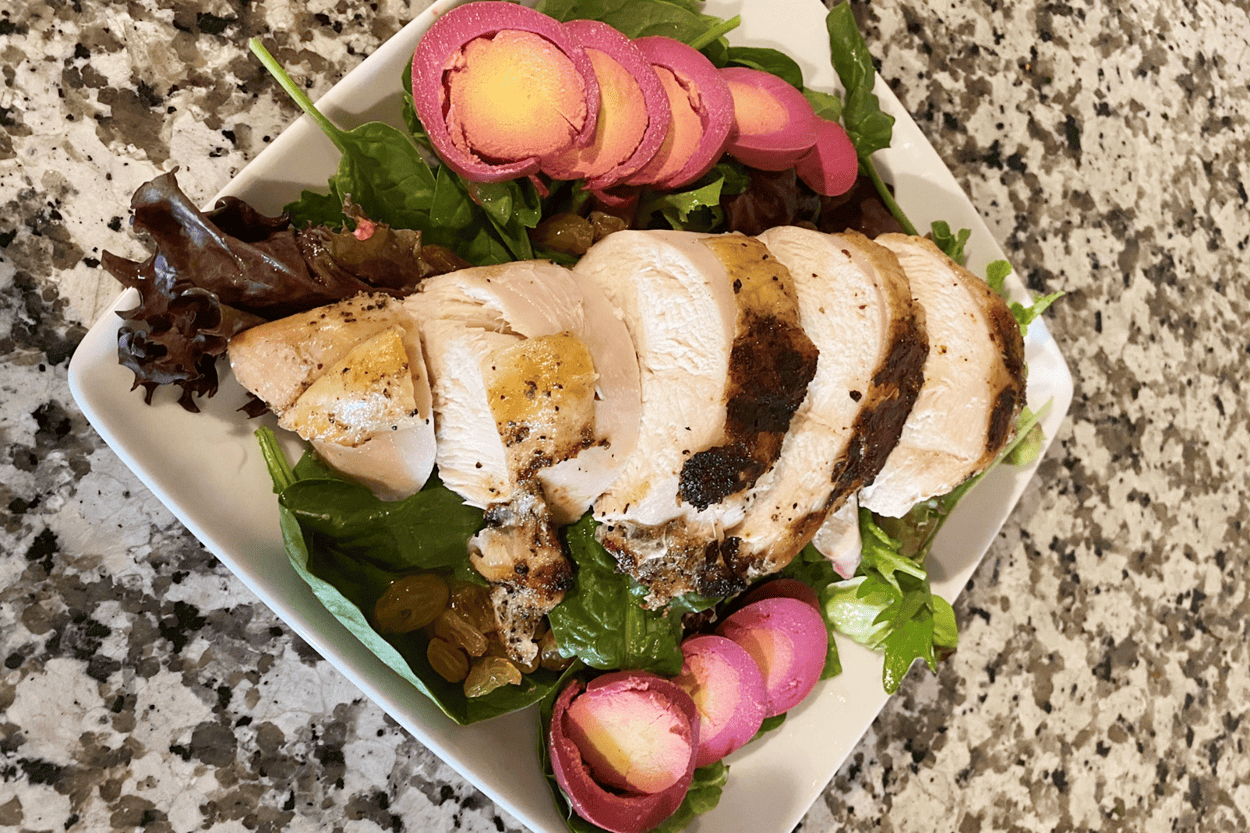
Once you get the breastbone out, place the breast on a cutting board skin side up and then slice it in to 4 or 5 pieces on a bias, it helps it look great when presenting the food
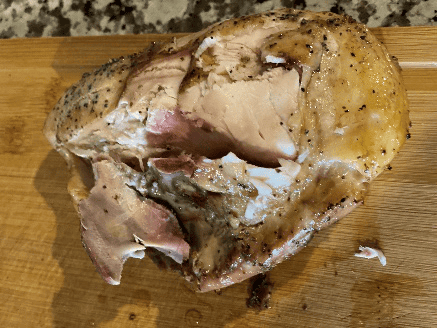
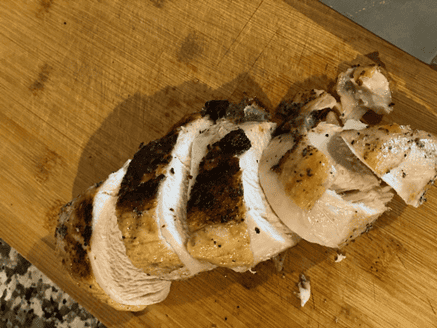
As you can see the meat is succulent, fully cooked, and looks great. Now we set our plate up and for this I am making a Grilled Chicken Salad with a Pineapple vinaigrette that I made a while back and have on hand.
Place your salad greens on the plate, I used organic spring mix, added some golden raisins for sweetness, and then dressed the salad with my vinaigrette and placed the Chicken Breast on top for service and garnished it with a beet pickled egg.
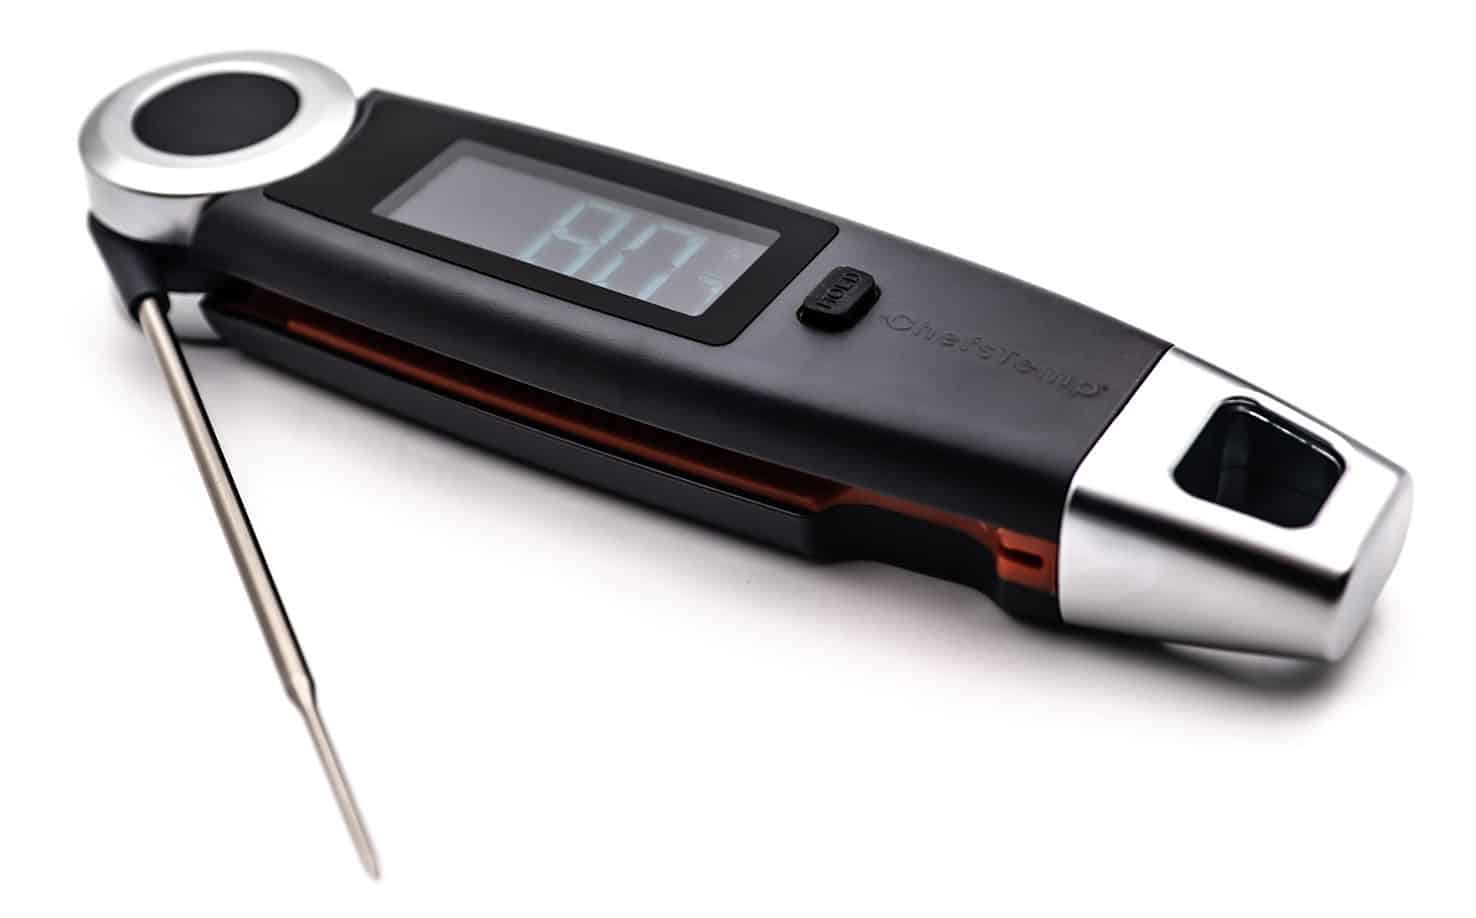
Finaltouch X10
The Finaltouch X10 thermometer from ChefsTemp gives an accurate reading not only for the inside of food but for surface temperatures as well. The diversity of the thermometer’s usage is second to none compared to other thermometers. By getting a reading within 1 second, the Finaltouch X10 from ChefsTemp is prepared to take on any task it is given.
Discover Other ChefsTemp Products
Discover more recipes and learn kitchen tricks by joining our cooking family on Facebook.
You may also like:
