Reverse-Seared Ribeye with Garlic Herb Butter
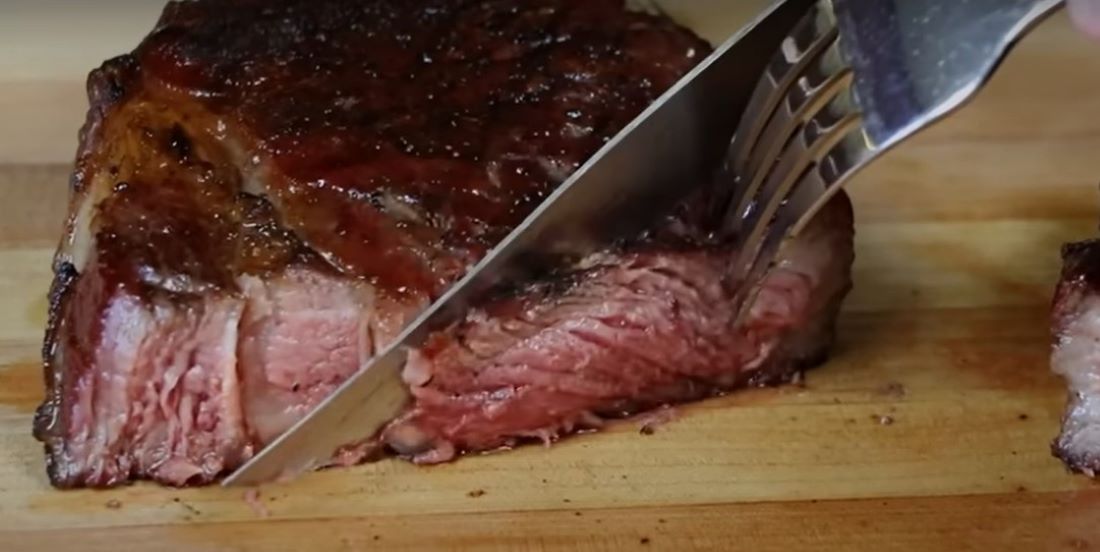
Are you craving a tender and juicy steak? There is nothing more disappointing or frustrating than slicing into your steak to find a dry meat. It is especially frustrating when you’ve spent a lot of money on a premium cut. Even if you followed the recipe for cooking the perfect steak, it might be time to re-think the traditional methods of cooking steak. The traditional way of cooking steak is better suited for thinner cuts, so acing your cook on thicker cuts, like a ribeye, can be a challenge. Try the reverse searing method to retain moisture and keep your steak juicy and tender with this reverse-seared ribeye with garlic herb butter recipe.
Table of Contents
What is Reverse Searing?
Would you like to master the art of reverse searing steaks? Once you master this cooking method, you’ll never have overcooked steak again.
The reverse searing method is when you bake the meat before finishing it off in the stovetop, such as in a pan or skillet.
It is important to start the cooking process with a low temperature first. The low and slow cooking process ensures that the meat is cooked thoroughly and evenly, instead of shocking the meat with heat. After that, the meat is seared to create a flavorful crust. The searing process gives the steak a beautiful color that makes it look more appetizing.
Why Reverse Searing Steak Works?
There are several benefits to cooking steak using the reverse searing method. You’ll never want to cook steak any other way again.
1. Evenly Cooked Interior
The reverse searing method starts by cooking the meat in indirect heat. The first step ensures that the meat is not only cooked thoroughly, but that it is cooked evenly on the inside. The final step, which is the searing process, ensures that you won’t have to worry about the exterior of the meat being done while the inside is still raw.
2. Beautiful Exterior Crust
The perfect steak is not only juicy and tender on the inside. It must have a beautiful, caramelized exterior as its crust.
Unfortunately, the traditional method of cooking steak sacrifices some of that tenderness and juiciness in search of the perfect, golden-brown crust. Cooking the steak in the oven first dries out the steak surface as it cooks. It results in a thin coating that provides the perfect base for a beautiful sear. That’s why it is important to sear steak for only one minute on each side to avoid overcooking it.
3. More Flavorful Steak
While the steak cooks in the oven, it releases the wonderful and flavorful juice drippings. You can use those drippings to drizzle over the meat as it cooks, along with the garlic herb butter, creating a flavor explosion instead of a dry, tasteless steak.
Other Steak Cuts for Reverse Searing
The recipe included here for reverse searing uses ribeye steak, which is a type of thick-cut steak. It is one of the ideal cuts of steak for this cooking method, but any steak cut that is at least one and a half inches thick would work best. But it also works best for two-inch steaks.
- T-Bone
- New York strip
- Filet Mignon
- Tomahawk
- Porterhouse
- Picanha
Reverse-Seared Ribeye with Garlic Herb Butter Ingredients
To make the Reverse-Seared Ribeye with Garlic Herb Butter, you will need the following ingredients:
- 2 thick cuts of ribeye steak
- 3 tbsp butter
- 3 cloves garlic, crushed
- Rosemary sprigs
- Fresh thyme
- Salt and pepper to taste
Instructions
Step 1: Pre-heat the oven to 200 degrees while you prepare the steak.
Step 2: Line a baking sheet and place the seasoned steaks over it. Make sure to season all sides with salt and pepper.
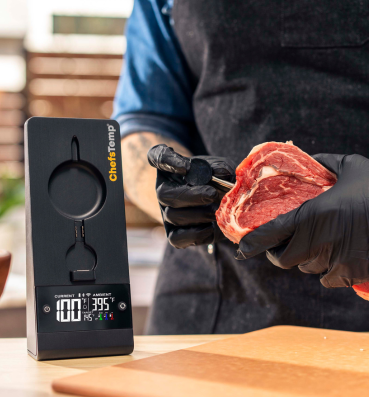
Step 3: Place the steak inside the oven and bake it for approximately 40 minutes. Use a thermometer to check the internal temperature of the steak and ensure that it is cooked to your desired temperature.
Once you reach the desired temperature, take the steak from the oven and set it aside.
Step 4: In a large skillet, place the steak with the butter, garlic, rosemary, and thyme over medium high heat. Sear it for one minute on one side before flipping it and searing the other side for another minute.
Once the butter melts, slightly tip the skillet. Use a spoon to baste the steak with the melted butter, along with the garlic and herbs.
Step 5: Remove the steak off the pan and serve the melted garlic herb butter on top.

Reverse Searing FAQs
What is the best steak to cook using the reverse sear method?
Steaks with a thickness of at least 1 ½ inches are ideal for this technique. Tender filet mignon, New York strip steak, porterhouse, ribeye, T-bone, or big tomahawk steaks are all excellent with it. It is also excellent for grilling tri-tip. Tender filet mignon, New York strip steak, porterhouse, ribeye, T-bone, or big tomahawk steaks are all excellent with it, too. It’s also a terrific way to cook tri-tip.
How long should I reverse sear a steak?
Reverse-searing a steak, such as a ribeye, takes anywhere from 30 to 60 minutes, depending on the thickness and oven temperature. For best results, preheat the oven to 275 degrees, cook the ribeye until it reaches an internal temperature of 110 degrees, and then sear it for one to two minutes on each side.
What temperature do you reverse sear a ribeye?
When learning how to reverse sear steaks, we recommend starting with a temperature of 275 degrees. Sear for one to two minutes on each side over a hot skillet after the internal temperature reaches 110 degrees. If you’re using a grill, start the steak cooking on a low heat setting and then move it to a high heat setting for searing.
Do you flip a steak when using the reverse searing method?
Yes, just like with traditional pan-searing, flip a reverse-sear steak once. This step enables the searing process to crisp up both sides.
Which results in better steak, searing or reverse searing?
Pan searing and reverse searing steak are both excellent cooking techniques. Some like to sear thick steaks in reverse since they require more time to cook through the inside after searing. While the searing process locks in juices, reverse searing allows the temperature to climb internally gradually to avoid drying out or overcooking.
Discover Other ChefsTemp Products
Discover more recipes and learn kitchen tricks by joining our cooking family on Facebook.
You may also like:

