How to Use a Meat Thermometer Accurately
A meat thermometer is a simple and straightforward kitchen tool. And yet, some people do not know how to use them correctly. If you are one of these people, here is a complete guide on how to read a meat thermometer accurately.
Table of Contents
Knowing Your Thermometer
There are two basic styles of traditional meat thermometers – bimetallic and bulb thermometers. They are cheap and easy to find in grocery stores, but they can take some time to give a temperature reading. Often, these readings can be inaccurate. Moreover, the glass part can easily break.
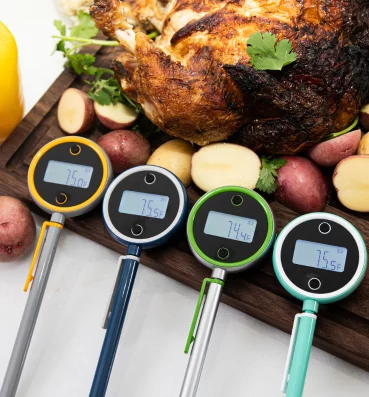
Their modern counterpart, on the other hand, can give you a quick and more accurate temperature reading of the meat. They are called digital instant-read thermometers. There are also two main types of thermometers in this category; a digital probe thermometer, and a digital instant-read thermometer.
Digital probe thermometer
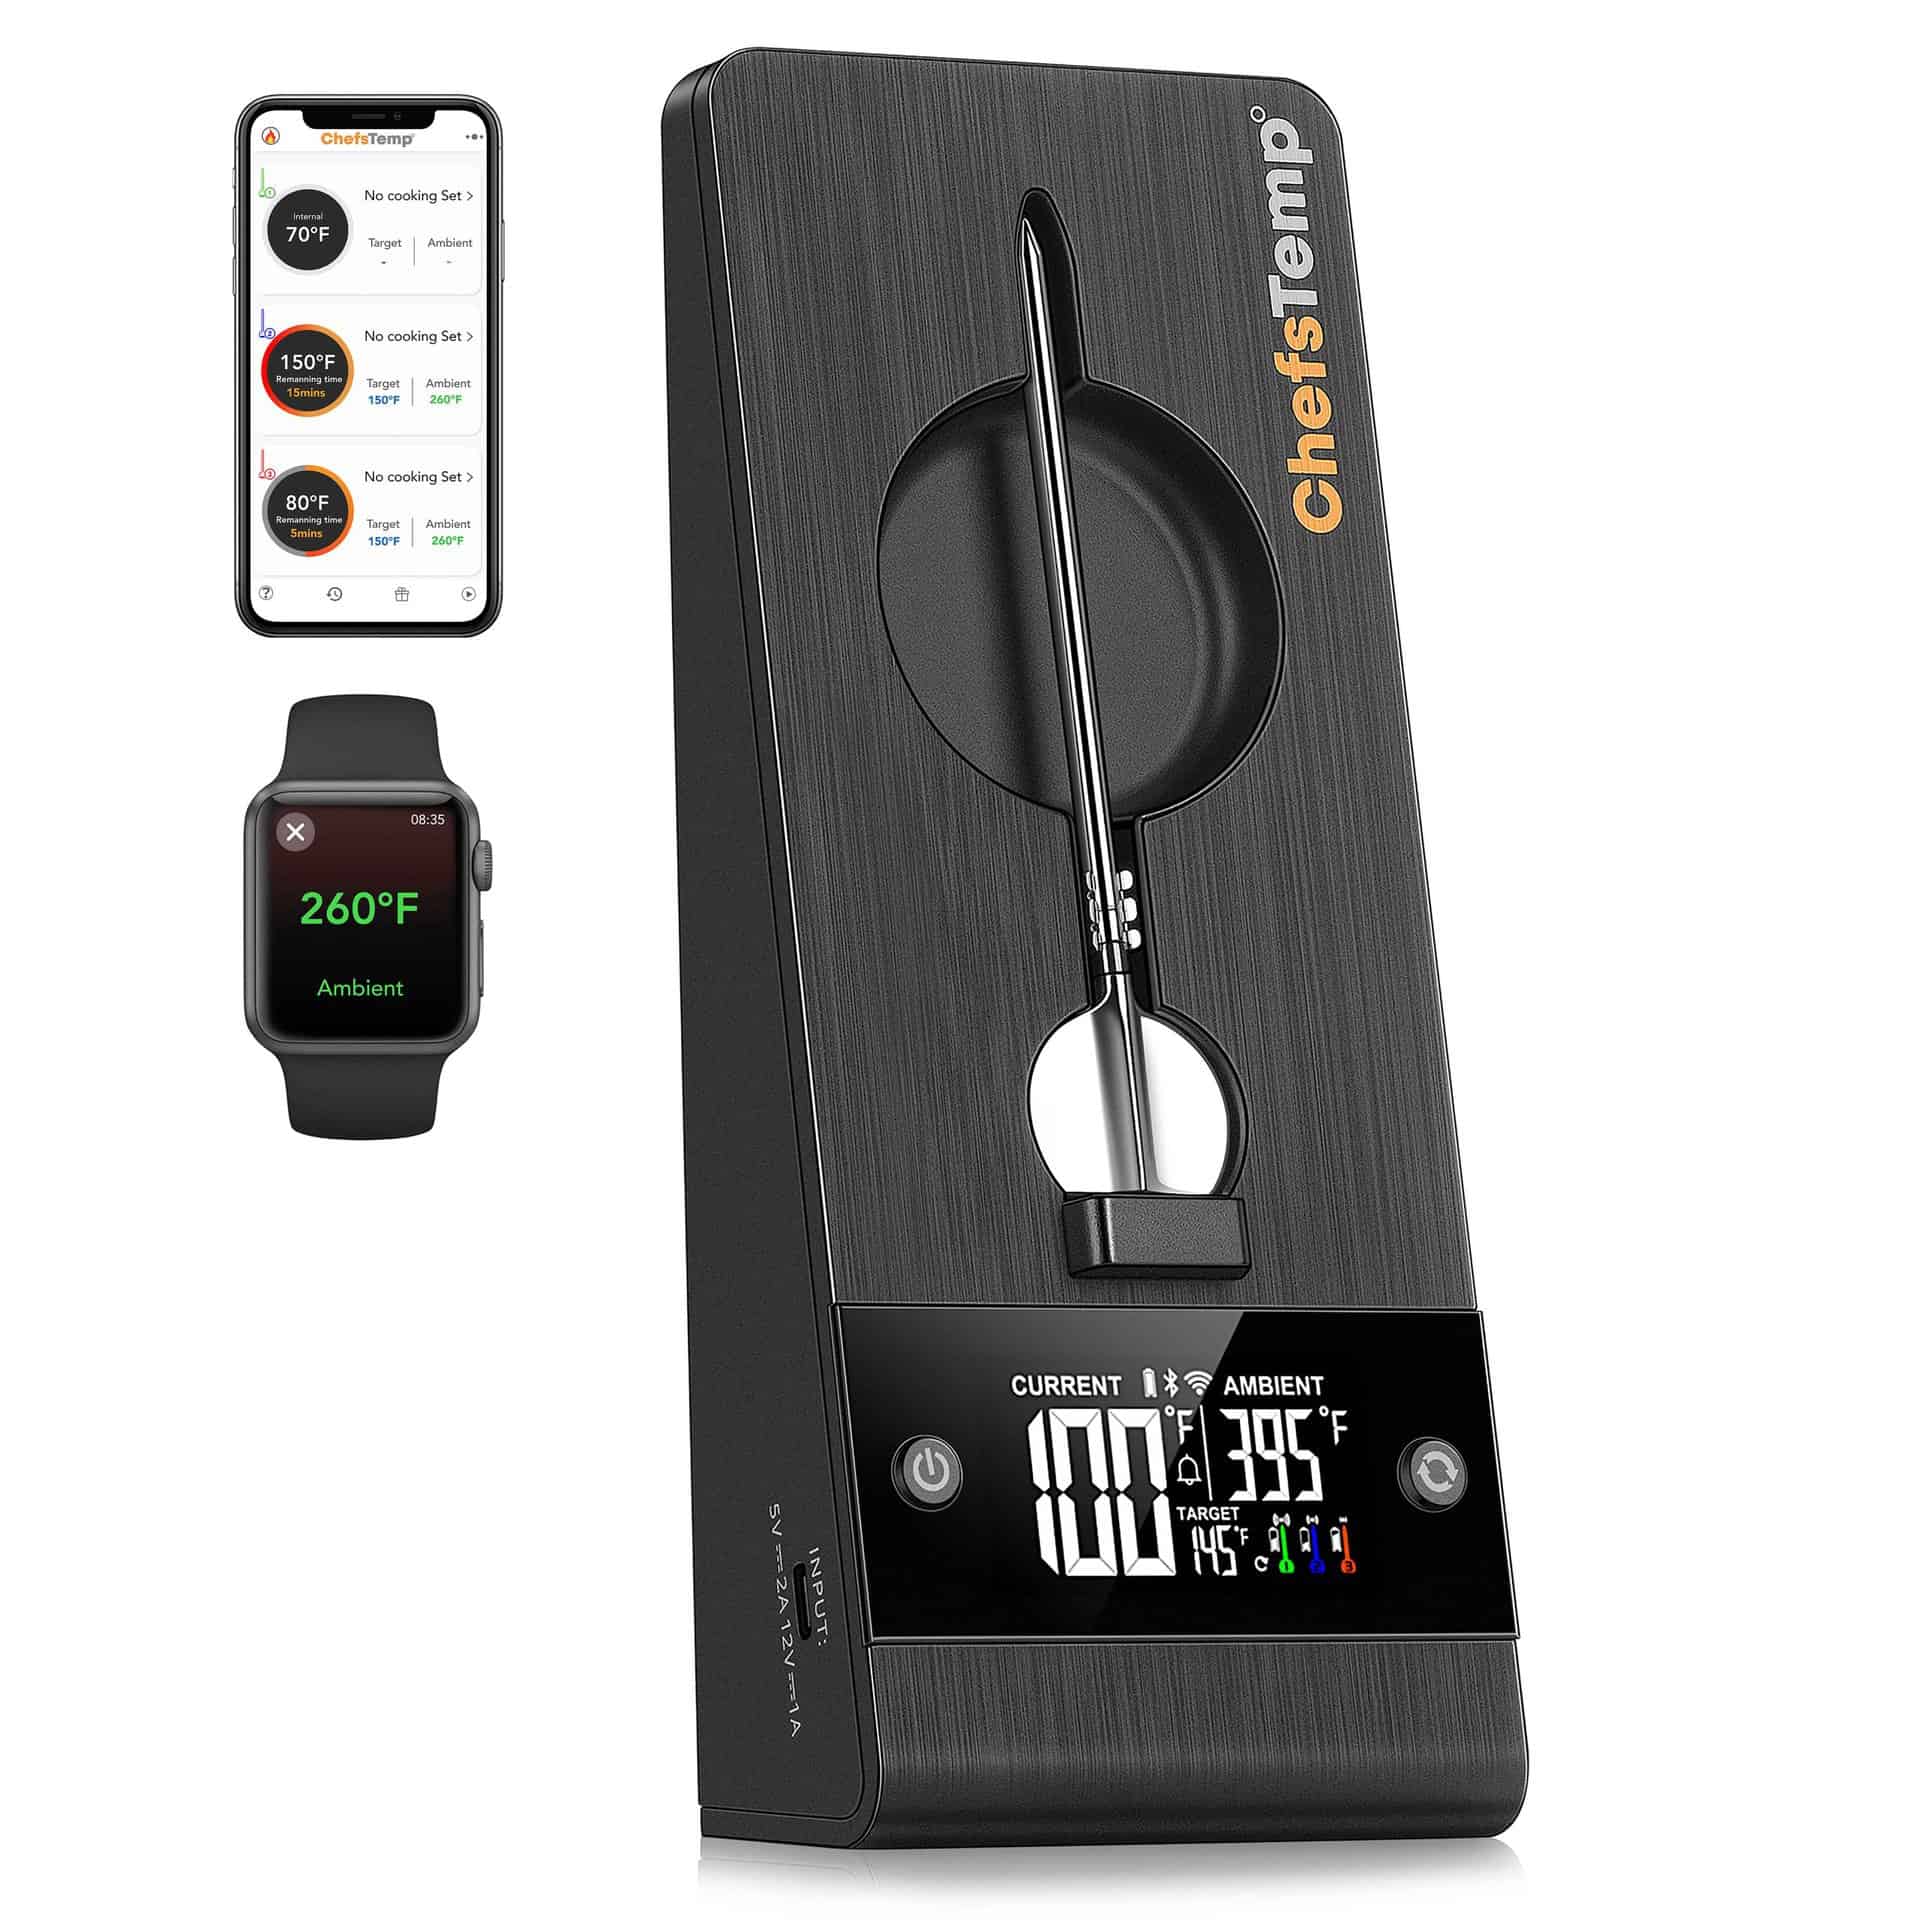
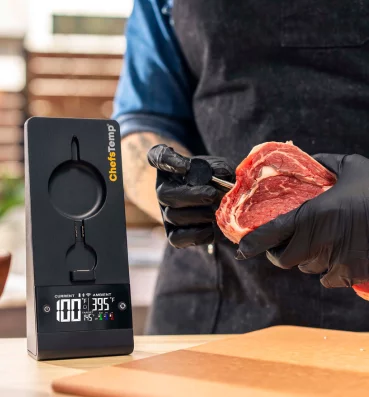
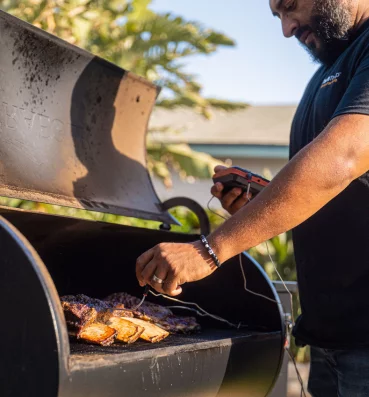
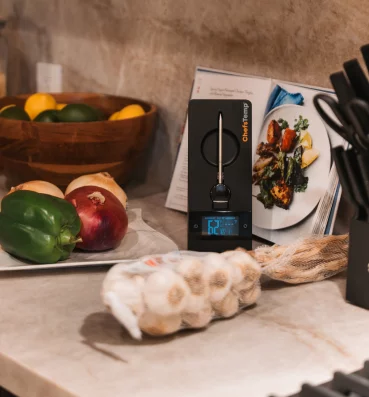
This thermometer comes with a probe that you insert into the meat and a separate device that displays the temperature readout, along with customizable alarm settings. The probe and temperature readout are connected by a cable. This type of thermometer is great for roasting or smoking large meat cuts for long hours, such as beef rib roast and turkey.
Digital instant-read thermometer
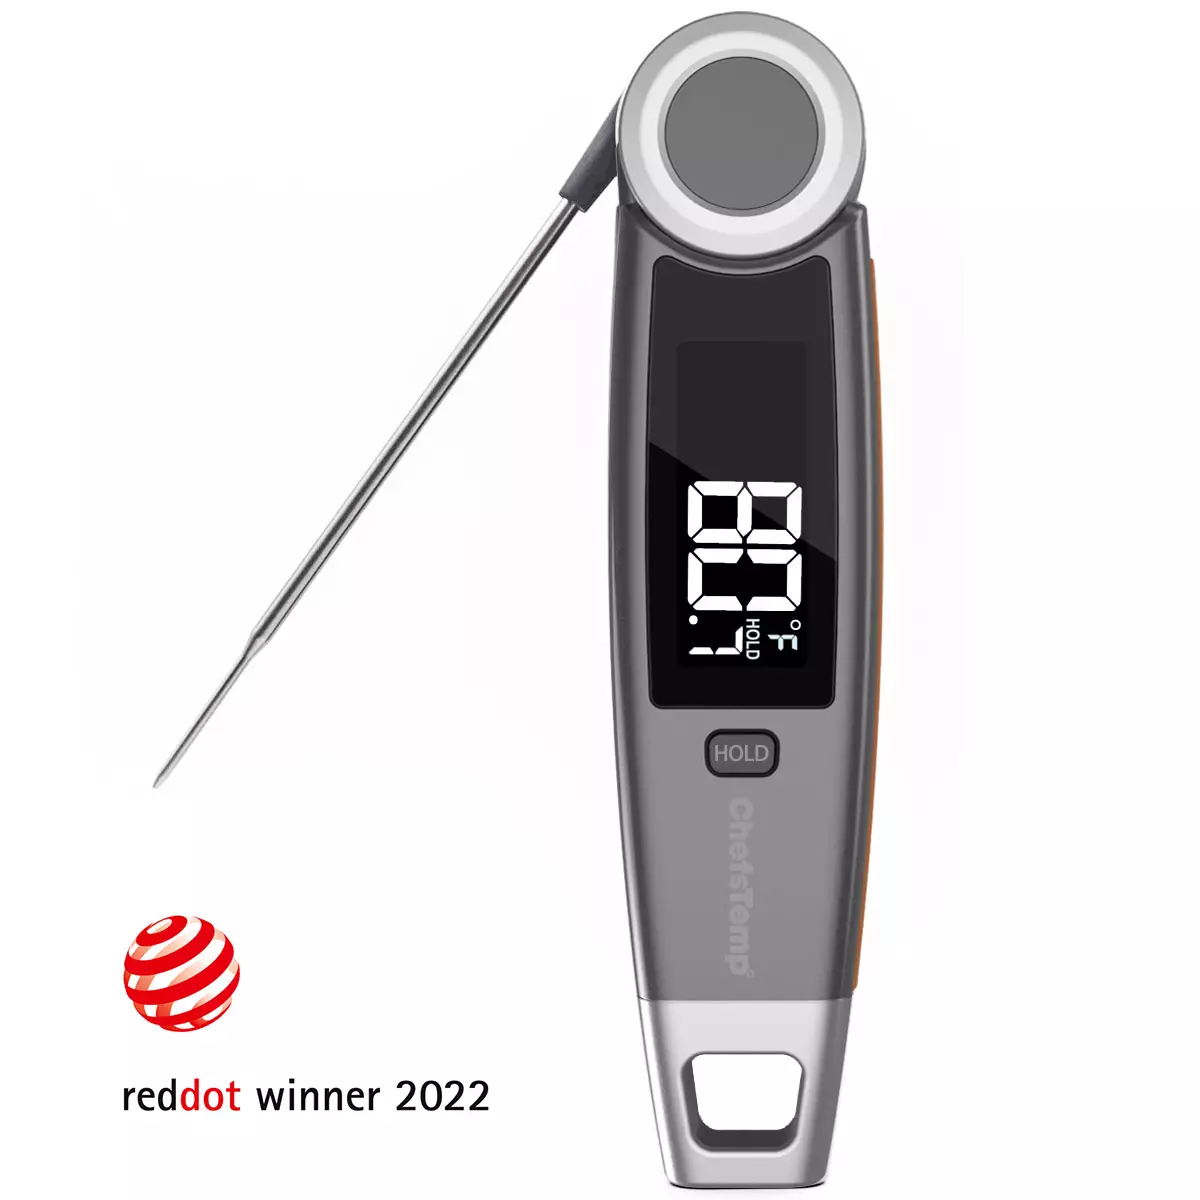
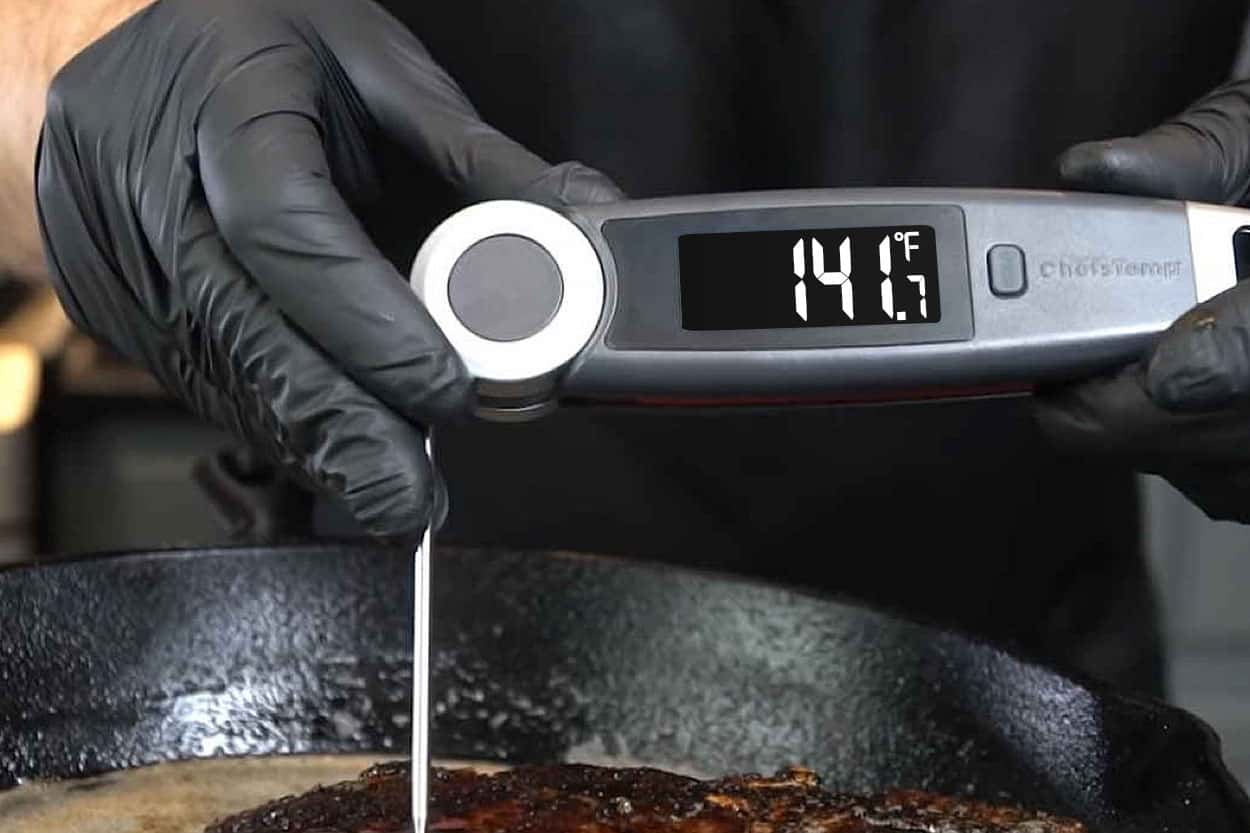
This provides a quick (instant) reading of the meat and is super easy to use.
Testing your thermometer
Get a glass of water with ice and dip the thermometer in the center for about 20 seconds. If the thermometers show 32 degrees Fahrenheit (32˚F) or zero degrees Celsius (0˚C), that means the thermometer is properly calibrated and good to go. Those numbers are the freezing point of water.
If the thermometer does not reach those digits, that means its calibration is off and you may need to re-calibrate it. You can follow the instructions from the user manual, or better yet, just get a new one. They’re usually not that expensive.
Inserting the thermometer into the meat
To get the most accurate reading, stick the thermometer into the thickest part of the meat. The thickest part can give you the most accurate reading for the lowest internal temperature. It should be at least half an inch into the meat. Of course, if the meat is thicker, then you need to go deeper and closer to the center. Make sure the tip of the thermometer doesn’t touch the bone or fat of the meat.
For some thermometers, the temperature is taken from the very tip of the probe. Thus, watch the read-out as you insert the probe gently into the meat. The temperature readout should be dropping as you go deeper into the meat. If you see the temperature starting to rise, that means you have gone too far and are close to the other side of the meat.
To get an accurate reading, leave the thermometer in the meat for around ten seconds. Take the thermometer out of the meat after checking.
Leave-in and Oven-going Thermometers vs. Instant-read Thermometers
Leave-in meat thermometer
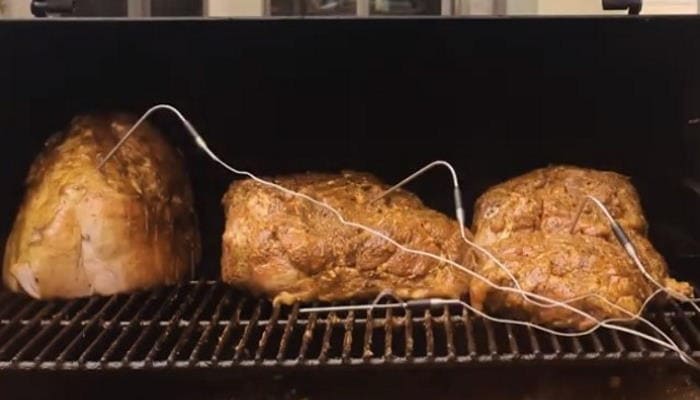
As its name suggests, oven-going thermometers are safe (and designed) to stick into the meat and go straight into the oven while cooking. These can be used for any type, cut, or size of the meat, from whole turkeys, to chicken breasts, roasts, etc.
To use a leave-in thermometer, insert the thermometer into the thickest part of the uncooked meat at least two inches. Again, the tip should not touch any bone, fat, or pan, as that would give you an inaccurate reading. When the meat reaches the desired temperature, push the thermometer a little further. If the temperature drops, that means you need to continue cooking the meat. If the reading stays the same, that means the meat is ready and you can remove the meat from the grill or oven.
How to use an oven-going meat thermometer
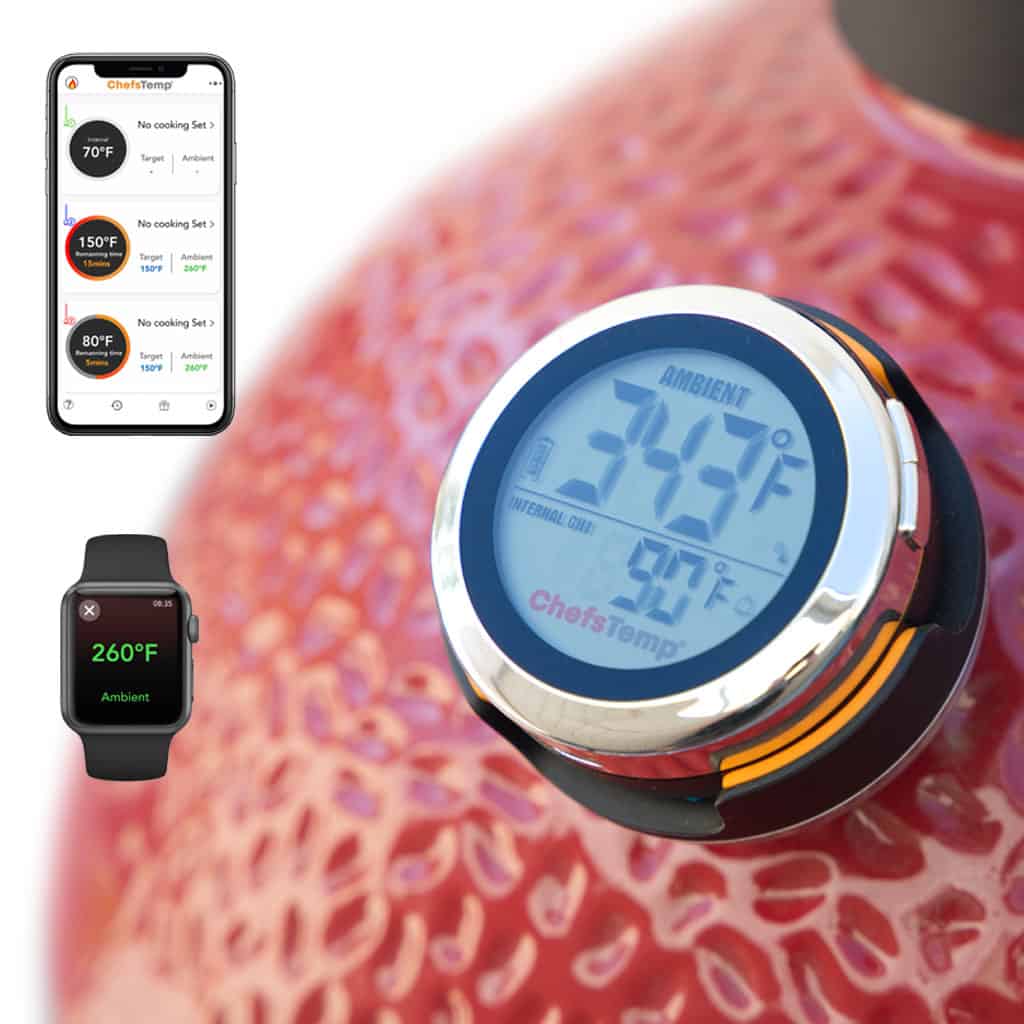
An oven-going probe thermometer (digital probe thermometer) comes with a probe. Rather than the whole thermometer going inside the oven while the meat is being cooked, only the probe goes inside the oven. The probes are wired and attached to the base (which holds the readout) that stays outside the oven.
This type of thermometer makes it easy to read the temperature of the meat since you don’t have to open the oven and let the heat escape just to read the temperature. Moreover, most models of this type come with programmable settings that set off an alarm to alert you as soon as the meat reaches a certain (your desired or programmed) temperature. This type is great for broiling filet mignon to a perfect medium-rare without having to keep an eye on the meat through the oven’s window.
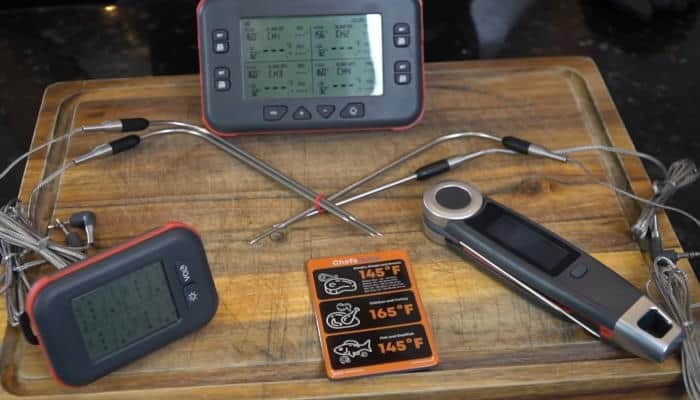
Instant-read meat thermometers
As the name suggests, instant-read thermometers provide quick temperature readings of the meat. Some claim their thermometer can give a reading in as fast as 10 seconds. For the most accurate reading, however, the best practice is to wait for at least 15 to 20 seconds.
As opposed to the previous thermometer type, it is inserted into the meat outside of the oven.
Analog instant-read thermometer
This thermometer comes with a stem that must be inserted into the meat about two inches deep. For thinner cuts like burger patties or pork chops, insert the thermometer horizontally through the side of the meat.
Wait for about 15 seconds to get a good reading.
Also, note that this meat thermometer should not be left in the meat while cooking.
Digital instant-read thermometer
The probe of this type of thermometer must be inserted into the meat about half an inch deep. Again, wait for about 15 seconds to get a good reading.
And never leave this thermometer in the food while cooking.
Check the temperature throughout the cooking process
When cooking meat, make sure you check the temperature early and often throughout the cooking process.
For bigger roasts, check about 30 minutes before you expect it to be cooked. For smaller and thinner cuts, check the temperature five to 10 minutes ahead of time.
To get the perfect temperature (and doneness), aim for the meat temperature provided in your recipe. Make sure you refer to food-safety charts too for minimum internal temperature.
Parting tip
Note that meat will continue to cook even after you remove it from the heat source. This process is called “carryover cooking”. Thus, for larger cuts, give them 5 to 10 minutes of resting time for the temperature to rise to the desired level of doneness. This will give the juices time to distribute throughout the meat.
Discover Other ChefsTemp Products
Discover more recipes and learn kitchen tricks by joining our cooking family on Facebook.
You may also like:
