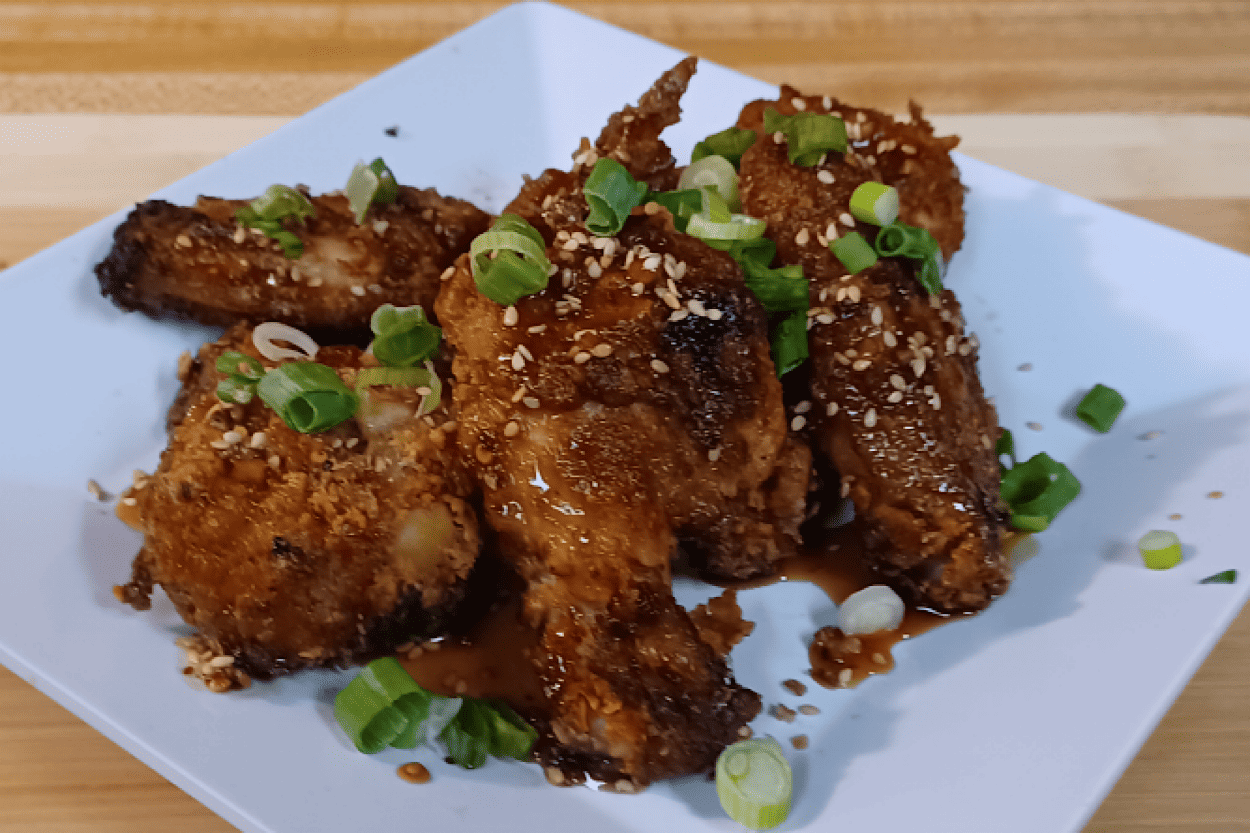
Smoked Crispy Honey Garlic Sesame Chicken
Do you love the flavors of BBQ smoked meats, crispy fried chicken and Chinese food? I will show you how to combine all three into one simple yet complex dish. With one simple trick to crisp up the skin, you can transform smoked chicken to a new level while creating a new palate of flavor.
What you need:
- Weber kettle or charcoal grill
- Charcoal Chimney
- Charcoal briquettes
- Hickory wood chunks
- Vortex accessory (optional)
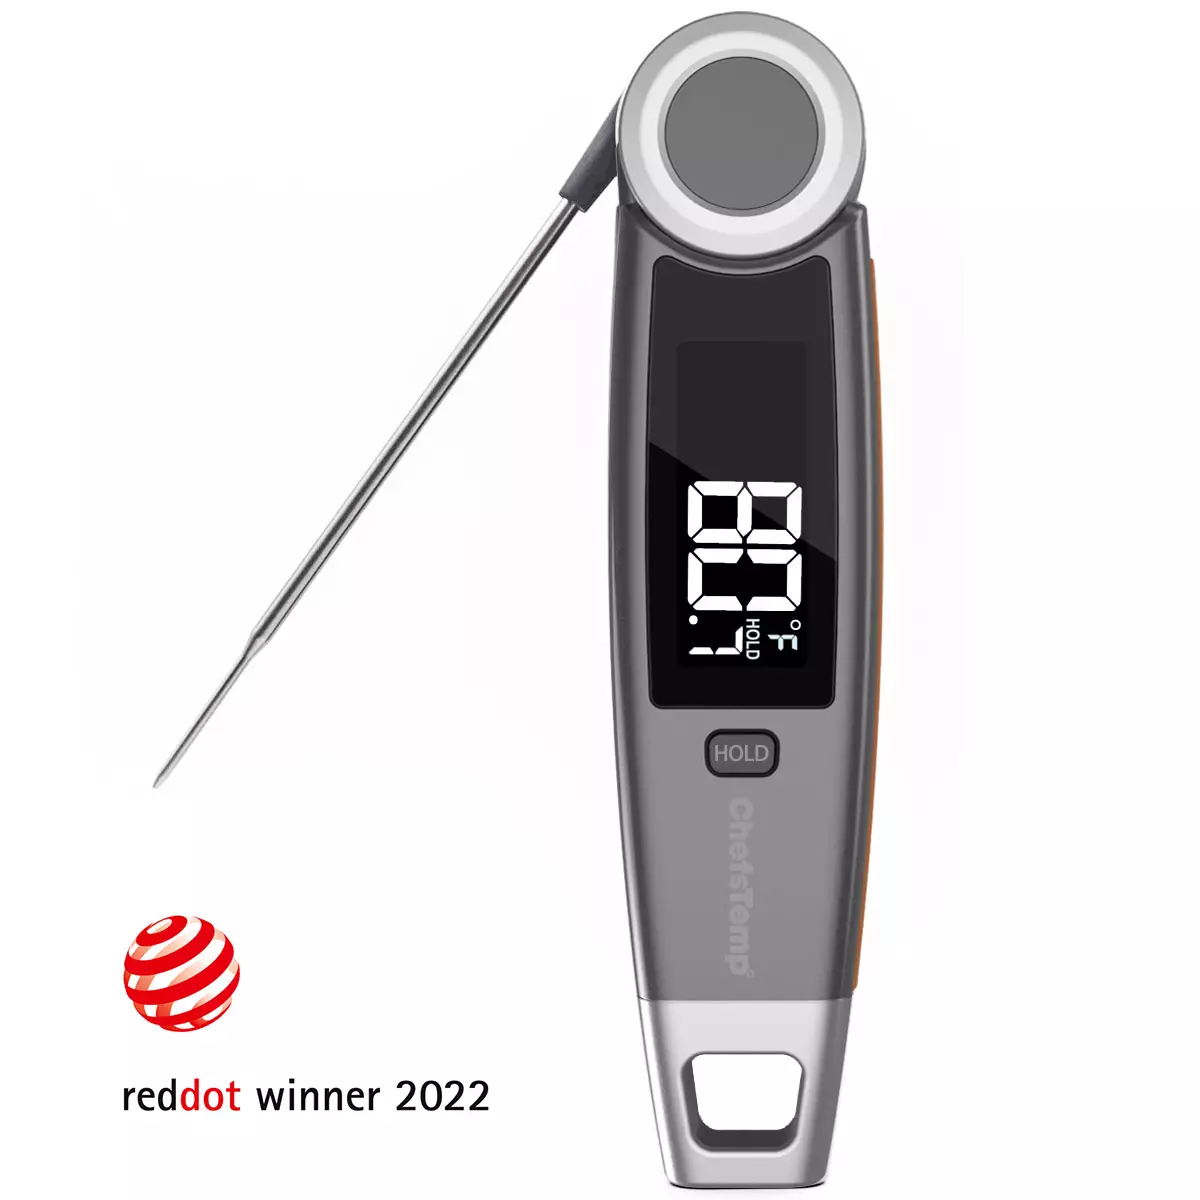
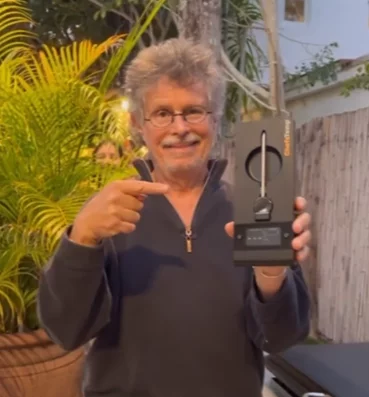
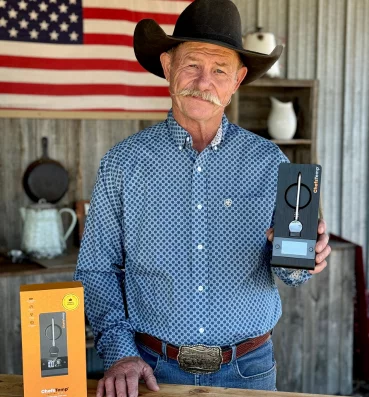
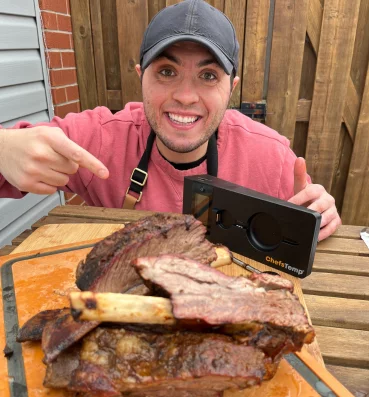
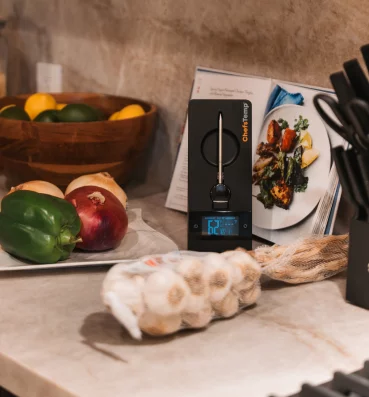
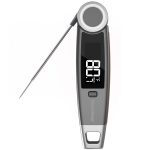
- Chefs Temp Final Touch X10 Meat Thermometer
- Cook temperature in smoker 225-250 degrees
- Time to smoke approx. 1 hour (Cook to the internal temperature of the wings)
- Serving size: 6 pieces
- Recipe makes 2 servings
Ingredients:
- 6 large chicken wings separated into wings and flats
- 1/3 Cup Honey
- 1-1/2 Tsp. Sesame Oil
- 1 Tsp. Minced Garlic
- 1 Tsp. Soy Sauce
- 1 Tsp. Hoisin Sauce
- 1 Tsp. Apple Cider Vinegar
- 1/2 Cup Cornstarch
- 1 Tsp. Sea Salt
- 1 Tsp. Ground Black Pepper
- ¼ Tsp. Red Pepper Flakes
- ½ Tsp Garlic Powder
- ½ Tsp. Onion Powder
- Toasted Sesame Seeds
Directions:
Step 1
Load your charcoal chimney with 15-20 charcoal briquettes. Place your vortex accessory in the center of your grills lower grate, placing an additional dozen charcoal briquettes inside. By placing the chicken around the vortex this will allow you to smoke the chicken over time via indirect heat. If not using a vortex, simply place the unlit coals on one side of the lower grill grate. To make clean up easier, you can either line the side of the grate where no charcoals are with aluminum foil, creating a heat shield also, or place a disposable aluminum foil pan with 1” of water, beer, apple juice, apple cider vinegar, or your juice of choice in it, on the side away from the coals. The liquid will help the foods stay moist during the longer smoke cooking time.
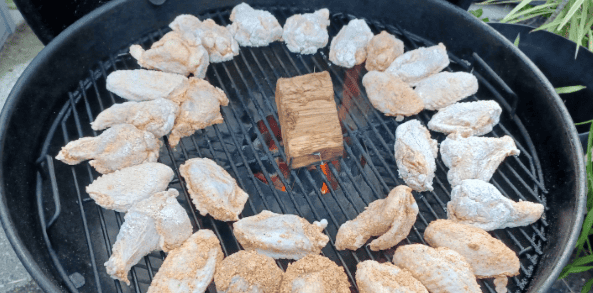
Light the charcoals using a fire starter or start your fire in the charcoal chimney. Tip: In a small plastic baggie, put 2-3 paper towel sheets and douse them with olive or vegetable oil. Close the seal of bag, kneed the bag to get oil to partly cover the paper towels. Place the oiled towels under your chimney or on top of your coals to start your fire, they will burn slower as the oil burns off, allowing the charcoal to light and burn. Once the coal in your chimney has burnt down to red embers, dump the contents onto the unlit charcoal in the vortex. If you are not using a vortex accessory, dump the hot coals onto the unlit coals on one side of your grill or smoker, ensuring enough room on your grates for the chicken pieces to be placed where they are not directly above the lit coals. For this recipe I am using my Weber 22” kettle with a Vortex charcoal accessory. See photo.
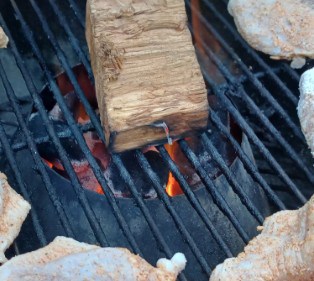
Bring your grill or smokers temperature to a constant 225-250 degrees.
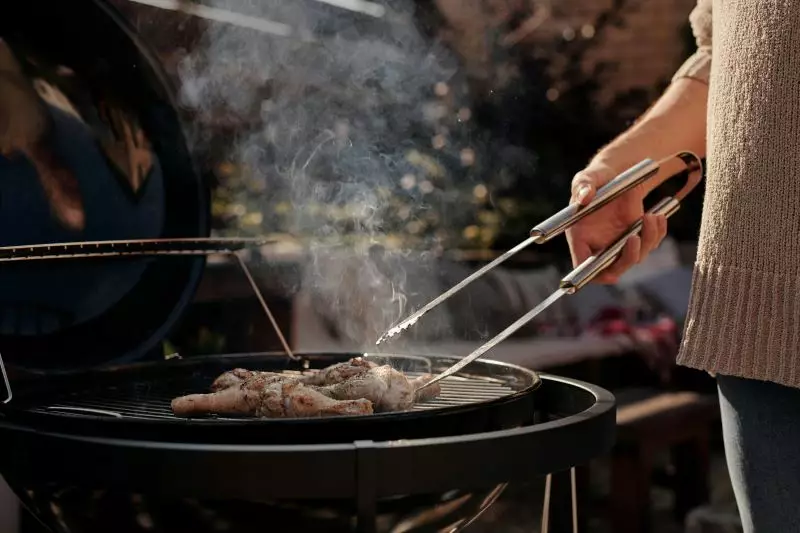
I am smoking these chicken pieces by placing them around the vortex accessory filled with burning charcoal in my Weber kettle, therefore cooking by indirect heat. When using a Weber kettle, it’s important to place the cover on the grill with the exhaust vent over the chicken. This draws the smoke and heat across the meat, allowing for a slower cook process which induces more smoke flavor to penetrate the chicken. Slower cooking also enables the cornstarch to dry out the skin creating that much desired crispy skin. Follow the recommendations from your grill or smoker’s manufacturer on how to use your intake and exhaust baffles to hold steady temperatures. For the Weber kettle, I leave both the lower and upper baffles open ¼, which maintains a steady 225-250 temperature range. 25 degrees range may seem like a lot, but when making BBQ it’s a normal temperature swing range.
If you are using a grill or smoker other than a kettle, a simple adjustment will obtain the same results. Instead of using a vortex, simply place the charcoal bed on one side of the grill and a pan with 1” of water on the other side. This will allow indirect cooking and smoke penetration of your chicken. The water pan can be filled using water, apple juice, apple cider vinegar, or any liquid of your choosing. Its purpose is to cool the side of the smoker where your chicken will be placed on the grates, and to add moisture to prevent food from drying out. However, since your goal is crispy skin, only fill the water pan with enough liquid to keep the temperature low for a slower cook.
Place 1-2 chunks of desired wood (I used hickory) on top of the bed of hot coals to create smoke flavor a few minutes before placing your chicken on the grates. I place my chunk on the top grate to allow a slower smolder to create maximum smoke flavor. This allows the wood to start to burn and create the smoke desired. The best smoke is a blue-ish or clear in color. That signifies a clean burning fire. A white smoke lets you know the fire is oxygen deprived, and you need to open the baffles to allow more air into the fire pit until the color changes. Invisible smoke is the most ideal. Don’t worry if you cannot see the smoke exiting your grill or smoker. It is still there it is just burning clean, and your foods will not have a pungent or undesirable taste.
Step 2
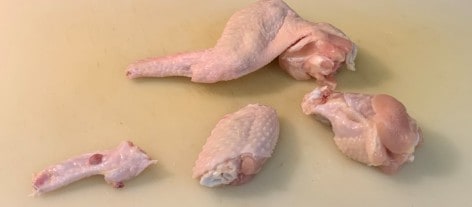
Clean chicken wings by removing the wing tips and any feather remnants, then separate the flat from the drum by cutting the skin to the joint. Then bend the two parts to expose the joint and separate the pieces by cutting the joint apart. Rinse under cold water to ensure any small bone fragments have been removed, then pat dry with paper towel. Tip: Save the wing tips to boil in water to create broth or gravies. I place mine in vacuum sealed bags until I have enough collected to make soup broth with. Waste not: Want now.
Step 3
In a large Ziploc bag combine the following ingredients for the rub: 1/3 Cup cornstarch, 1 tsp ground black pepper, ½ tsp garlic powder, ½ tsp onion powder. Mix thoroughly.
Step 4
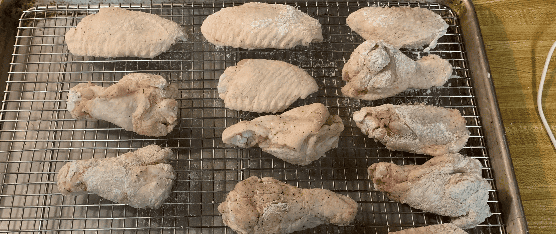
Drop half the chicken pieces into the bag with the rub, seal it shut, and shake until all pieces are covered with the dry mixture. Remove the chicken pieces on at a time from the bag, shaking off any excess rub then place them on a sheet pan with a wire rack, to allow them to air dry for 10-15 minutes at least. Complete until all the pieces are covered.
Step 5
When your grill temperature is holding steady at 225-250 degrees for at least 15 minutes, place the chicken pieces on the grill grates and replace the cover on your grill. If the lid has an exhaust vent, place the side with the vent over the chicken to draw the smoke across the chicken pieces. If you are using a vortex accessory, spread the pieces around the edge of the grill grate, careful to keep them from sitting directly above hot charcoal.
Step 6
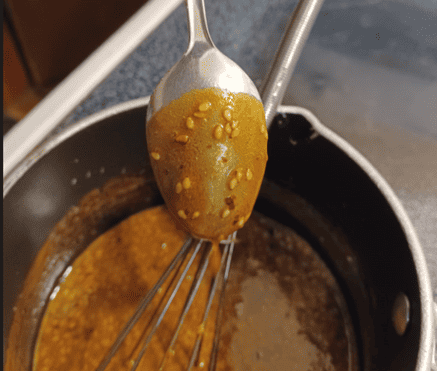
Combine the following ingredients in a small saucepan: 1/3 Cup Honey, 1-1/2 tsp sesame oil, 1 tsp minced garlic, 1 tsp soy sauce, 1 tsp hoisin sauce, 1 tsp apple cider vinegar, ¼ tsp sea salt, 1/4 tsp red pepper flakes, 2 tbsp toasted sesame seeds.
Heat on low to combine ingredients, stirring occasionally. Once the sauce is warm, remove from heat and allow the mixture to cool. The texture should thicken enough to cover the back of a spoon. Stir and set aside a small amount in a bowl for now.
Step 7
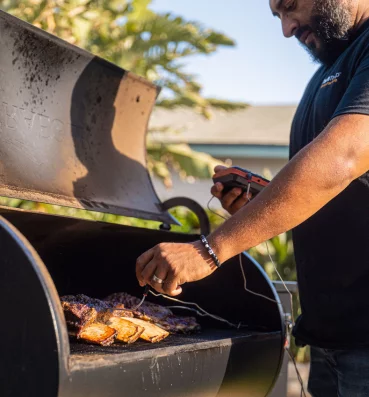
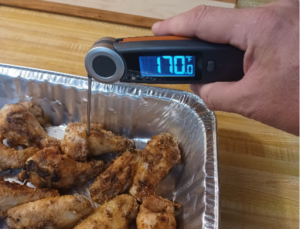
When the chicken turns color from white to brownish, and the skin starts crisping, turn the pieces over. Replace the cover on your grill. Check the internal temperature of several of the chicken pieces with your food thermometer, I use my Chefs Temp Final Touch X10 cooking thermometer. When the chicken’s internal temperature is 170 degrees, remove the pieces from grill. The skin should be nice and crispy.
Step 8
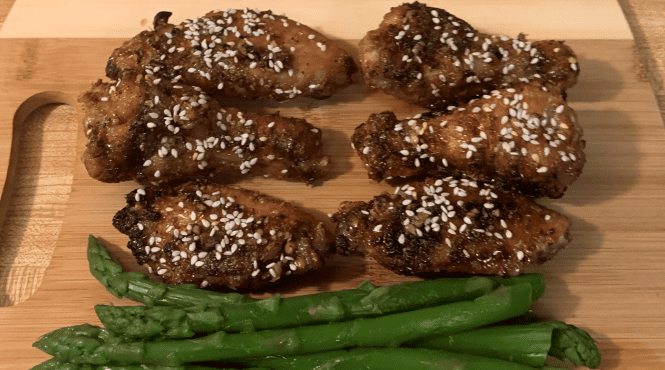
Place 4-6 pieces of chicken in a bowl, spoon enough of the wet mixture onto the pieces to cover. Roll them around in the bowl to allow wet mixture to get on all sides of chicken. Remove with tongs and place on cooling rack on a cookie sheet to allow some drainage. Repeat step until all pieces are covered in the sauce. Sprinkle toasted sesame seeds on top of chicken pieces. Serve and use the sauce we set aside earlier for dipping as desired.
Discover more recipes and learn kitchen tricks by joining our cooking family on Facebook.

You may also like:
Discover Other ChefsTemp Products
Discover more recipes and learn kitchen tricks by joining our cooking family on Facebook.
You may also like:
