Beginner’s Guide to Meat Thermometers: Tips for Accurate Readings
Cooking meat to perfection, regardless of its type, can be daunting, especially for beginners. Unless you cut through it or have X-ray vision, it is nearly impossible to tell if the meat is cooked. Well, there is a way to know whether it is cooked, by using a meat thermometer. A meat thermometer takes the guesswork out of meat cooking; it tells you exactly whether the meat is cooked to your liking. The result, of course, is a delicious, mouth-watering, and safe meal.
However, many are still confused and unsure about how to use a meat thermometer. If that sounds like you, this entry is for you, as it will teach you how to use a meat thermometer properly. Here are the best tips on how to use a meat thermometer.
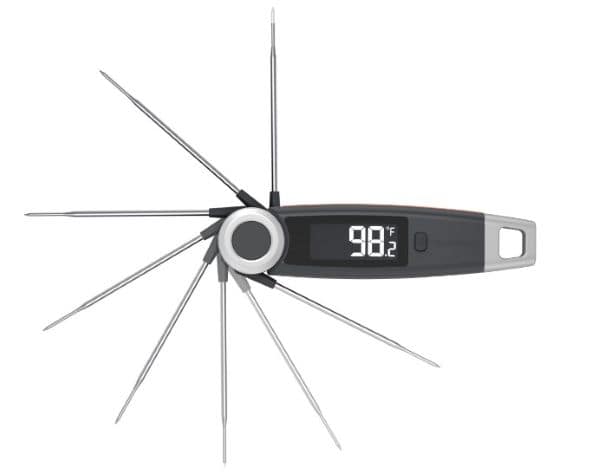
Table of Contents
Types of meat thermometers
Table of Contents
Before we dive into the nitty-gritty, you should know the different types of meat thermometers. Each has slightly different guidelines or ways of usage, and each has its own pros and cons. These tips will help you get accurate readings from different types of thermometers, meats, and types of cooking.
For instant-read thermometer
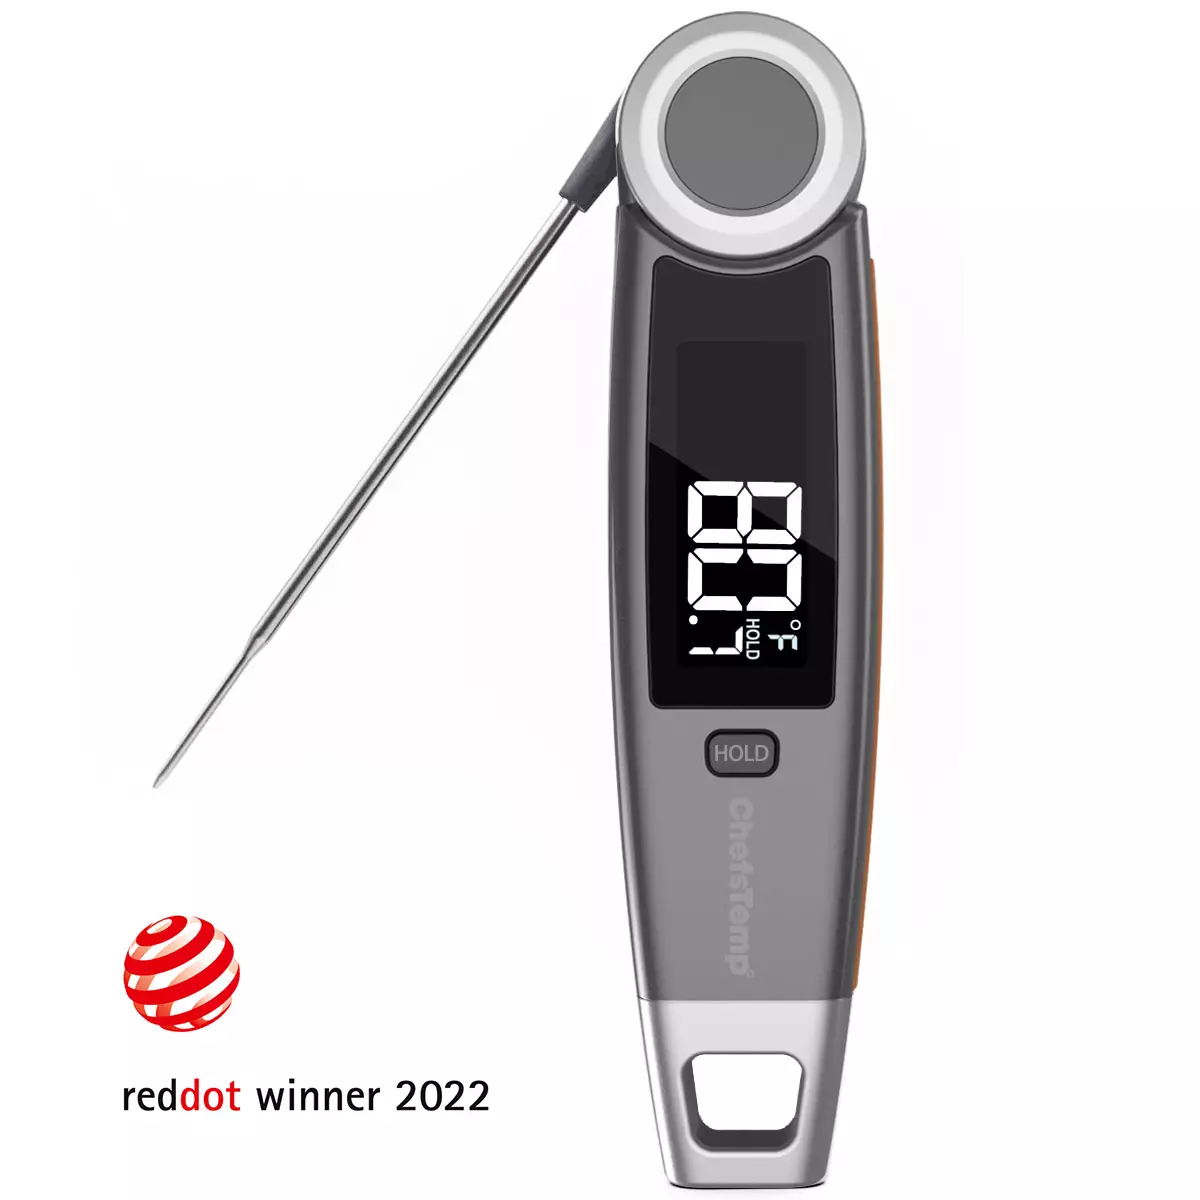
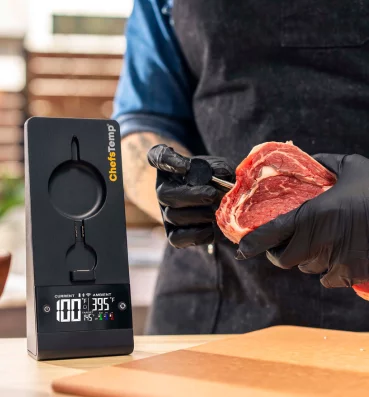
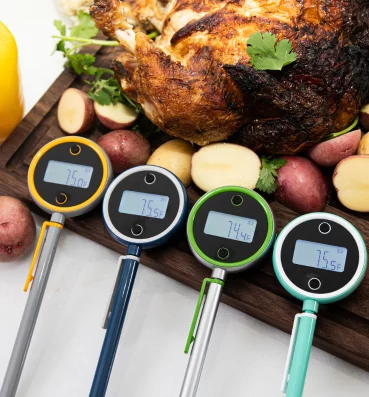
Instant-read meat thermometers are quick, easy, and convenient, making them the most popular type. You can easily find them in supermarkets. They usually come with a digital display (instant-read digital thermometers) and a probe tip which if inserted directly into the meat will give you an accurate internal temperature reading almost instantaneously (within a few seconds). They are also easy to clean.
However, instant-read thermometers often come with plastic bodies, which means they cannot be left in the heat (inside the oven, for example) for too long. Thus, you need to use them effectively.
Leave-in thermometers
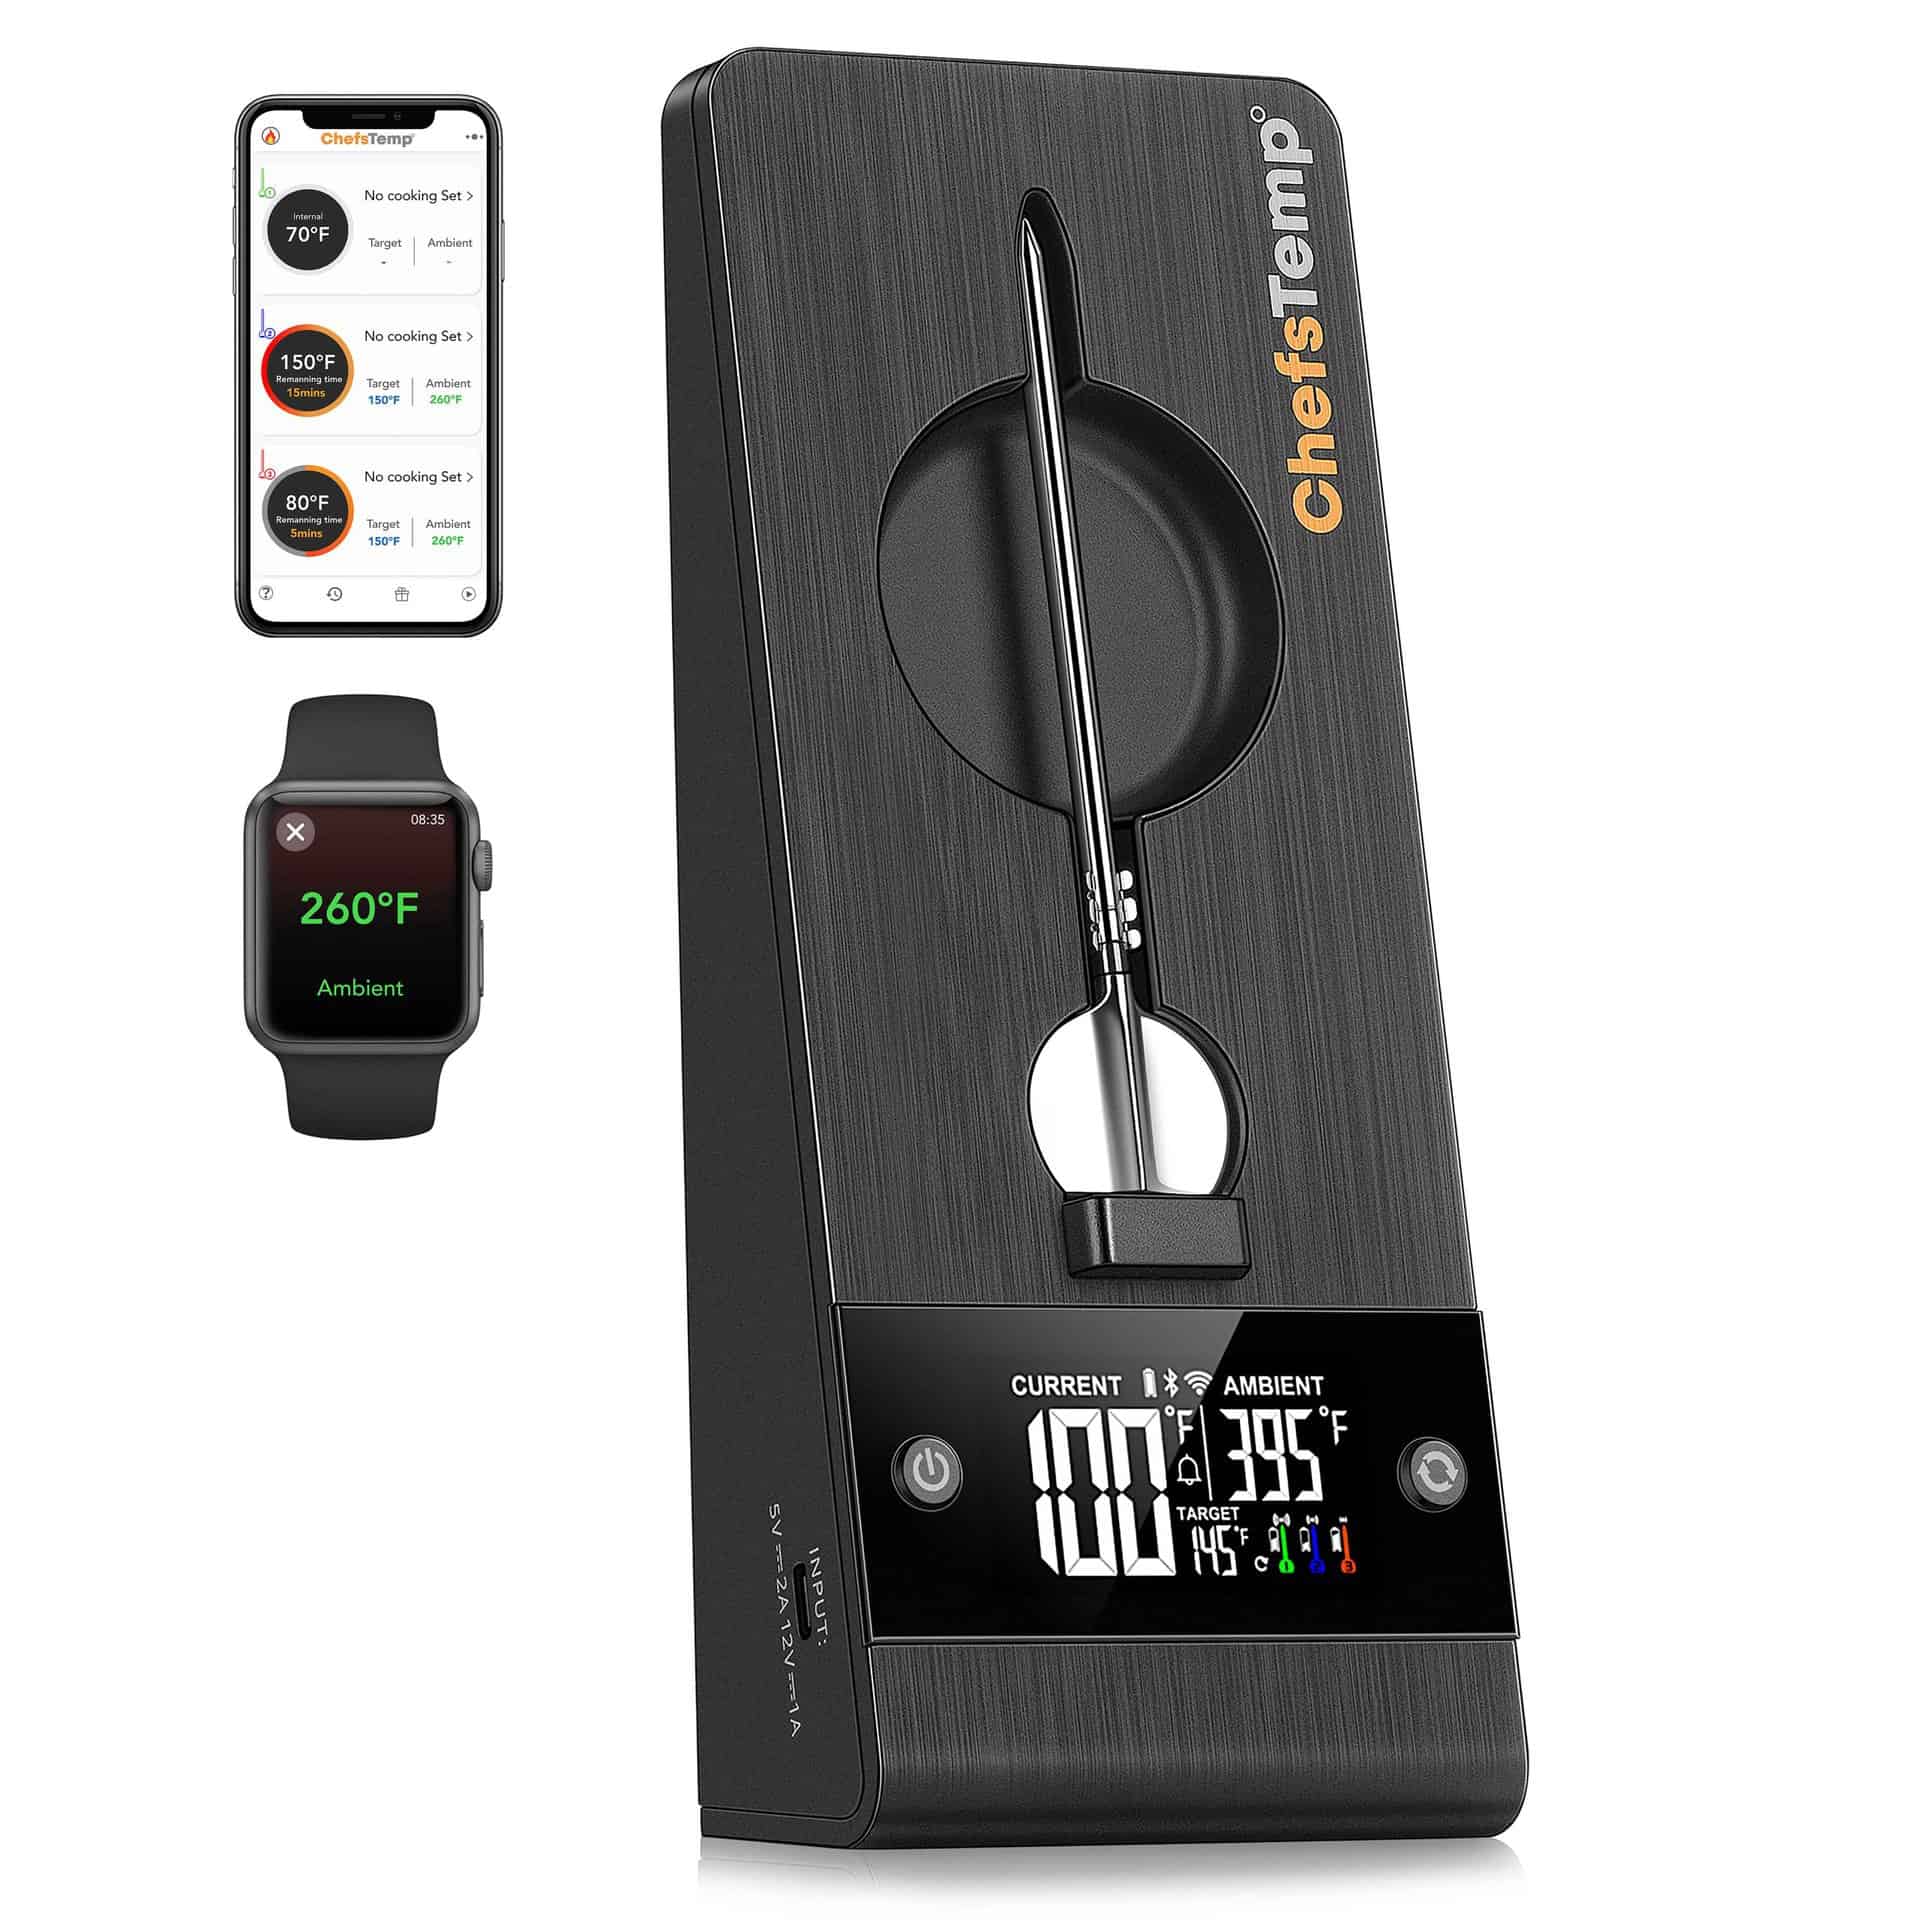
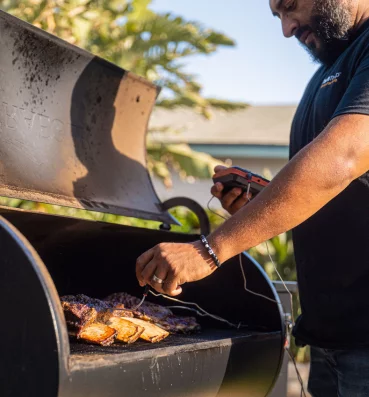
This type is exactly as its name suggests – you can leave it sticking into the meat while cooking. Leave-in thermometers come with a probe (which stays in the meat), a temperature display (which can be digital or dial), and a heat-resistant cable that connects the two.
Some leave-in meat thermometers have an alarm that goes off when it reaches the correct internal temperature.
Dial thermometer
Dial thermometers are old-school and are the cheapest type of meat thermometers. They are common in supermarkets and home supply stores too. Their mechanics are simple; they come with a probe that must be inserted deep into the meat to read the internal temperature of the latter.
For this type to be accurate, they must be properly and regularly calibrated. Also, this type can take around a minute to get a proper internal temperature reading.
Correct Placement of the Thermometer
You need to know how to properly place your thermometer into the meat to get the correct internal reading and cook your meat right. The proper thermometer placement depends on the type of meat you are cooking.
Tips for Accurate Readings
How to use a meat thermometer:
For whole poultry
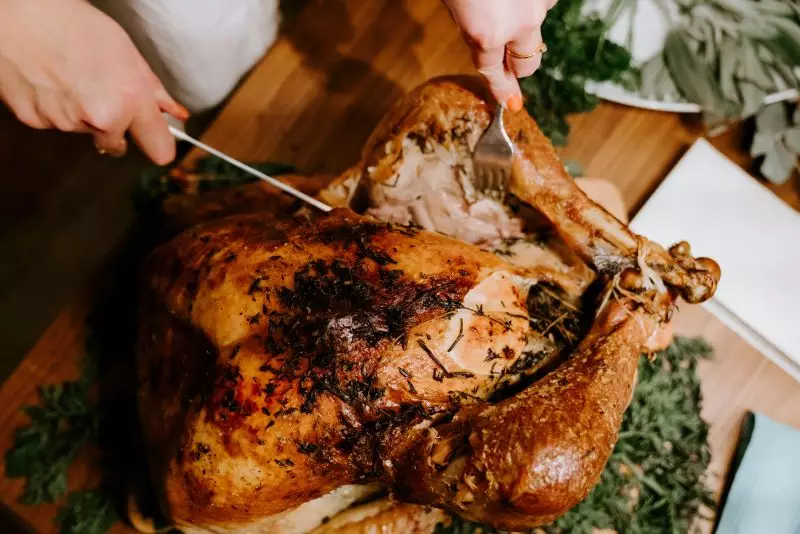
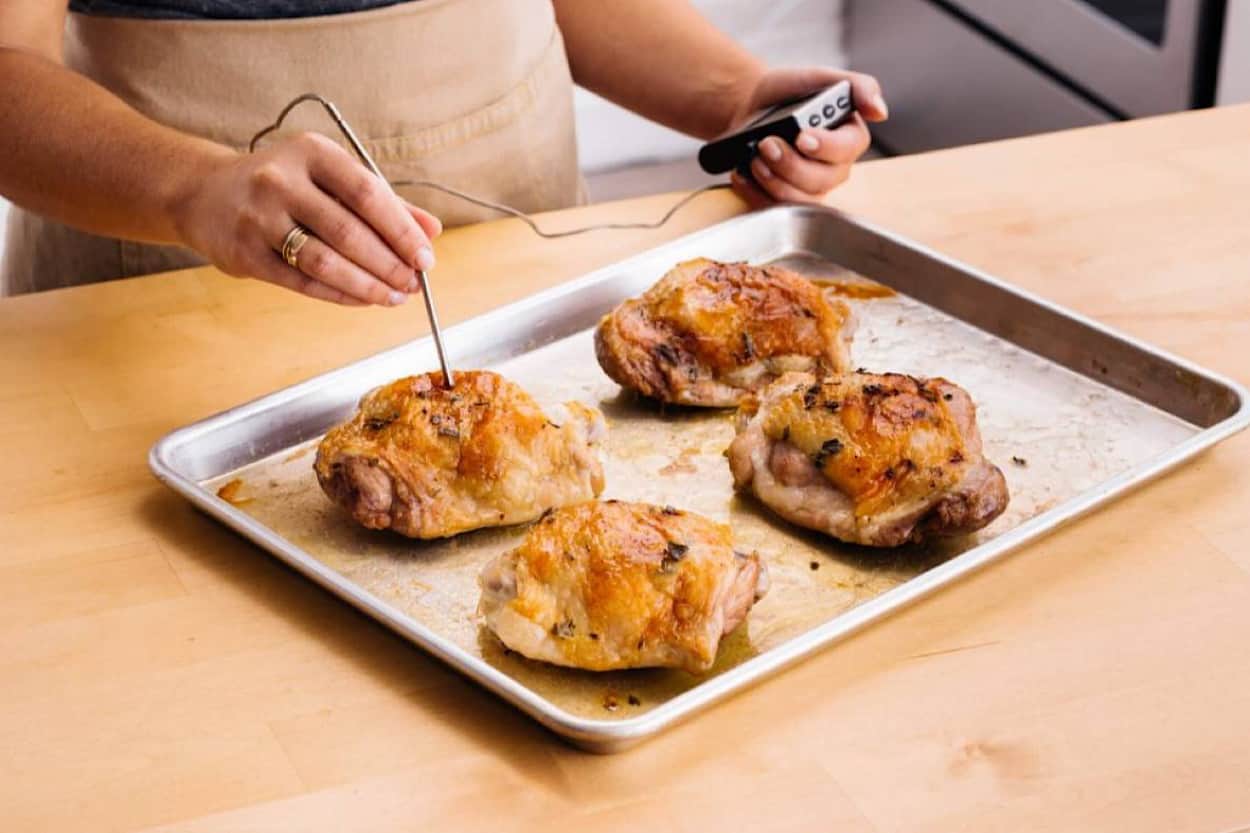
Insert the thermometer into the thickest part of the meat (often the thigh), and ensure no part of the probe touches the bones of the poultry.
For ground meat
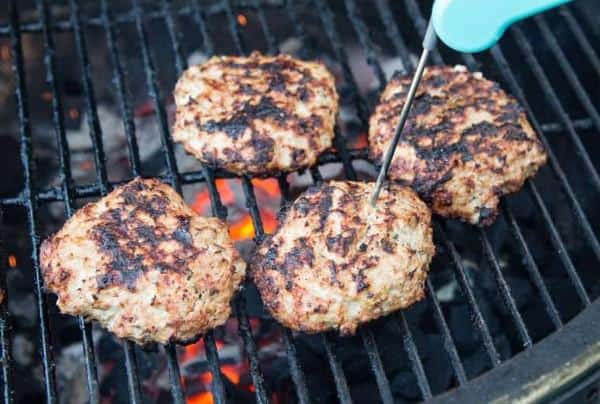
Whether it’s ground pork, chicken, beef, etc., the guidelines are pretty much the same; insert the thermometer into the thickest part of the patty. Make sure the tip of the probe reaches the center of the patty.
For various cuts of beef, pork, lamb, veal, etc.
Insert the thermometer into the thickest part of the meat, and make sure the probe tip doesn’t touch the bones or the fat.
For fish
Insert the thermometer into the thickest part of the fish; again, make sure your thermometer doesn’t touch the bone of the fish.
Know the target temperature of your meat
Different types of meat (and sometimes cuts) need to reach different internal temperatures to ensure they are properly and safely cooked. Poultry meats, for example (chicken, turkey, duck, fowl, etc.), should reach 165°F (74°C) internal temperature. Ground meat (beef, pork, turkey, veal, or combinations of different ground proteins) should reach 160°F (71°C). Beef, pork, lamb chops, steaks, or various cuts of red meats, should reach 145°F (63°C).
Double-check your readings
Depending on the quality (sometimes age) of your meat thermometer, you may easily take a false reading. It is especially true for analog thermometers with small digits. Thus, it is always a good idea to double or even triple-check your temperature readings, particularly for hand-held thermometers.
You can pull out the probe and place the meat nearby to double-check the reading again when using leave-in thermometers.
Calibrate your meat thermometer
The key to accurate reading is ensuring your thermometer is calibrated correctly.
The simplest way is to boil water and place your meat thermometer inside. Boiling water has a temperature of 212°F (100°C). Your thermometer should give those digits for a reading or something very close to that. If it doesn’t, refer to the manufacturer’s instructions for calibration. Many popular thermometer brands share their instructions for calibration online.
You can, of course, do it the opposite way and use ice. Frozen water has a temperature of 32°F (0°C). Thus, your thermometer should have that reading. Again, if it doesn’t, calibrate it according to the manufacturer’s instructions.
Wait for the temperature to stabilize
When using (inserting) your thermometer into the meat, wait for it to stabilize. Depending on the type of thermometer, this can take a couple or more seconds (instant-read thermometers) or a few minutes (for probe and leave-in thermometers).
Clean your thermometers
Avoid food contamination and give your meat thermometer the best chance to last longer by thoroughly cleaning them after use. For waterproof thermometers, wash them with soap and water. For non-waterproof models, wipe the whole thing thoroughly with a damp cloth.
The Takeaway
Meat thermometers are simple yet highly efficient and helpful devices; they are the most crucial kitchen tool for meat cooking. Use these tips and start cooking various meat dishes to perfection!
Discover Other ChefsTemp Products
Discover more recipes and learn kitchen tricks by joining our cooking family on Facebook.
You may also like:
