Are You a BBQ Fanatic? Here are All the Heat Level Management Tips You Need to Know.
All BBQ enthusiasts can confirm that the temperature is the key ingredient to cooking the perfect smoked meat. No matter how unique your spices are or how fresh your meat is, you can never get your desired results if you can’t manage your heat. If it’s too high, inevitably, there will be a charred grilling disaster, and if it’s too low, your meat will be uncooked, yikes!
Charcoal grills require some skill to control the heat levels. You will grill the most tender and juiciest BBQ ever when you know the correct heat levels. Learning the proper techniques and a bit of practice can help you master the art, and in no time, you will become a BBQ maestro.
So how do you achieve the perfect temperature supremacy?
Here are some tips from the experts to help you maintain the ideal grill temperature. So, next time you hit the grill, keep these tips in mind, and surely you’ll cook some state-of-the-art BBQ.
Table of Contents
Invest in a Temperature Probe
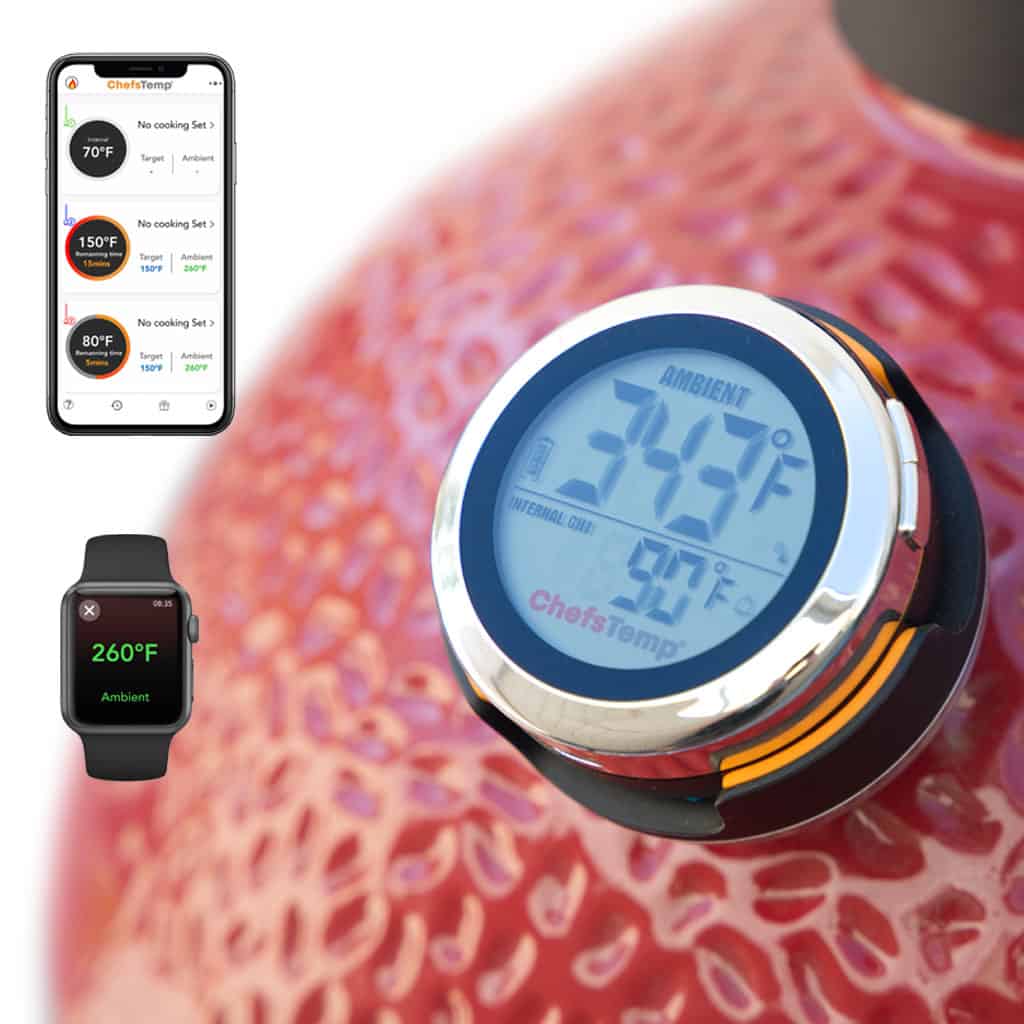
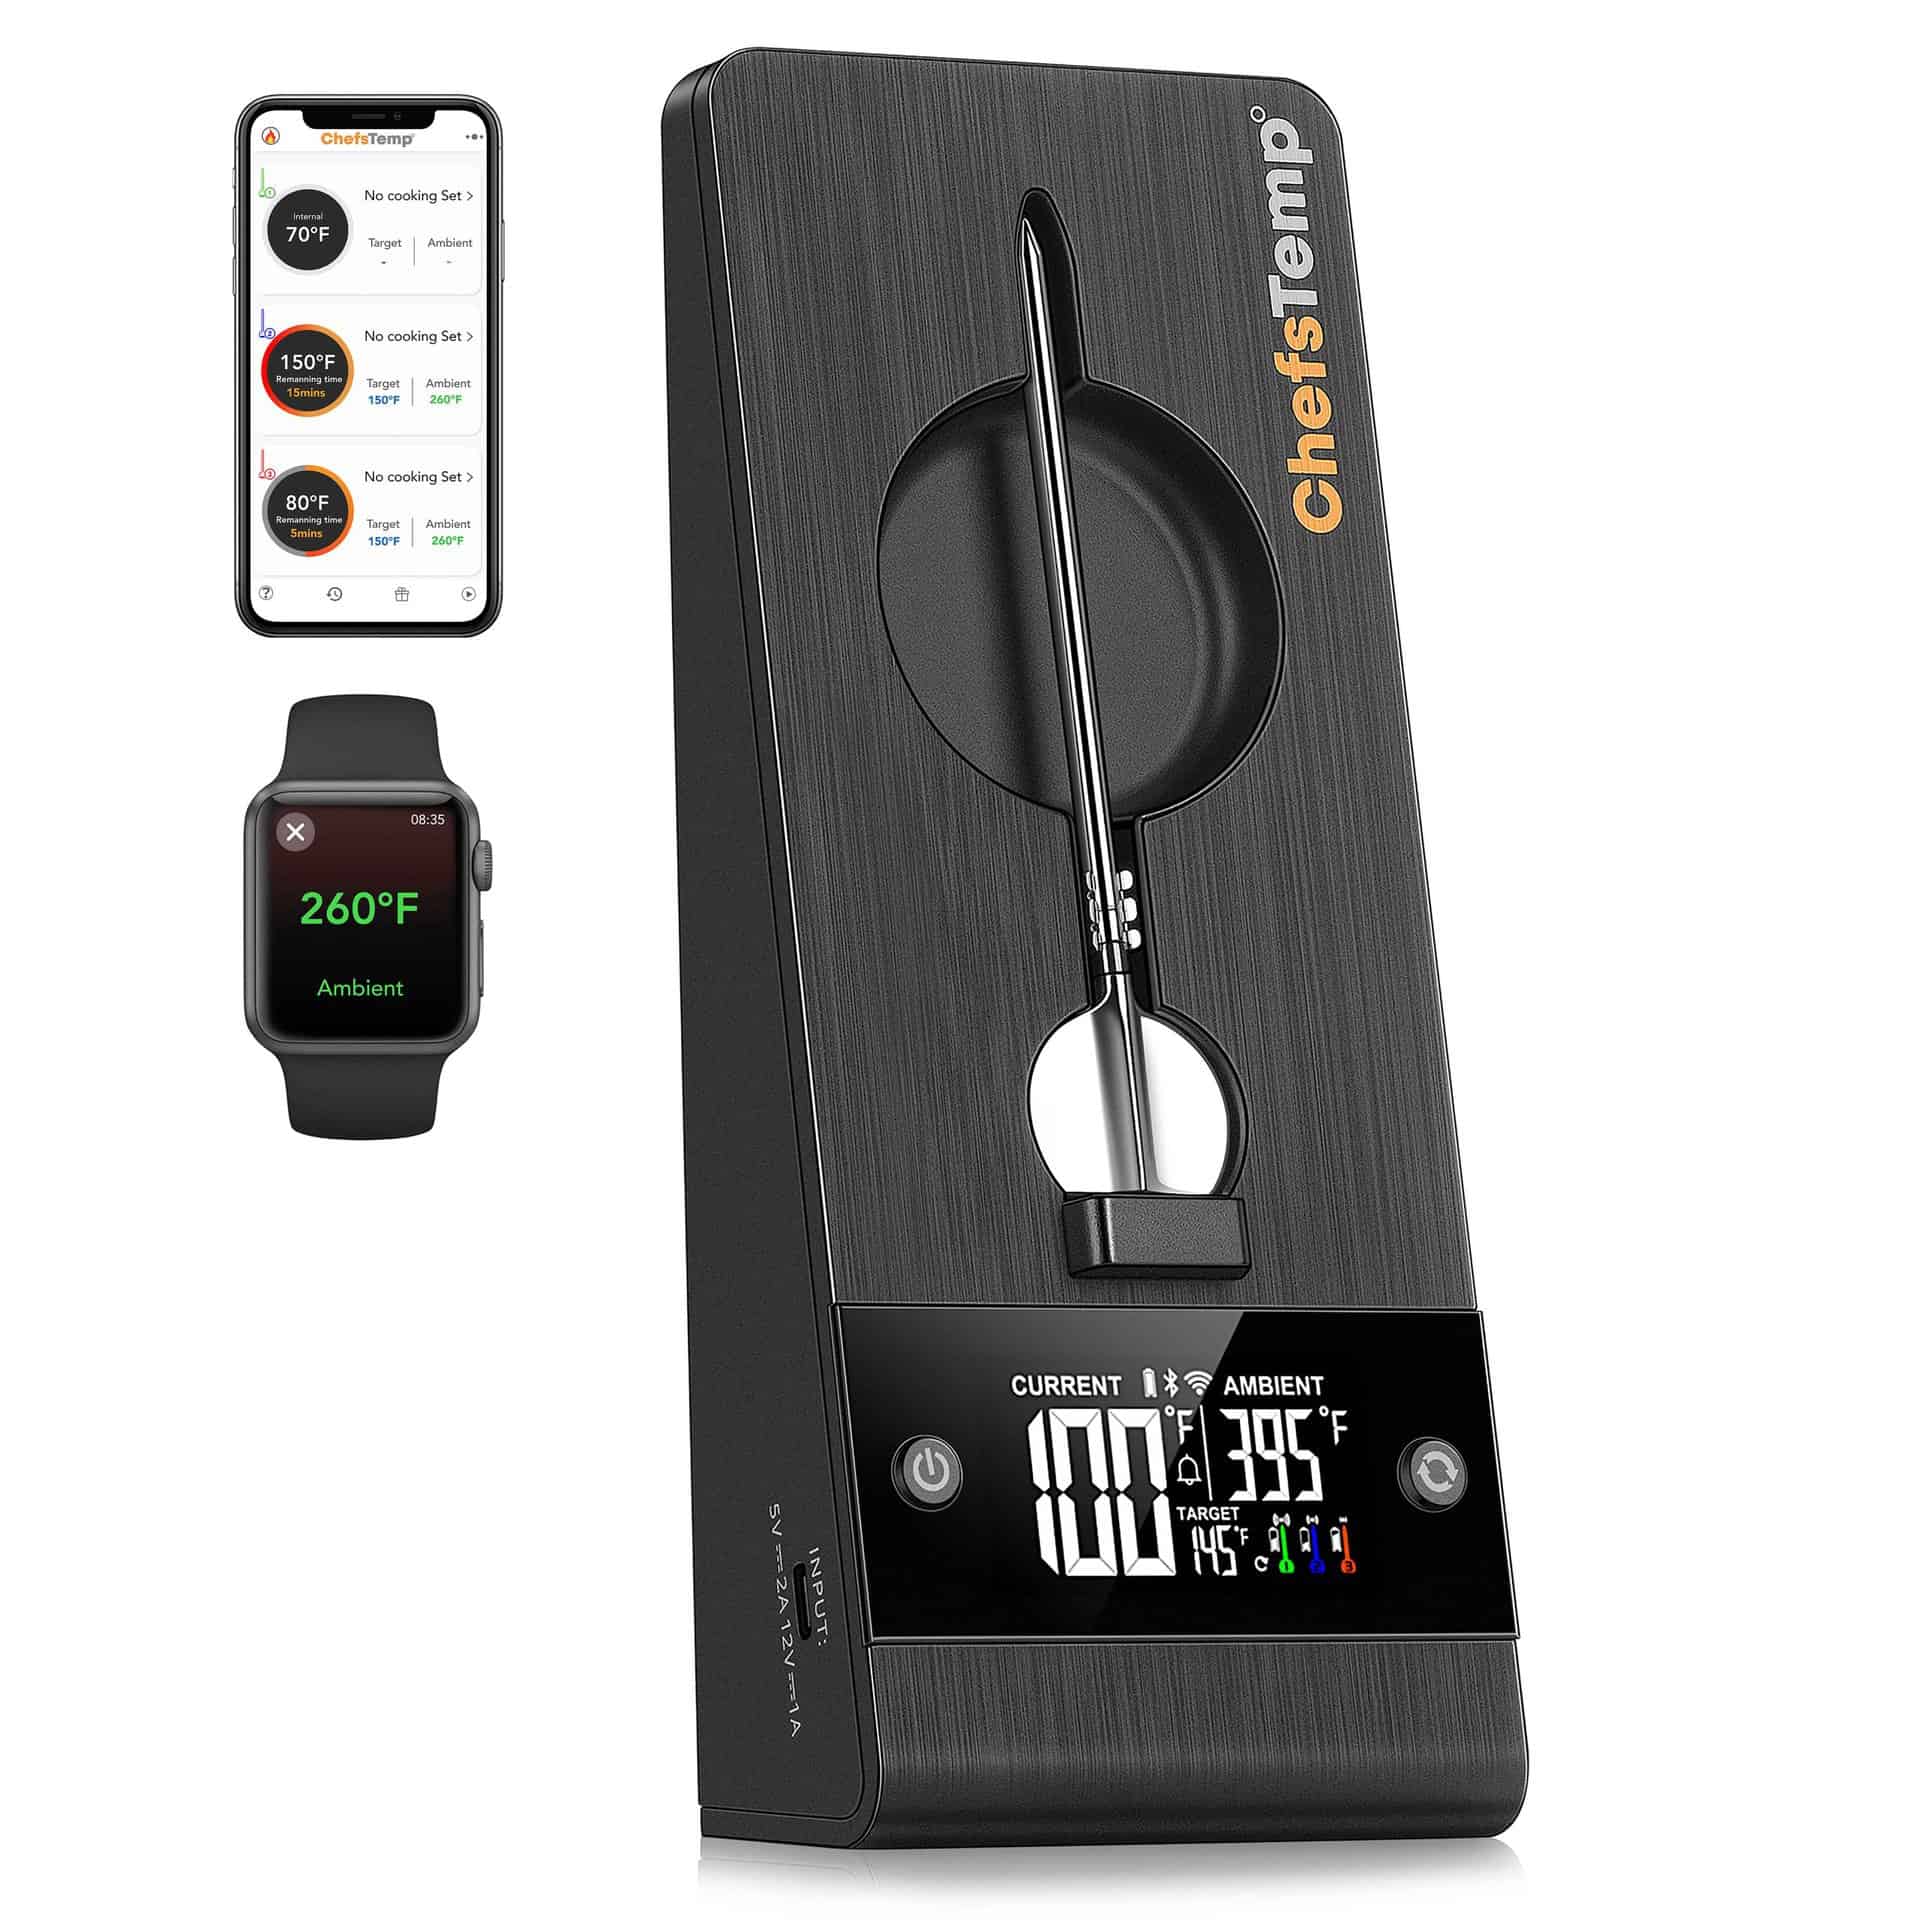
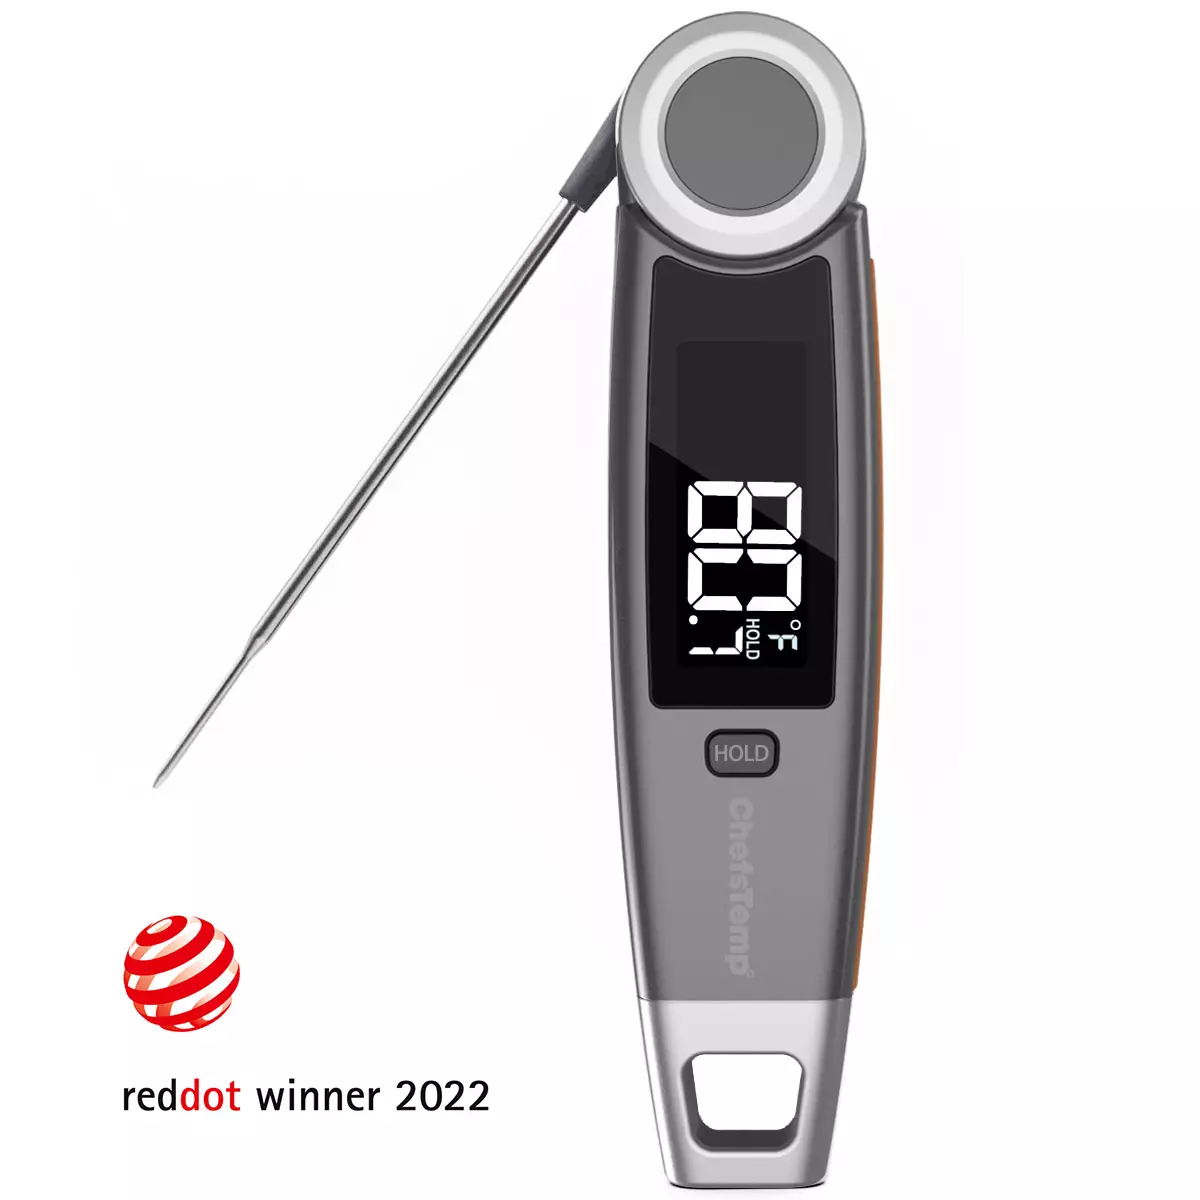
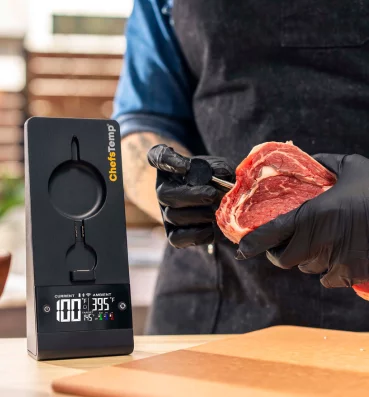
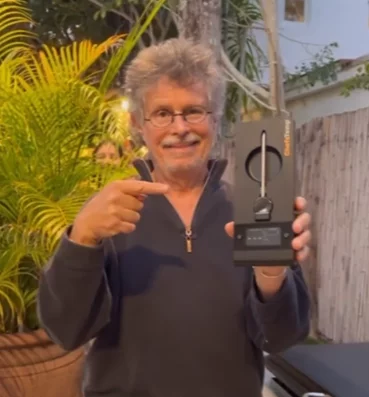
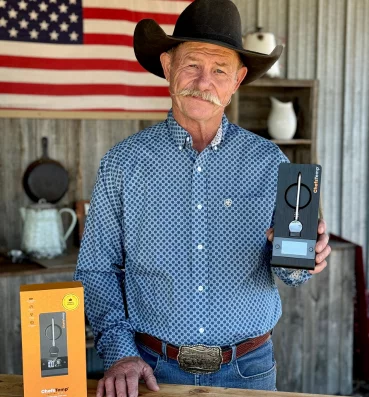
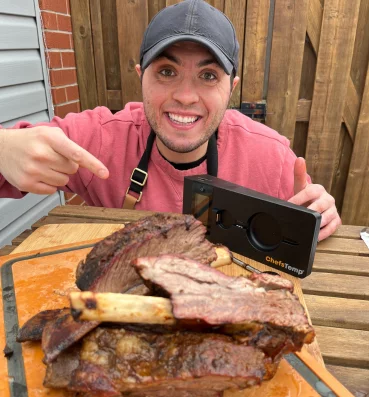
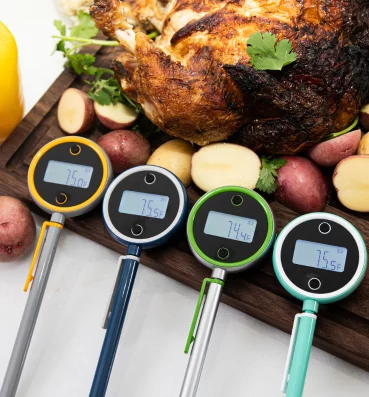
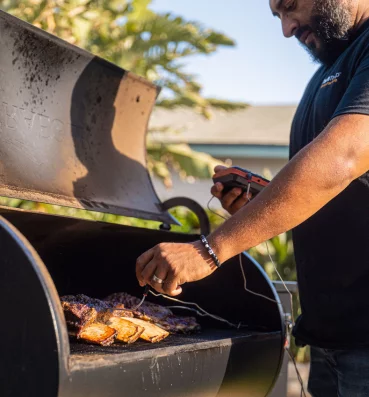
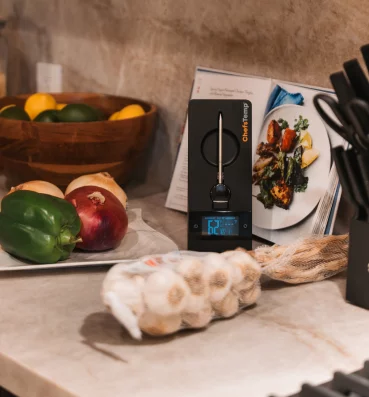
It goes without saying that to perfectly manage your heat, you need to keep an eye on the temperature. Perhaps you’re unaware of the fact that most of the built-in grill thermometers are highly inaccurate. So, this calls for investing in a separate, good-quality temperature probe. If you are unsure which thermometer is the best for you, have a look at some of the types.
With an accurate thermometer, you can easily gauge all the changes when you adjust the airflow and the fuel. Here’s a tip if you’re using an air probe: when you’re monitoring the temperature, be sure to set it close to your food, in the center of the cooking area. To avoid any accidents, make sure you take all the necessary precautions. Have a look at some of them here!
Light the Charcoal
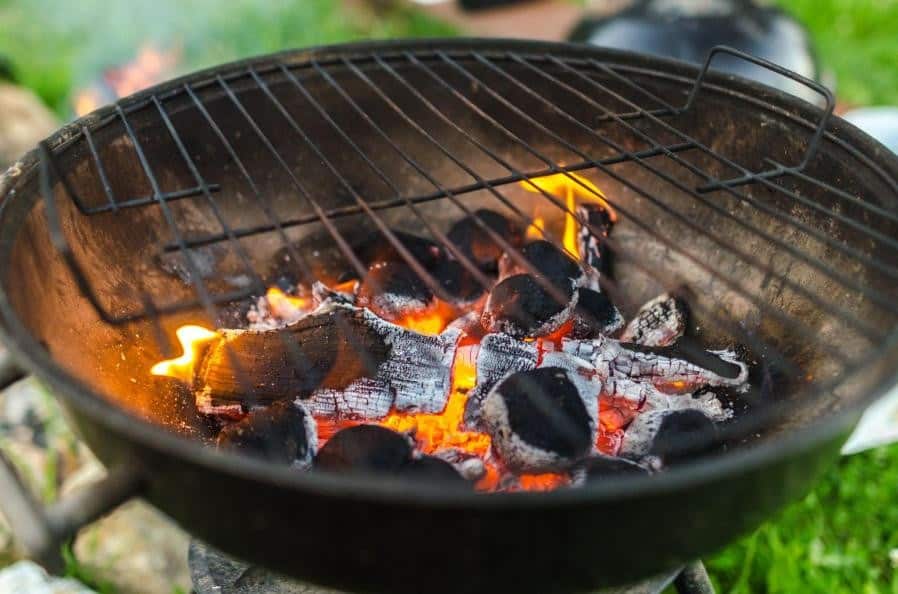
Your charcoal is the fuel for your cooking process and needs to be apt if you want smooth grilling. You can use a chimney starter to light them up. Be sure to light them evenly, so there’s an equal amount of heat. It will take around 15 minutes, and once you see some grey ash covering the briquets, they are good to go.
Open the Dampers
Your grill uses two fuels: wood or charcoal and oxygen. It needs abundant oxygen to stay lightened up, so you need to ensure a sufficient oxygen supply. An easy way to control the oxygen intake is through the grill’s vents.
Your grill will likely have two dampers: an intake damper and an exhaust damper. The former is usually located near the charcoal, and the latter is at the top of the grill lof. Before you add fuel, set both dampers so they are wide open. Once the grill heats up, you can adjust the intake damper.
Set up a 2-Zone Grill
You might be unaware that charcoal grills require a particular setup for low cooking temperatures. You need to set up a 2-zone grill to cook your barbecue perfectly. The process is relatively simple: all you have to do is pile your lit coals on one side when you’re transferring them into the grill.
Once you set up the top grill grates, you have to place your meat on the opposite side of where the coals are piled. In this way, the meat will slow-cook with indirect heat to yield tender and juicy pieces of meat. Keep the grill covered to ensure smooth temperature.
Adjust the Vent
Many people make the mistake of leaving their vent unattended; don’t do that! Adjust your vent as required. Try leaving the exhaust damper all the way throughout the grilling and control the temperature by adjusting the intake damper. Playing with both the vents together won’t get you anywhere.
To make it easy for you: check the thermometer a couple of minutes after adding the lit charcoal. If it shows more than 225F, it’s your cue to close the intake damper halfway. This will reduce the oxygen and contain the grill heat. Check the temperature every 5 minutes. You have to be sure that you’re not in the food temperature zone.
If the temperature is low, open the intake damper a little, and if it’s high, you can close it. It will take a while, but you will determine the ideal range of notches on the damper to maintain optimum temperature.
Keep an Eye on the Fuel
After you have been grilling for a few hours, the temperature is likely to decrease as the charcoal burns. At this point, opening the intake damper won’t be of much use. When this happens, it’s time for you to refill the fuel.
You have two options:
1- Add a dozen fresh briquets to the coal
Adding unlit coals is the easiest option, but you are likely to experience a lot of smoke. As they burn, the temperature will gradually rise. Here, you might want to control the intake damper while the coals become fully engaged.
2- Light the charcoals in your chimney
The second option is adding pre-lit charcoals to your grill after ashing them up in your chimney. This option is relatively tricky, and it’s best to go with the first option if you’re a rookie cook.
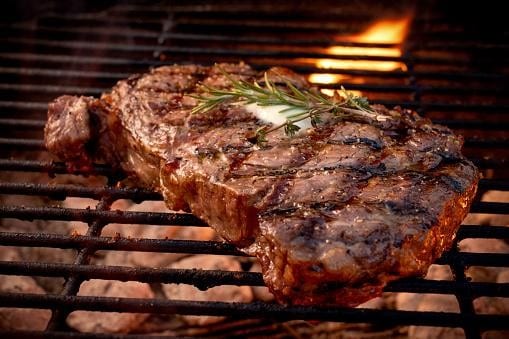
Keep Correct Distance Between Food & Coal
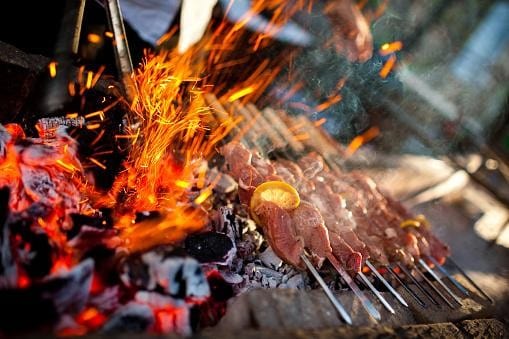
Stating the obvious: the closer your food is to the coals, the hotter it is and the faster it will cook. Finding the sweet spot on your grill might take you a while, but eventually, you will figure it out. Some grills come with adjustable cooking grates that can make your life easy.
However, if you don’t have one, you need not fret. All you need to do is to move your food away from the coals if you feel it’s getting too hot and if it’s not hot enough to cook, move it closer. Keeping the correct distance will deliver you exactly the kind of juicy meat you wish to devour.
Conclusive Thoughts
So it’s settled – the secret to perfectly tender meat lies in controlling the temperature. Once you give it a try a couple of times, it won’t take you long before you learn how the temperature works.
Now, you can cook more than just searing steaks and flipping burgers on your grill. Mastering the art of controlling grill temperature will tell you that sky’s the limit when it comes to cooking on a grill. So, implement these tips next time you have some friends and family over for a BBQ.
Hopefully, you found this a worthwhile read and are all set to try them out next time you get a chance!
Discover Other ChefsTemp Products
Discover more recipes and learn kitchen tricks by joining our cooking family on Facebook.
You may also like:
